
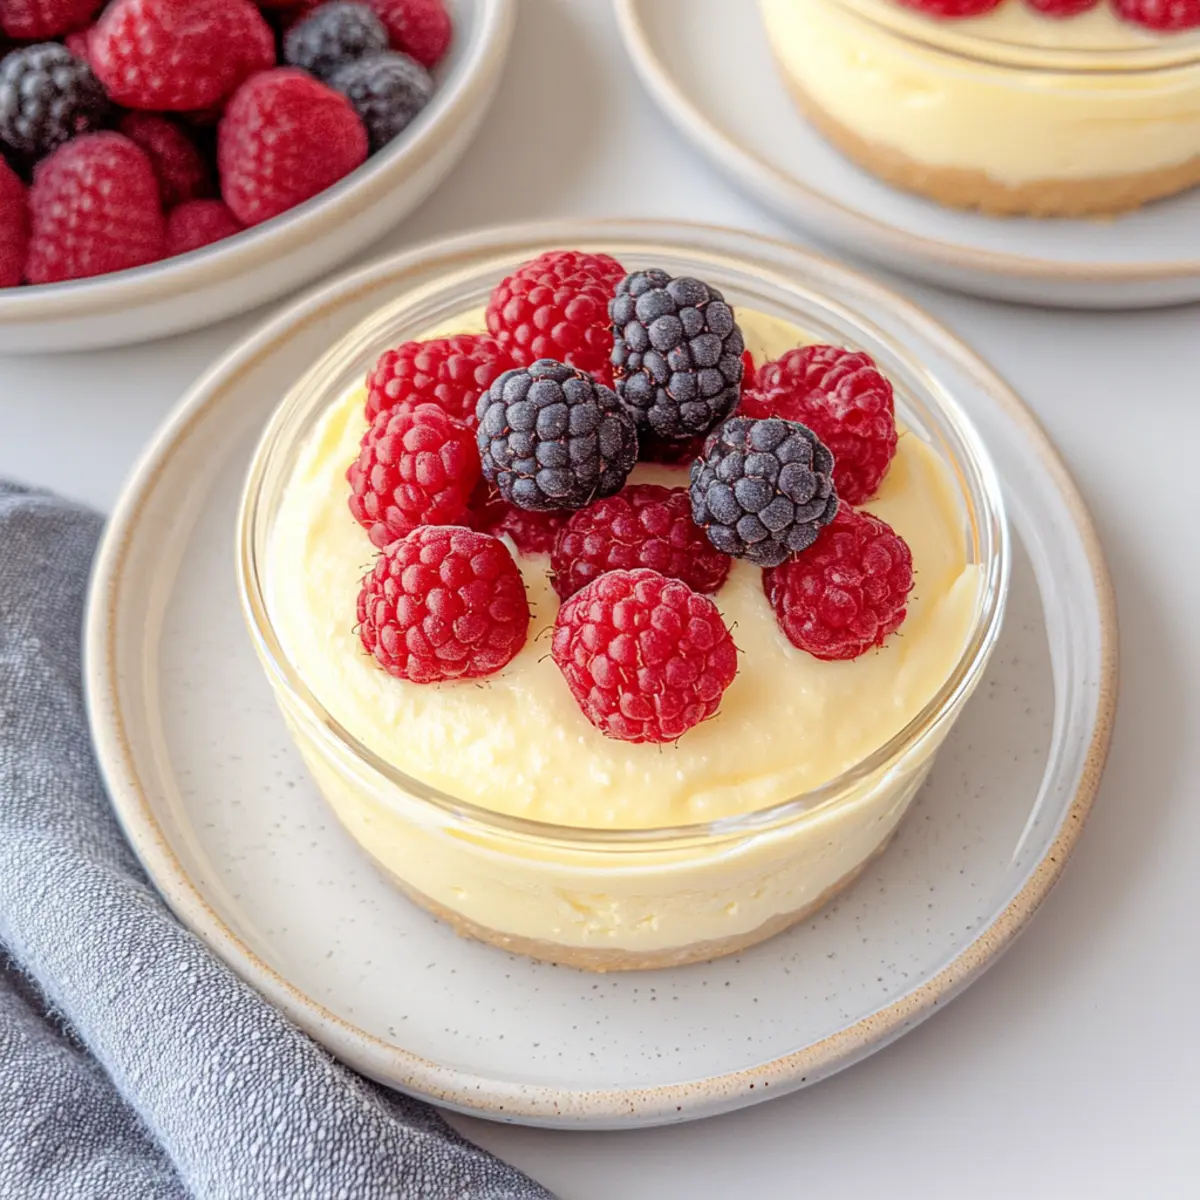
The sun-soaked afternoons of summer always bring me back to those blissful moments in the kitchen, experimenting with flavors and textures that refresh the spirit. One of my favorite no-bake delights is the luscious No-Bake Greek Yogurt Jello Cheesecake. This dessert is not only quick to whip up but also wonderfully customizable, letting you play with fruity toppings and vibrant colors to suit any occasion. By using Greek yogurt, this cheesecake provides a creamy texture without weighing you down, making it a perfect light treat. It’s a guilt-free indulgence that still satisfies your sweet cravings, while also being a crowd-pleaser at picnics or family gatherings. Ready to bring a colorful twist to your dessert table? Let’s dive into this easy recipe!
Why is This Dessert a Must-Try?
Simplicity at Its Best: With a no-bake approach, you can whip up this Yogurt Jello Cheesecake without the fuss of an oven, making it perfect for everyone, from beginner cooks to seasoned chefs.
Healthy Indulgence: This recipe incorporates Greek yogurt, providing a creamy base that’s both low-calorie and rich in protein, ensuring you can indulge without guilt.
Customizable Fun: Whether you prefer mixed berries or vibrant food coloring, the possibilities for flair are endless, making it great for both kids and adults alike!
Quick Chill: In just a few hours, you can have a refreshing dessert ready to impress your guests or treat yourself after a long day.
Crowd-Pleaser: Serve this delightful cheesecake at parties or family gatherings, and watch it disappear—the light, mousse-like texture will have everyone coming back for seconds!
Have you tried a similar dessert before? You might also enjoy exploring our delectable Red Velvet Cheesecake for a rich alternative!
Yogurt Jello Cheesecake Ingredients
For the Cheesecake Base
• Greek Yogurt – Provides a creamy, thick texture; essential for the cheesecake base. Use regular for richness or fat-free for lower calories.
• Cheesecake Pudding Mix – Adds sweetness and thickening; if lumps appear when mixing, whisk vigorously or let sit briefly and whisk again.
• Milk (optional) – Can be added to thin out the Greek yogurt if it’s too thick.
For the Color and Flavor
• Food Coloring (optional) – Use gel food coloring for fun variations without affecting the consistency; start with 1-2 drops.
• Fresh Fruit (optional) – Enhances flavor; suggest berries, banana, or mango for added freshness.
For the Crunch
• Nuts (optional) – Almonds, walnuts, or pecans can be sprinkled for crunch, adding texture and flavor contrast.
Step‑by‑Step Instructions for Yogurt Jello Cheesecake
Step 1: Combine Base Ingredients
In a large mixing bowl, add the Greek yogurt and cheesecake pudding mix. Using a whisk, blend them together until the mixture is smooth, creamy, and free of lumps—this should take about 2 minutes. If you see any clumps, whisk vigorously until everything is well integrated. The creamy texture at this point is crucial for your delicious Yogurt Jello Cheesecake.
Step 2: Adjust Consistency
If your yogurt mixture feels too thick, gently stir in a splash of milk to achieve your desired consistency. This should only take about 30 seconds of mixing. For an extra burst of fun, add a few drops of gel food coloring, blending until the color is uniformly distributed, brightening up the appearance of your cheesecake.
Step 3: Add Flavorful Extras
Now it’s time to personalize your Yogurt Jello Cheesecake! Fold in any fresh fruits, like berries or banana slices, as well as optional nuts for a delightful crunch. This step should only take about a minute to ensure the fruits are evenly mixed but still whole enough to add texture.
Step 4: Transfer and Chill
Pour the cheesecake mixture into an airtight container or a serving dish. Smooth the top with a spatula for an even surface. Cover it securely and refrigerate for at least 4 hours, or overnight for the best flavor. During this time, the cheesecake will set beautifully, achieving that light mousse-like texture we love.
Step 5: Serve and Enjoy
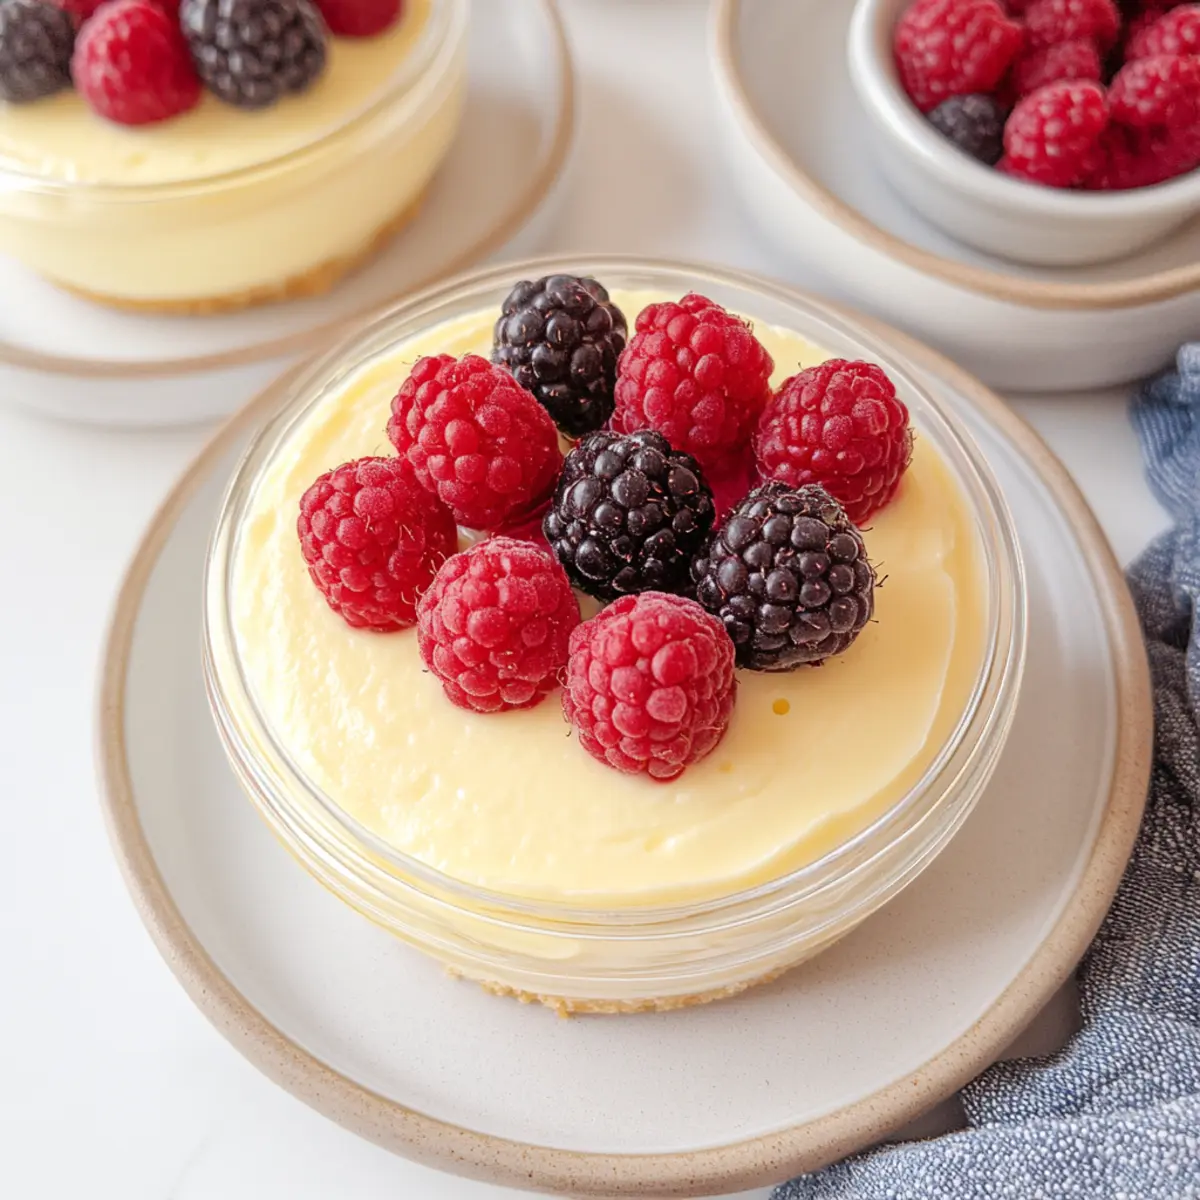
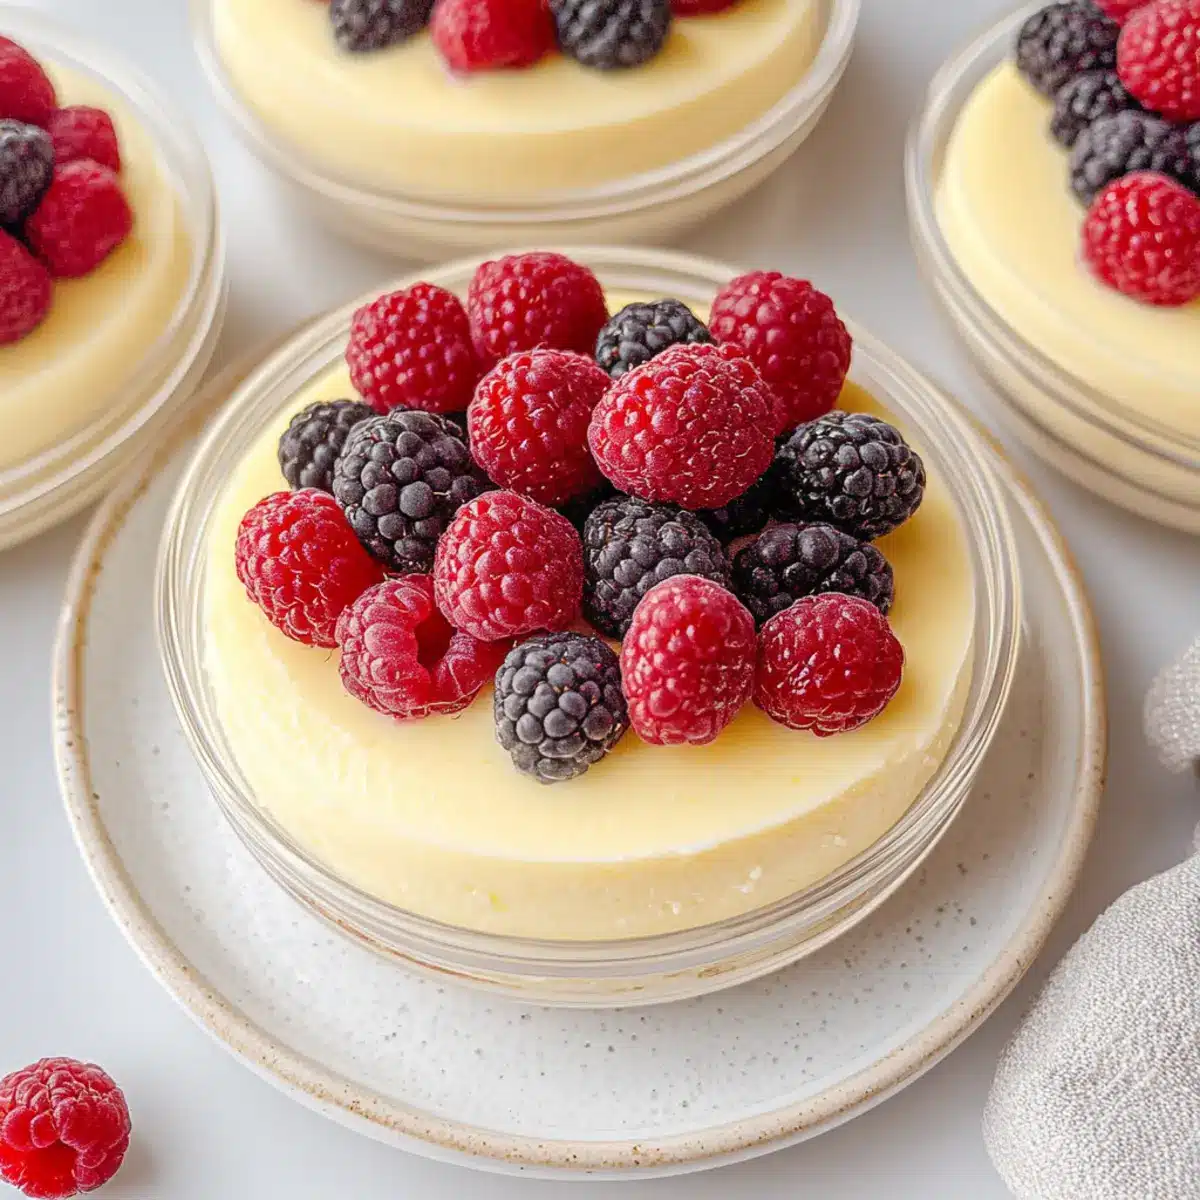
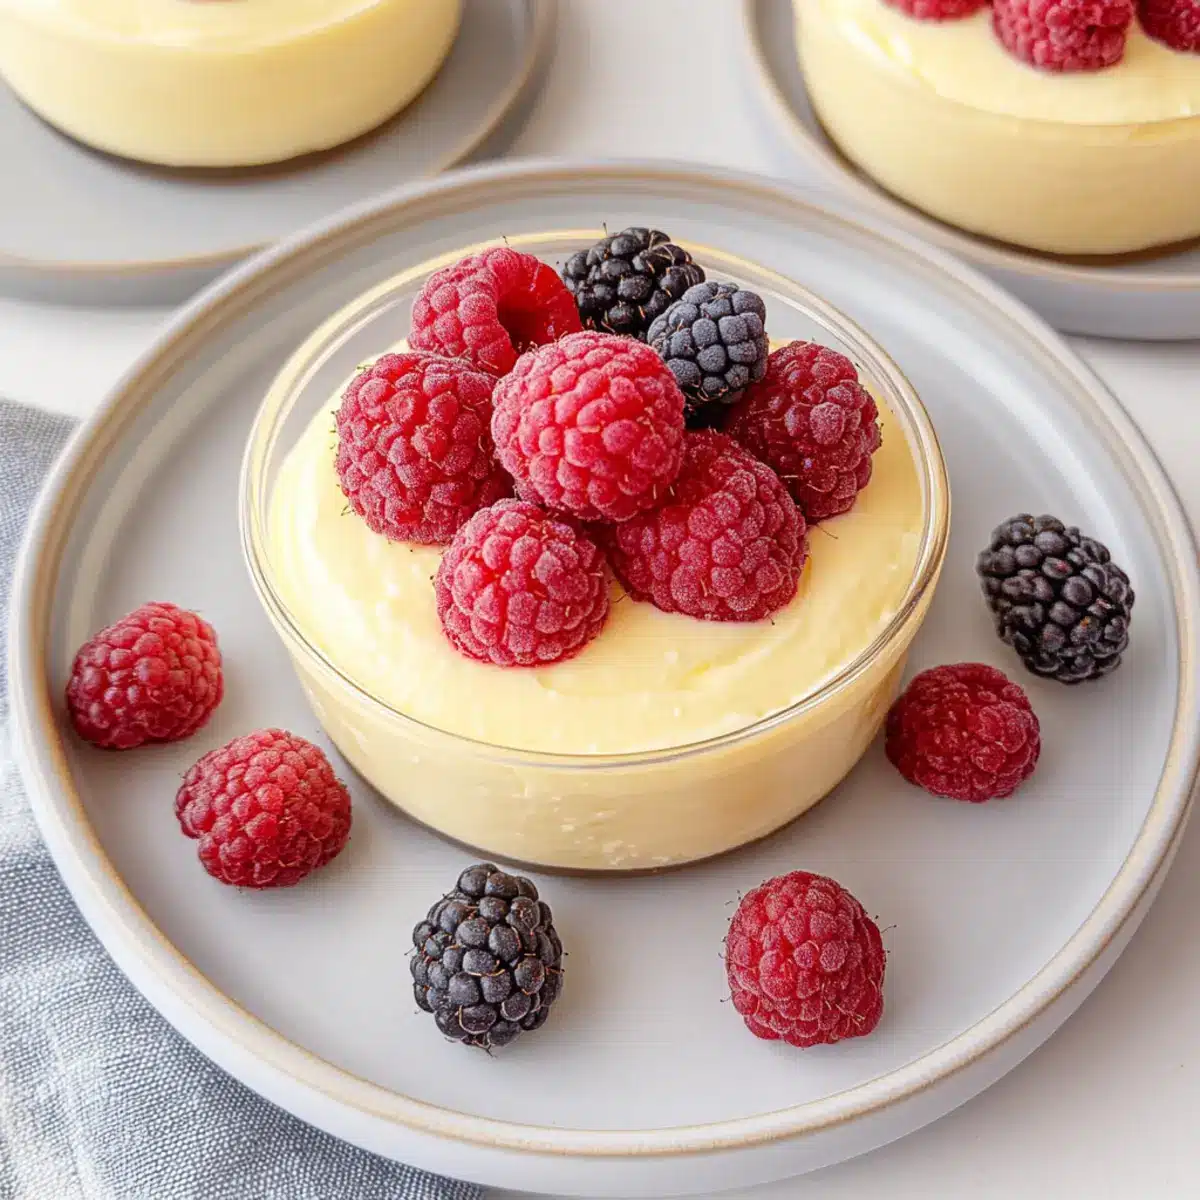
Once chilled, remove the Yogurt Jello Cheesecake from the refrigerator. Serve it cold, garnished with additional fresh fruit or a sprinkle of nuts for added flair. This dish is perfect for sharing at gatherings or enjoying as a light, refreshing dessert on your own—savory bites bring joy!
Make Ahead Options
These Yogurt Jello Cheesecake treats are ideal for meal prep, allowing busy cooks to save time during the week! You can prepare the cheesecake base up to 24 hours in advance by mixing Greek yogurt and cheesecake pudding, then transferring it to an airtight container. For optimal flavor and texture, refrigerate it overnight. If you’re adding fresh fruit or nuts for crunch, consider folding them in just before serving to maintain their freshness and texture. The cheesecake will stay fresh in the refrigerator for up to 3 days, ensuring every bite is just as delightful as the first. When ready to enjoy, simply garnish and serve chilled!
Expert Tips for Yogurt Jello Cheesecake
-
Choose the Right Yogurt: Use Greek yogurt for the best creamy texture; regular yogurt won’t achieve the same results, leading to a less satisfying cheesecake.
-
Mix Thoroughly: To avoid lumps in your cheesecake, whisk the yogurt and pudding mix vigorously until completely smooth before adding any extras.
-
Customize Wisely: While adding fresh fruit or nuts can enhance flavor, be careful not to overload the cheesecake; maintain a balance to keep the texture light and airy.
-
Plan Ahead: Make this Yogurt Jello Cheesecake the night before your gathering. It allows the flavors to meld and the cheesecake to set perfectly.
-
Serve Cold: For the best experience, serve the cheesecake straight from the fridge; it’s light, refreshing, and absolutely delightful on warm days!
How to Store and Freeze Yogurt Jello Cheesecake
Fridge: Keep your Yogurt Jello Cheesecake covered in the fridge for up to 3 days. This will maintain its creamy texture and flavor while ensuring it’s ready for a quick treat.
Freezer: While it’s not recommended to freeze the cheesecake as it may become grainy, if you must, wrap it well in plastic wrap and aluminum foil. It can last in the freezer for about 1 month; just remember to thaw it in the fridge overnight before serving.
Reheating: This dessert is best served cold, so there’s no need for reheating. Simply take it out of the fridge and enjoy! If you’ve added fresh fruit, consider garnishing again before serving for that vibrant touch.
Room Temperature: If serving warm-day gatherings, the cheesecake can sit out at room temperature for up to 2 hours. After that, it’s best to refrigerate it to maintain freshness.
Yogurt Jello Cheesecake Variations
Feel free to get creative and tailor this delightful treat to your taste buds!
-
Flavor Variations: Swap the cheesecake pudding mix with vanilla, chocolate, or even lemon for a refreshing twist. Each flavor change brings its own character!
-
Crunchy Layer: Add crushed graham crackers or your favorite cookies at the bottom for a delightful crust layer that provides a satisfying crunch. This texture contrast elevates the whole dish!
-
Fruity Fun: Experiment with different fruits like strawberries, kiwi, or peaches mixed directly into the batter, or use them as a stunning topping. Fresh fruit not only adds flavor but also makes your cheesecake visually appealing.
-
Nutty Delight: Fold in your choice of nuts—almonds, walnuts, or pecans—into the mixture for an exciting crunch. They pair beautifully with the creamy yogurt and add a nutritious boost!
-
Dairy-Free: Substitute Greek yogurt with dairy-free yogurt to make a vegan version of this cheesecake, perfect for those avoiding dairy without sacrificing creaminess.
-
Add Some Spice: Sprinkle in a bit of cinnamon or vanilla extract for a warm flavor boost that enhances the overall dessert. These warm notes can transform a simple cheesecake!
-
Color Splash: Use a combination of food colorings to create vibrant layers of color within the cheesecake, or simply color one layer for an eye-catching presentation. This adds a festive touch for special occasions!
-
Chilled Treat: For a little extra chill factor, consider adding crushed ice cubes to the mixture before setting it in the fridge, giving it a slushy-like texture perfect for summer days.
And if you’re looking for a different kind of indulgence, don’t forget to check out our scrumptious Red Velvet Cheesecake for a unique treat that is sure to impress!
What to Serve with No-Bake Greek Yogurt Jello Cheesecake
Imagine enjoying a velvety cheesecake paired with vibrant flavors that elevate your dessert experience to a whole new level!
- Fresh Berries: Bright and juicy, they add a burst of flavor that complements the creamy cheesecake, creating a refreshing finish.
- Mint-Infused Lemonade: This zesty drink balances the sweetness of the cheesecake and makes for a cooling beverage on warm days.
- Graham Cracker Crust: For those who love a crunch, a simple crumbled graham cracker crust provides the perfect texture contrast.
- Chocolate Drizzle: A silky chocolate sauce adds a rich note, enhancing the dessert’s sweetness and making it even more indulgent.
- Whipped Coconut Cream: Light and airy, this topping adds a tropical twist that pairs wonderfully with the yogurt cheesecake.
- Almond Biscotti: Crunchy and nutty, biscotti makes for an excellent cookie pairing, perfect for dipping into creamy bites.
- Chilled Herbal Tea: Refreshing and light, herbal tea serves as a soothing drink alongside your cheesecake for a perfect afternoon delight.
- Caramel Sauce: A drizzle of caramel adds a sweet, buttery flavor that can turn this light dessert into a decadent treat.
- Seasonal Fruit Salad: A mix of seasonal fruit not only adds color but enhances the freshness, creating a delightful contrast on your plate.
Yogurt Jello Cheesecake Recipe FAQs
What type of Greek yogurt should I use for this cheesecake?
Absolutely! For the best texture and flavor, choose full-fat Greek yogurt, which creates a rich and creamy base. If you’re looking for a lower-calorie option, fat-free Greek yogurt is also an excellent choice. Just avoid regular yogurt, as it will not yield the same satisfying texture.
How long can I store my Yogurt Jello Cheesecake in the fridge?
Keep your Yogurt Jello Cheesecake covered in the fridge for up to 3 days. It will stay fresh and maintain its creamy consistency, making it easy to grab a quick treat. Just ensure it’s in an airtight container to prevent it from absorbing any odors from the fridge.
Can I freeze the Yogurt Jello Cheesecake?
While I wouldn’t recommend freezing it because it can become grainy, if you need to, wrap it tightly in plastic wrap and then in aluminum foil. It can last in the freezer for about 1 month. To enjoy it, thaw it overnight in the fridge before serving, but be sure to check the texture after thawing.
What should I do if my cheesecake mixture is too thick?
No worries! If your mixture is too thick, simply stir in a splash of milk—just a tablespoon at a time—until you reach the desired creamy consistency. This should make your mixing smoother and easier, ensuring that your cheesecake sets perfectly.
Is this cheesecake suitable for those with allergies?
If you have guests with dietary restrictions, this Yogurt Jello Cheesecake can be made allergy-friendly! To accommodate those who are lactose intolerant or have dairy allergies, find a dairy-free Greek yogurt alternative. Additionally, check the pudding mix for allergens, as some brands may contain gluten or other potential allergens.
How can I ensure my cheesecake has a light texture?
To maintain that delightful light mousse-like texture, be sure to whisk the yogurt and pudding mix thoroughly until completely smooth. When folding in any extras like fruits or nuts, do so gently to avoid breaking them down too much. Finally, allow the cheesecake to chill for the full recommended time for optimum setting!
Creamy Yogurt Jello Cheesecake – No-Bake Easy Delight
Ingredients
Equipment
Method
- In a large mixing bowl, add the Greek yogurt and cheesecake pudding mix. Whisk until smooth and creamy, about 2 minutes.
- If too thick, stir in a splash of milk to adjust consistency. Add food coloring if using.
- Fold in fresh fruits and nuts as desired. Mix gently to keep texture.
- Pour into an airtight container or serving dish. Cover and refrigerate for at least 4 hours.
- Serve cold, garnished with additional fresh fruit or nuts.
Leave a Reply