
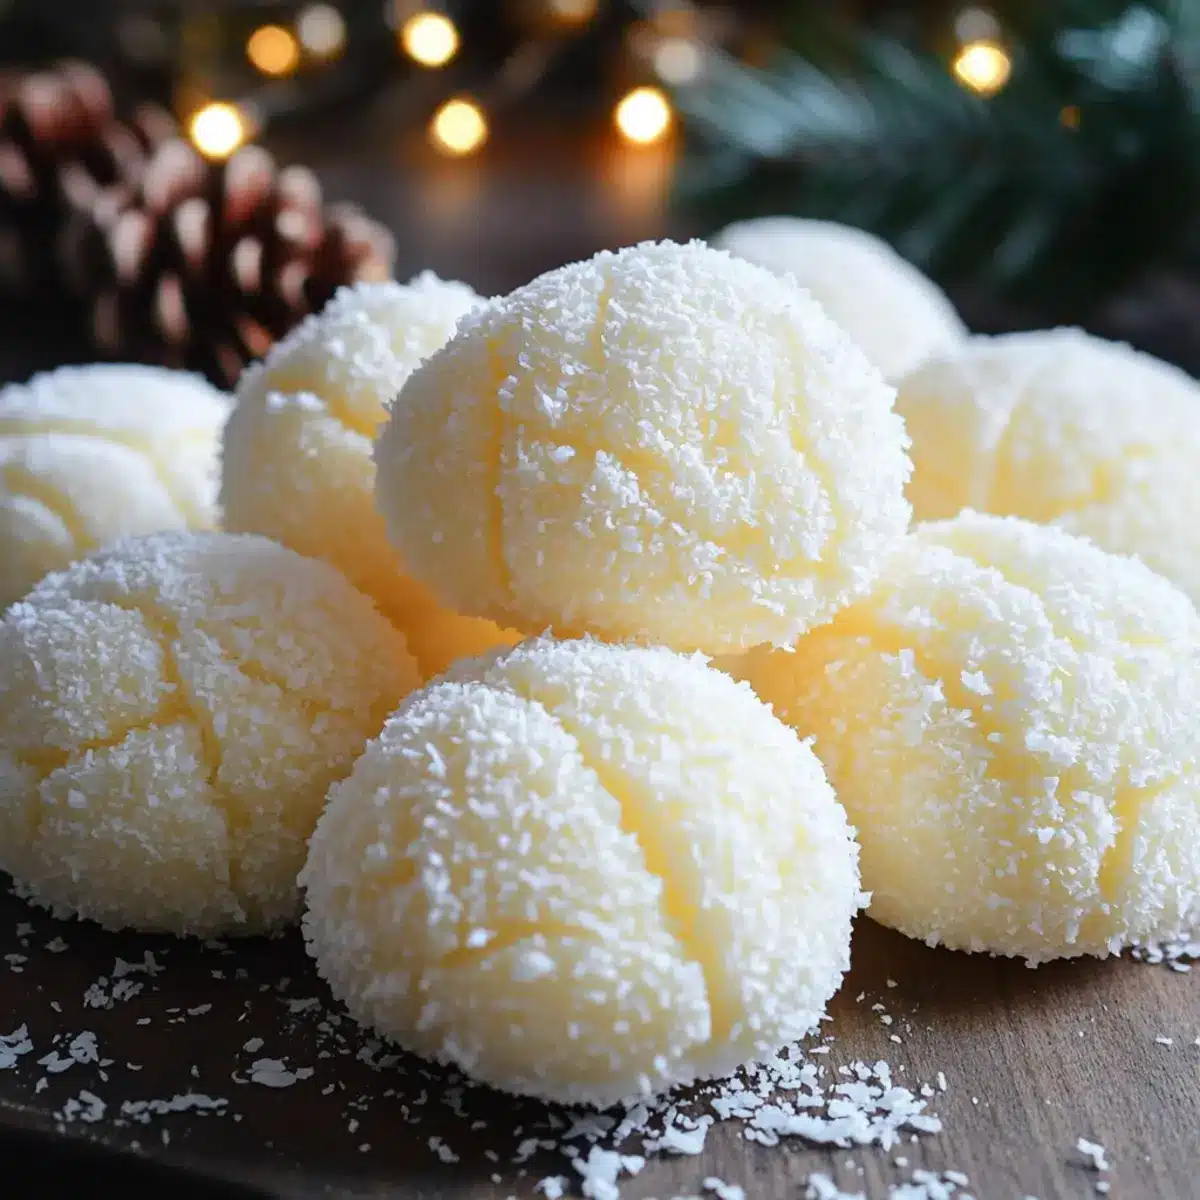
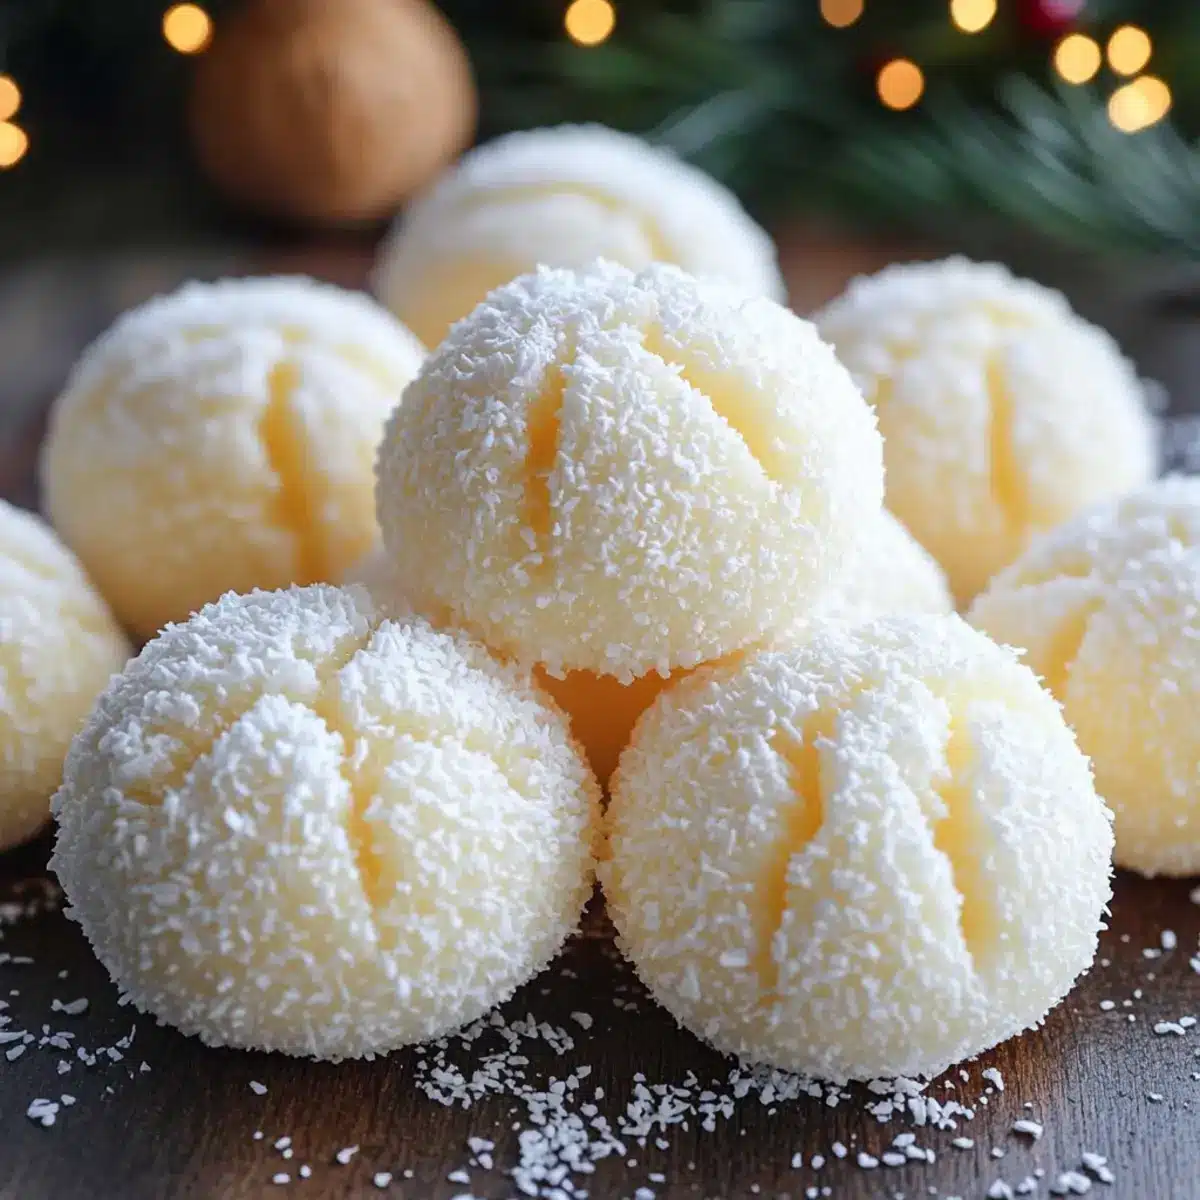
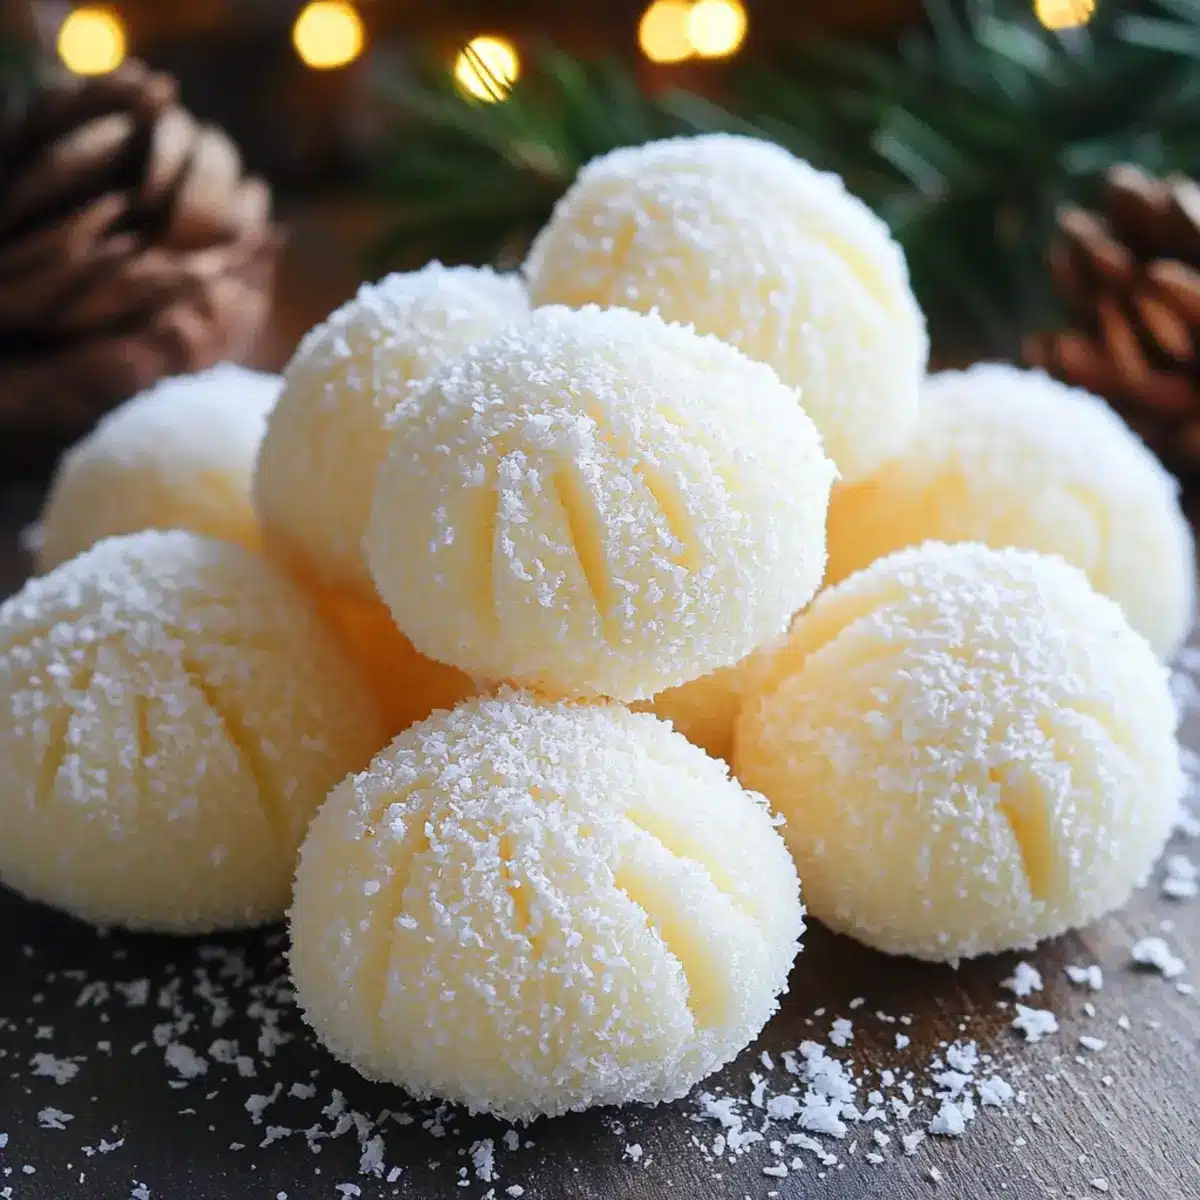
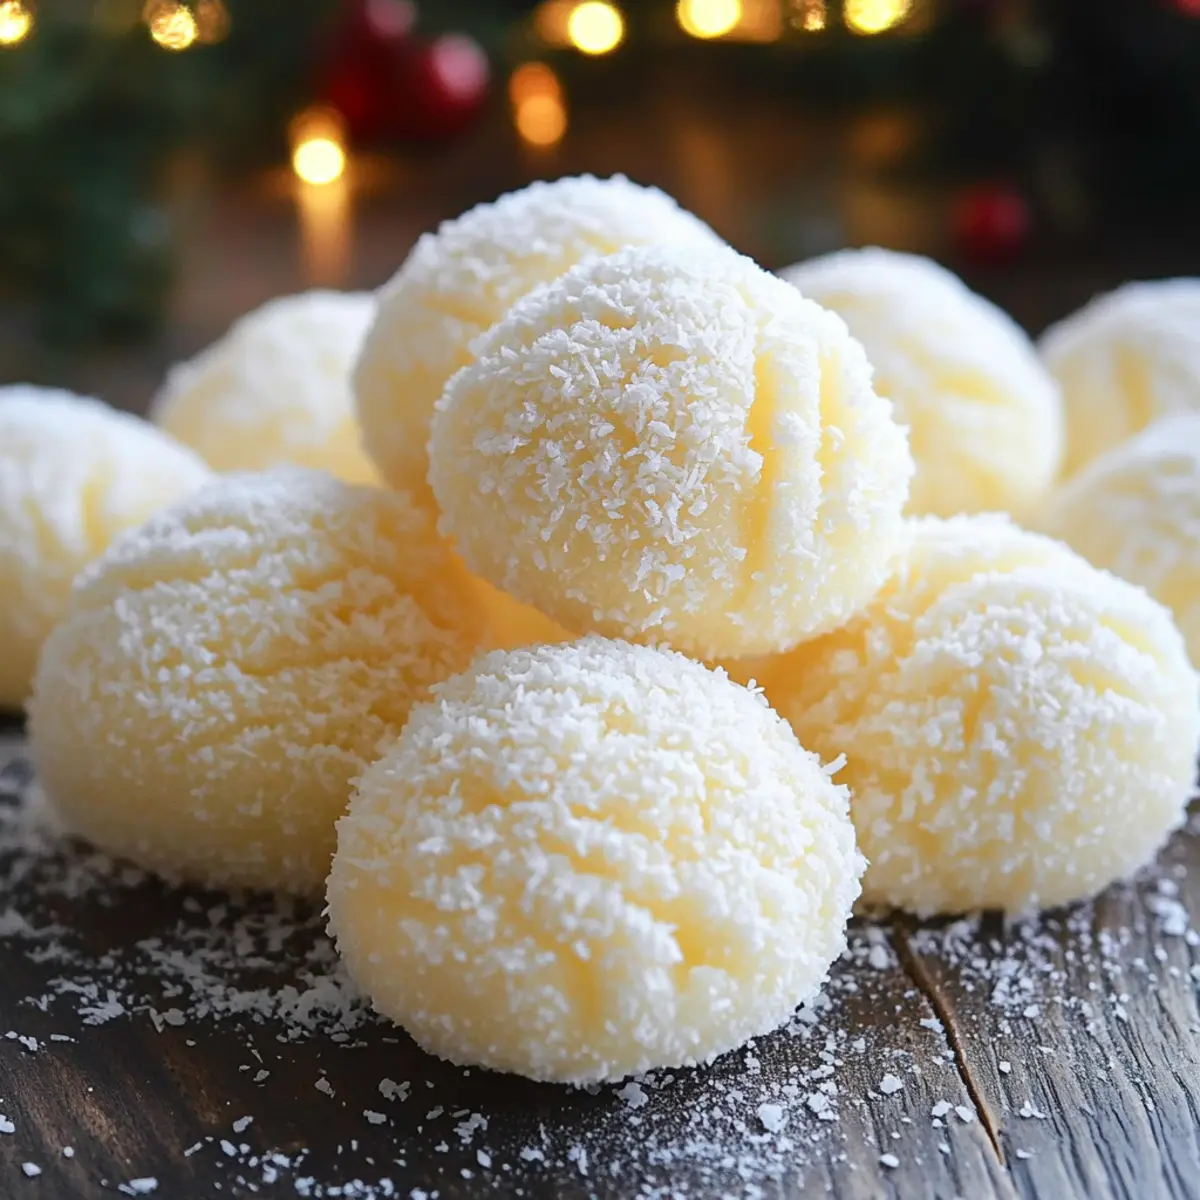
As I unwrapped the last few holiday gifts, the scent of coconut filled the air, instantly transporting me back to cozy family gatherings. It’s amazing how certain smells can anchor us in memories, isn’t it? That’s exactly the allure of my no-bake Sweetened Condensed Milk Snowballs. These festive treats are not just easy to whip up, they also turn simple pantry staples into creamy, chewy bites that evoke warmth and nostalgia. They make the perfect addition to any dessert platter, especially during the holiday season when sweet cravings abound. Plus, they’re a delightful crowd-pleaser, ensuring everyone leaves with a smile. Ready to discover the magic of these snowy delights? Let’s get rolling!
Why are Sweetened Condensed Milk Snowballs irresistible?
Creamy, Chewy Goodness: Each bite offers a delightful blend of textures, thanks to the combination of sweetened condensed milk and shredded coconut.
No-Bake Convenience: Quick and easy to prepare, you can whip up these snowballs in no time, making them perfect for those last-minute holiday gatherings.
Crowd-Pleasing Treat: These snowballs are sure to impress your family and friends, transforming any dessert table into a festive wonderland.
Versatile Flavor Options: Feel free to mix in chocolate chips or nuts to customize your snowballs, ensuring there’s something for everyone.
Storage-Friendly Delight: You can prepare these sweet treats ahead of time and store them in the fridge or freezer, making them a hassle-free holiday dessert—great to have on hand!
Embrace the nostalgia and magic of these Sweetened Condensed Milk Snowballs, a charming addition to your holiday festivities.
Sweetened Condensed Milk Snowballs Ingredients
For the Base
- Butter – Use unsalted butter for better flavor control in your Sweetened Condensed Milk Snowballs.
- Sweetened Condensed Milk – This creamy ingredient acts as the primary sweetener; if unavailable, substitute with evaporated milk mixed with sugar.
- All-Purpose Flour – Adds structure; opt for gluten-free flour if you need a gluten-free version.
- Baking Powder – Acts as a leavening agent to achieve a light and airy texture.
For Dusting
- Confectioners’ Sugar – Dust generously for sweetness; you can substitute it with a sugar alternative if reducing sugar.
For the Coating
- Shredded Coconut – Provides delightful texture and flavor; use sweetened for a sweeter treat or unsweetened based on your preference.
Enjoy making these Sweetened Condensed Milk Snowballs and cherish every delightful bite!
Step‑by‑Step Instructions for Sweetened Condensed Milk Snowballs
Step 1: Cream the Butter
In a mixing bowl, beat ½ cup of room temperature unsalted butter using an electric mixer on medium speed for about 3 minutes, or until it’s light and fluffy. You’ll know it’s ready when it has a pale yellow color and looks airy. This step is crucial for achieving the perfect texture in your Sweetened Condensed Milk Snowballs.
Step 2: Incorporate the Sweetened Condensed Milk
Gradually add 1 cup of sweetened condensed milk to the creamed butter, continuing to mix on medium speed for another 2 minutes. Ensure everything is well combined and creamy, with no lumps remaining. The mixture should be smooth and glossy, which is exactly what you want for these delightful no-bake snowballs.
Step 3: Achieve a Smooth Consistency
Scrape down the sides of the mixing bowl with a spatula to ensure all ingredients are incorporated. Beat the mixture for an additional 1 to 2 minutes until it reaches a perfectly smooth consistency. This step is essential for creating the enjoyable creamy mouthfeel of your Sweetened Condensed Milk Snowballs.
Step 4: Combine Dry Ingredients
In a separate bowl, whisk together 1 ½ cups of all-purpose flour and 1 teaspoon of baking powder. Gradually add this dry mixture to the wet ingredients, mixing until just combined. Be careful not to overmix; the dough should remain slightly lumpy. If desired, fold in any optional mix-ins like chocolate chips or nuts at this stage.
Step 5: Shape the Snowballs
Using a cookie scoop or your hands, form small, evenly sized mounds of dough (about 1 inch in diameter) and place them on a parchment-lined baking sheet. Make sure to leave a little space between each mound, as they will slightly expand. This step will help create beautifully rounded Sweetened Condensed Milk Snowballs.
Step 6: Cool and Dust
Allow the shaped snowballs to cool for about 30 minutes at room temperature, or until firm to the touch. Once cooled, transfer them to a wire rack and dust generously with confectioners’ sugar. This final touch not only adds sweetness but also gives your Sweetened Condensed Milk Snowballs that classic snowy appearance.
Expert Tips for Sweetened Condensed Milk Snowballs
-
Use Room Temperature Butter: Ensure your butter is softened to room temperature for the best creaming results. Cold butter will not mix properly, affecting the texture of your snowballs.
-
Avoid Overmixing: Once you add the flour, mix until just combined. Overmixing can result in tough snowballs instead of the light and chewy texture you desire.
-
Chill Before Dusting: After forming your snowballs, refrigerate them for at least 30 minutes before dusting with confectioners’ sugar. This helps them hold their shape better.
-
Use Parchment Paper: Line your baking sheets with parchment paper to prevent sticking. This also allows for easy cleanup and keeps your Sweetened Condensed Milk Snowballs intact.
-
Store Properly: To keep your snowballs fresh, store them in an airtight container in the refrigerator. They can last up to a week; freezing is also an option for longer storage.
Make Ahead Options
These Sweetened Condensed Milk Snowballs are a fantastic option for meal prep, saving you time during the busy holiday season! You can prepare the mixture up to 24 hours in advance; simply follow the first five steps of the recipe and refrigerate the dough in an airtight container. This helps to develop the flavors while keeping the snowballs fresh and delicious. When you’re ready to serve, simply scoop and shape the chilled dough, then cool and dust with confectioners’ sugar as instructed. For longer storage, you can freeze the shaped snowballs for up to 3 months; just be sure to layer them between parchment paper to prevent sticking. This way, you’ll have these delightful treats ready for any occasion with minimal effort!
Storage Tips for Sweetened Condensed Milk Snowballs
Fridge: Store the snowballs in an airtight container in the refrigerator for up to a week. Make sure to layer them with parchment paper to prevent sticking.
Freezer: If you want to keep them longer, freeze the Sweetened Condensed Milk Snowballs for up to 3 months. Place them in a single layer in a freezer-safe container or bag.
Thawing: To enjoy your frozen treats, simply transfer the desired amount to the fridge overnight for a gentle thaw. This helps maintain their texture and flavor.
Reheating: These snowballs are best served chilled, so no reheating is necessary. Just dust with extra confectioners’ sugar before serving if desired!
What to Serve with Easy No-Bake Sweetened Condensed Milk Snowballs
Elevate your dessert experience by pairing these delightful, creamy bites with complementary flavors that’ll leave your taste buds dancing.
-
Fresh Berries: The tartness of strawberries or raspberries cuts through the richness, adding a refreshing contrast that balances the sweetness beautifully.
-
Chocolate Sauce: A drizzle of warm chocolate sauce offers a luscious indulgence, enhancing the rich flavor of the snowballs with every decadent bite.
-
Whipped Cream: Light and airy whipped cream provides an ethereal touch that pairs perfectly with the chewy texture of the snowballs, making for a delightful mouthfeel.
-
Coconut Milk Ice Cream: This dairy-free dessert echoes the flavors of the snowballs while offering a cool, creamy scoop that both complements and contrasts.
-
Nutty Biscotti: Crunchy biscotti adds a delightful texture and nutty flavor, making for a great contrast to the creamy sweetness of your snowballs.
-
Spiced Chai Tea: Warming chai adds a comforting spice that balances sweetness, making it a cozy pairing for winter gatherings or holiday get-togethers.
Indulge in these combinations to create a delightful dessert spread that will leave everyone wanting just one more bite!
Sweetened Condensed Milk Snowballs Variations
Feel free to unleash your creativity and customize these sweet treats to suit your taste buds!
-
Nut-Free: Omit nuts or use seeds like sunflower or pumpkin seeds for texture without allergens. This way, everyone can enjoy them.
-
Dairy-Free: Substitute butter with coconut oil and use a dairy-free sweetened condensed milk alternative for a delightful vegan version.
-
Flavor Boost: Add a dash of cinnamon or nutmeg to the mixture for warming holiday spices. Just a little sprinkle can elevate the flavor profile.
-
Chocolate Lovers: Mix in mini chocolate chips or dip the finished snowballs in melted chocolate for an indulgent treat.
-
Tropical Twist: Swap out half the coconut for crushed pineapple for a zesty, fruity variation. This brings a fresh vibe and a burst of flavor.
-
Graham Crackers: Substitute shredded coconut with crushed graham crackers for a unique crunch and a nod to s’mores. Layering in flavors can create your own signature version!
-
Rum Extract: Enhance the nostalgia with a splash of rum extract for an adult twist, reminiscent of Caribbean desserts. It’s a fun way to change things up.
-
Double the Treat: Make half the batch with coconut and half with almonds for a delightful duo that caters to various palates. Everyone wins when there are choices!
Feel inspired? Try these variations and create a spread that reflects your unique flavor journey, whether it’s for a cozy family gathering or a festive holiday party.
Sweetened Condensed Milk Snowballs Recipe FAQs
What is the best way to select ripe ingredients?
Absolutely! When making your Sweetened Condensed Milk Snowballs, ensure you use fresh and quality ingredients. Choose sweetened condensed milk that is smooth and glossy, without any lumps or discoloration. For butter, look for unsalted varieties; it should be creamy and at room temperature for easier mixing.
How should I store Sweetened Condensed Milk Snowballs?
To keep your snowballs fresh, store them in an airtight container in the refrigerator for up to a week. Layer parchment paper between the snowballs to prevent sticking.
Can I freeze Sweetened Condensed Milk Snowballs?
Yes, you can freeze these delightful treats! Place them in a single layer in a freezer-safe container or bag, ensuring they don’t touch. They can last up to 3 months in the freezer. When you’re ready to enjoy them, simply transfer the desired amount to the fridge overnight to thaw, preserving their delicious texture and flavor.
What if my dough is too sticky or dry?
If your dough tends to be too sticky, it may be due to excess humidity or liquid in your sweetened condensed milk. You can gradually add a bit more flour, starting with a tablespoon at a time until you reach the desired consistency. Conversely, if the dough is too dry, try incorporating a little additional sweetened condensed milk until it’s workable again.
Are Sweetened Condensed Milk Snowballs safe for people with allergies?
When considering allergies, these snowballs contain dairy and gluten. If you’re accommodating dietary restrictions, you can substitute unsalted butter with a dairy-free option and use gluten-free flour. Always double-check your ingredients for hidden allergens, especially with sweeteners and flavorings.
Sweetened Condensed Milk Snowballs: A Chewy Holiday Treat
Ingredients
Equipment
Method
- In a mixing bowl, beat ½ cup of room temperature unsalted butter using an electric mixer on medium speed for about 3 minutes, or until it’s light and fluffy.
- Gradually add 1 cup of sweetened condensed milk to the creamed butter, mixing on medium speed for another 2 minutes.
- Scrape down the sides of the mixing bowl with a spatula, then beat the mixture for an additional 1 to 2 minutes until smooth.
- In a separate bowl, whisk together 1 ½ cups of all-purpose flour and 1 teaspoon of baking powder. Gradually mix this into the wet ingredients.
- Using a cookie scoop or your hands, form small mounds of dough and place them on a parchment-lined baking sheet.
- Allow snowballs to cool for about 30 minutes at room temperature, then dust generously with confectioners' sugar.
Leave a Reply