
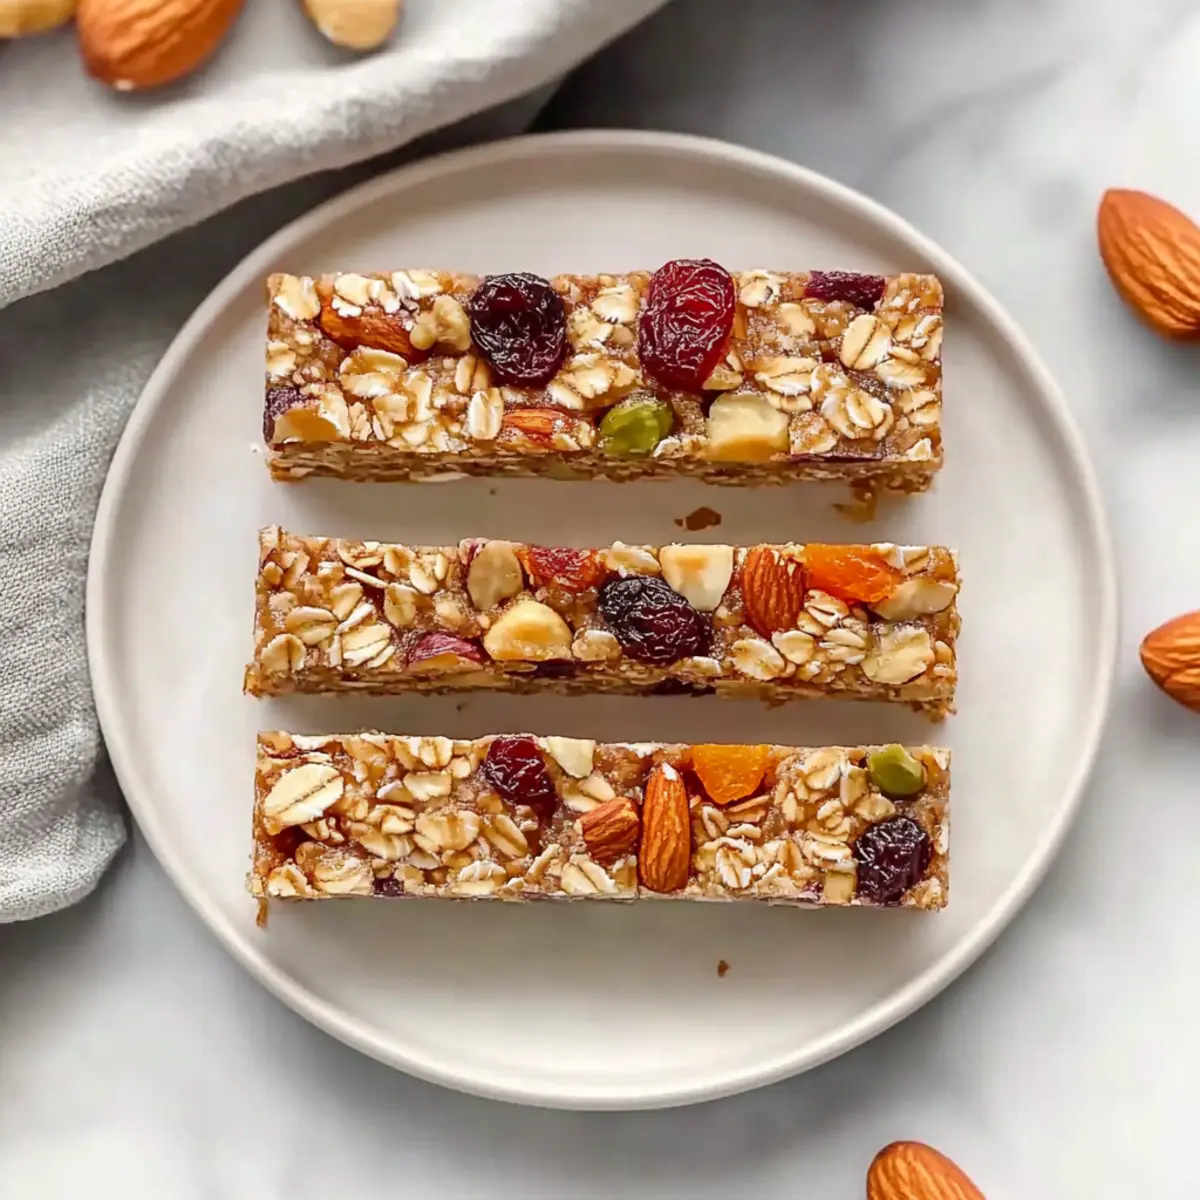
Staring into my pantry one rainy afternoon, I found myself on the brink of a snack emergency. With a craving for something sweet but nourishing, I quickly whipped up these Simple Fruit and Nut Bars, and let me tell you, they saved the day! Not only are they no-bake and easy to make, but these delightful bars are also a healthy snack option that you can customize to your taste. Packed with a chewy oat base, nutrient-rich dried fruits, and a satisfying crunch from mixed nuts, they are perfect for lunchboxes or an energy boost after a workout. The best part? You can make them ahead of time and keep them on hand for when those hunger pangs hit. Curious to see how simple this recipe can be? Let’s dive in!
Why Are These Bars a Must-Try?
Versatile and Customizable: You can tailor these Simple Fruit and Nut Bars to fit your unique taste preferences. Swap in your favorite nuts or dried fruits without missing a beat!
No-Bake Convenience: No oven? No problem! This recipe is all about simplicity, making it the perfect snack solution for busy days or quick meal prep.
Nutritious Goodness: Packed with wholesome ingredients, these bars are a healthy choice packed with fiber and healthy fats that keep you fuller longer—great for family lunches or post-workout recovery.
Quick and Easy: With just a handful of ingredients and minimal prep time, you can whip these up in no time. If you love quick homemade snacks, you’ll want to check out our Pecan Shortbread Bars for another delicious idea!
Crowd-Pleasing Flavor: These bars cater to both adults and kids alike, making them a go-to snack for everyone in the family. Snack feature alert! These bars are ready to become a family favorite.
Simple Fruit and Nut Bars Ingredients
For the Base
• Pitted Dates – The secret sweetener and binding agent; use Medjool for creaminess or soak Deglet Noor in water if they’re hard.
• Almond Butter – Adds richness and helps with structure; substitute with any nut or seed butter based on preference.
• Honey – Acts as a natural adhesive and sweetener; replace with agave or maple syrup for a vegan option.
• Vanilla Extract – A flavor enhancer; feel free to omit if you don’t have it on hand.
For the Crunch and Chew
• Rolled Oats – Essential for texture and depth; ensure they’re gluten-free if needed.
• Mixed Nuts (e.g., roasted almonds) – Provides protein and a delightful crunch; use your favorite nut combination!
• Dried Mixed Fruit – The chewy, sweet addition; opt for available options like apricots or cranberries for variation.
• Pumpkin Seeds – Boosts nutrition and adds extra crunch; can swap with sunflower seeds if desired.
Step‑by‑Step Instructions for Simple Fruit and Nut Bars
Step 1: Prepare the Baking Pan
Line an 8-inch square baking pan with a sheet of foil, allowing extra overhang on the sides for easy removal later. This simple prep step ensures your Simple Fruit and Nut Bars will lift out smoothly, making cutting and serving a breeze. Set the lined pan aside while you move on to the next preparation steps.
Step 2: Process the Dates
In a food processor, pulse the pitted dates until you achieve a sticky, chunky paste, practicing patience as this may take a minute. For the best texture, make sure the dates are soft; Medjool dates work splendidly without soaking. Once they reach the right consistency, scrape down the sides of the bowl to gather any stray pieces from the processing.
Step 3: Warm the Mixture
In a small pot over low heat, combine the almond butter, honey, and vanilla extract. Stir gently for about 1 minute until the mixture is smooth and well-combined, ensuring the honey is fully integrated. This warming process helps everything meld together and makes mixing with the dates easier. Once warmed, remove the pot from the heat and let it cool slightly.
Step 4: Mix the Base Ingredients
In a mixing bowl, combine the warm almond butter mixture with the processed dates. Stir thoroughly until the two components meld into a cohesive, sticky mass. Stay focused as you mix, ensuring that every part of the date paste is enveloped by that creamy, sweet almond butter—this will be the base of your delicious Simple Fruit and Nut Bars.
Step 5: Add Remaining Ingredients
Next, fold in the rolled oats, mixed nuts, and pumpkin seeds into the date mixture. Keep stirring until everything is evenly distributed, and there are no dry pockets remaining. The mix should have a delightful texture—sticky yet firm—ready to become chewy bars. This is your chance to customize: feel free to substitute any ingredients according to your taste!
Step 6: Press into the Pan
Transfer the mixture into the prepared baking pan. Using a spatula or your hands, press it firmly into an even layer, ensuring it fills the corners and edges. The tighter you pack it down, the better your Simple Fruit and Nut Bars will hold together once cut. Aim for a compact shape for the best final result.
Step 7: Chill and Cut
Place the pan in the freezer for about 30 minutes, allowing the mixture to firm up. This chilling step is crucial for easy cutting—it solidifies the bars so they hold their shape. Once firm, remove the pan from the freezer, grasp the overhanging foil, and carefully lift the entire slab out for cutting.
Step 8: Slice and Store
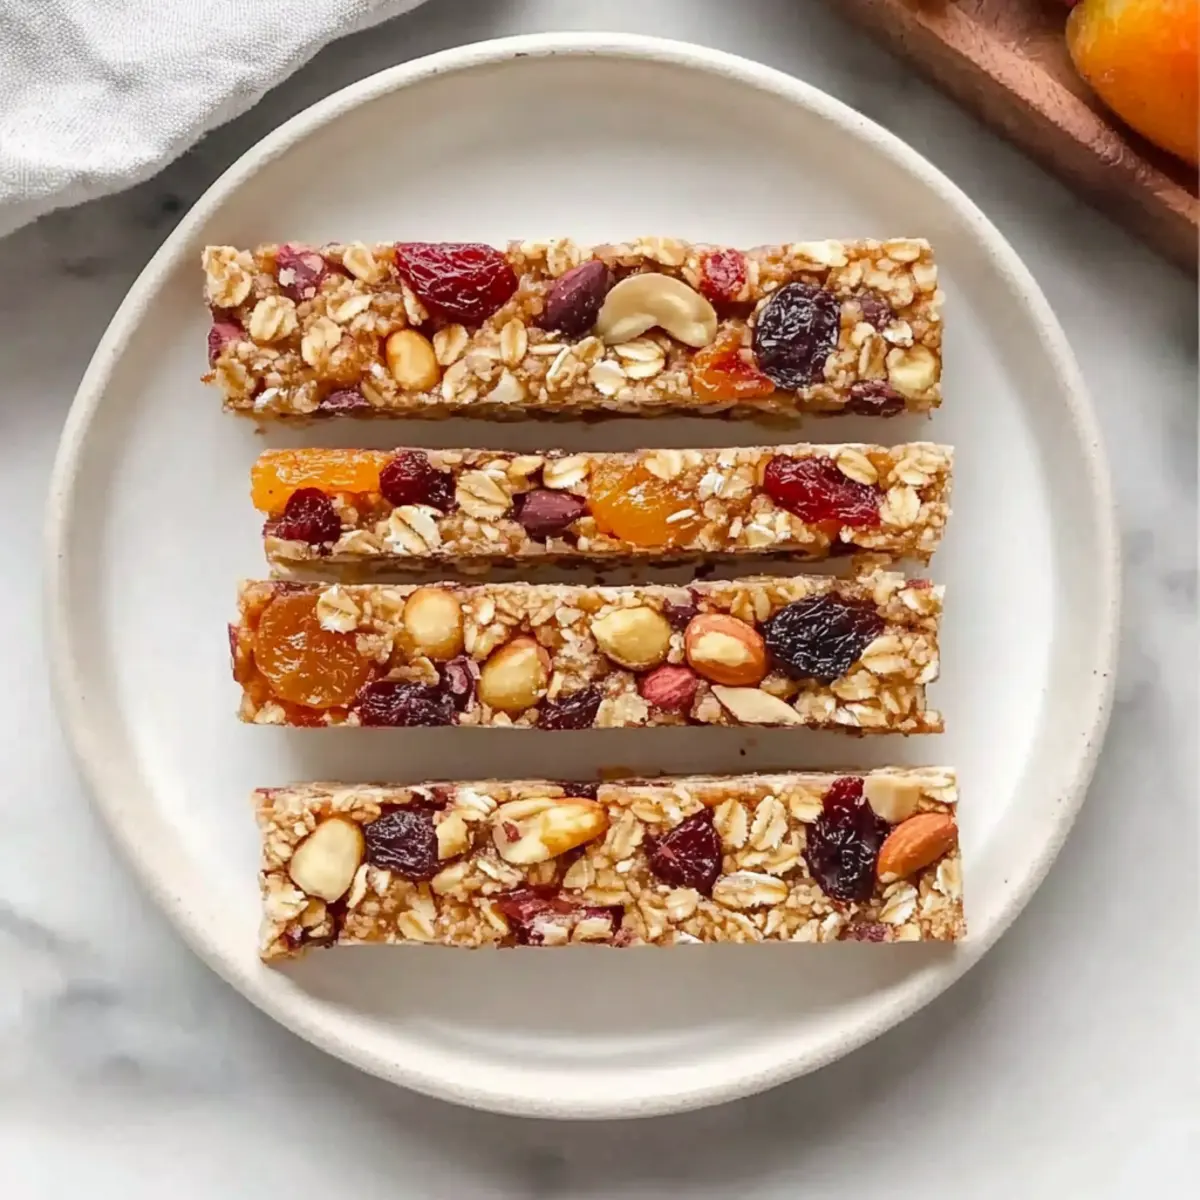
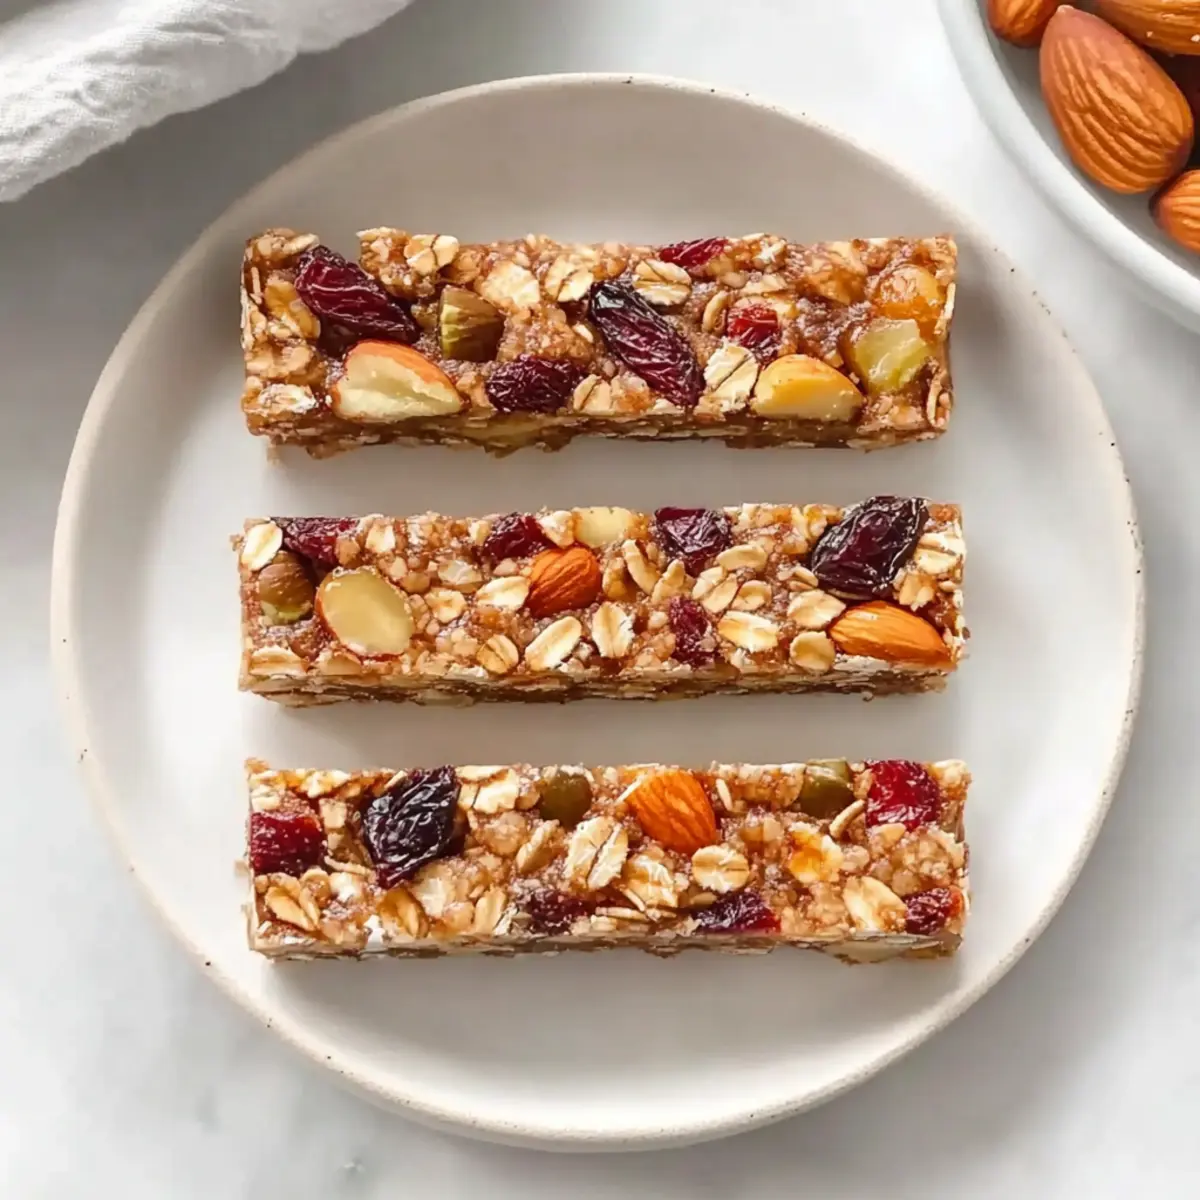
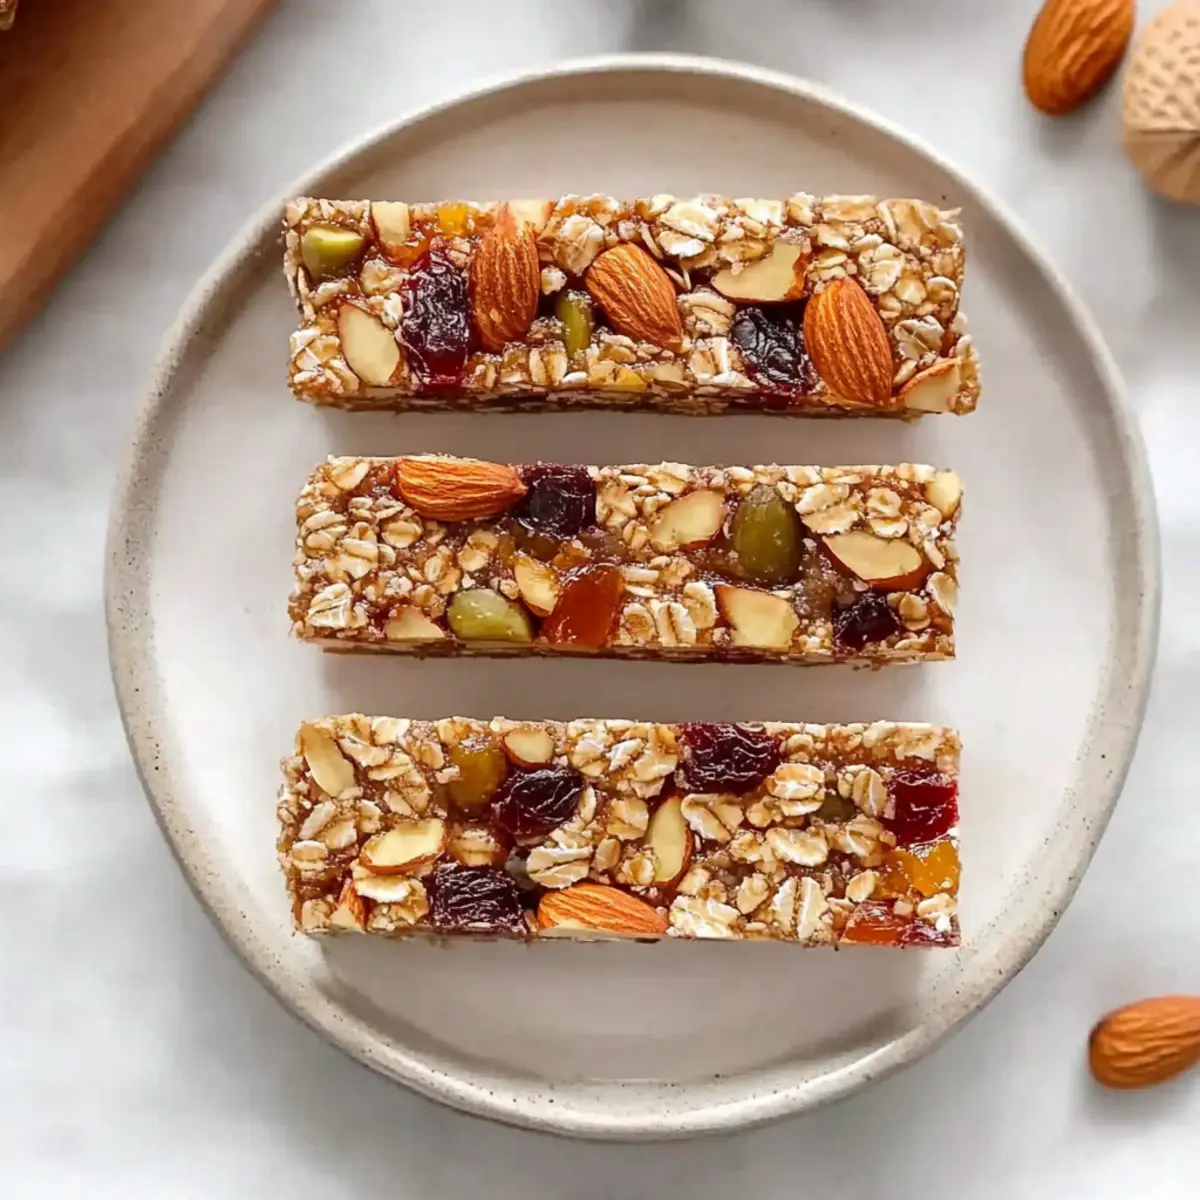
Using a sharp knife, cut the chilled slab into bars of your desired size. For clean cuts, you may dampen the knife between slices. These Simple Fruit and Nut Bars can be stored in an airtight container at room temperature for up to a week or refrigerated for even longer. Enjoy them as a quick snack, energy boost, or healthy lunchbox addition!
Make Ahead Options
These Simple Fruit and Nut Bars are perfect for meal prep, letting you save time for those busy days ahead! You can prepare the entire mixture up to 24 hours in advance; simply follow the steps up to the pressing stage and refrigerate it in the pan covered with plastic wrap. If you prefer making them even earlier, refrigerate the mixed ingredients for up to 3 days before pressing them into the pan to chill. When ready to enjoy, just press the mixture into your lined pan, freeze for 30 minutes, cut into bars, and you’ll have delicious snacks ready to delight your family at a moment’s notice! This way, they’ll be just as flavorful and fresh as if you made them the same day.
What to Serve with Ultimate No-Bake Fruit and Nut Bars
Looking to create a complete snack experience? Pair these wholesome bars with delightful accompaniments that elevate your munching moment.
-
Greek Yogurt: A smooth, creamy companion that adds a tangy contrast, perfect for dipping or topping your bars.
-
Fresh Fruit Slices: Crisp apple or juicy pear slices bring a refreshing balance, enhancing the natural sweetness of the bars.
-
Nutty Granola: Crunchy granola provides a satisfying contrast in texture, making for an energizing snack that adds extra fiber.
-
Smoothie Bowl: Team these bars with a smoothie bowl loaded with fruits and greens, offering a vibrant and nutritious meal option.
-
Herbal Tea: Enjoy with a warm cup of chamomile or peppermint tea, as the flavors blend beautifully for a relaxing afternoon break.
-
Dark Chocolate Squares: Indulge in a small piece of dark chocolate alongside your bars to satisfy those sweet cravings while adding antioxidants.
These pairings complement the chewy and crunchy textures of the Simple Fruit and Nut Bars, making for a delightful snacking experience!
Simple Fruit and Nut Bars Variations
Feel free to get creative and tailor these Simple Fruit and Nut Bars to match your cravings and dietary needs!
- Nut-Free: Swap mixed nuts with sunflower seeds or pepitas for a nut-free delight. This change maintains the crunch while focusing on seeds’ health benefits.
- Vegan Friendly: Use agave or maple syrup instead of honey for a fully vegan version that still sticks everything together beautifully.
- Protein Boost: Add a scoop of protein powder to the nut butter mixture for an extra nutritional punch, perfect as a post-workout snack!
- Flavor Twist: Try incorporating spices like cinnamon or nutmeg for added warmth and depth in flavor, transforming these bars into a cozy treat.
- Dried Fruit Variety: Mix up the dried fruits with options like figs or mango for a tropical version; it’s like taking a mini-vacation with every bite!
- Crunchy Texture: Add in toasted coconut flakes for a tropical crunch that pairs wonderfully with the sweetness of the bars. A little coconut goes a long way!
- Chocolate Lovers: Fold in dark chocolate chips or cacao nibs for a sweet, indulgent way to enjoy a healthier snack. Who says you can’t have chocolate?
- Enhanced Chewiness: Substituting half of the oats with crispy rice cereal grants a fun texture while keeping the bars deliciously chewy.
If you’re in the mood for more creative snacks, you might also enjoy our Brussels Sprouts Butternut for a savory treat or the delightful Maple Glazed Sprouts as a unique side dish!
Expert Tips for Simple Fruit and Nut Bars
Consistency Matters: Ensure your dates are well-processed into a smooth paste to avoid any crumbling in your Simple Fruit and Nut Bars.
Press Firmly: Pack the mixture tightly into the pan. A good press helps the bars hold their shape when cut, so they’re not falling apart.
Chilling is Key: Allow the bars to chill in the freezer for at least 30 minutes. This step ensures they firm up properly, yielding clean, perfect cuts.
Knife Tips: When slicing the bars, use a sharp knife and dampen it between cuts for clean edges. This way, you’ll enjoy aesthetically pleasing snacks every time.
Storage Solutions: Store your bars in an airtight container for optimal freshness, which is especially handy if you make a batch ahead of time for busy days.
Storage Tips for Simple Fruit and Nut Bars
Room Temperature: Keep the bars in an airtight container at room temperature for up to 1 week for a convenient and tasty on-the-go snack.
Fridge: For prolonged freshness, store your Simple Fruit and Nut Bars in the refrigerator, where they will stay fresh for up to 2 weeks, ensuring each bite is as delicious as the first.
Freezer: If you’ve made a larger batch, wrap individual bars tightly in plastic wrap and freeze for up to 3 months. Thaw in the fridge overnight before enjoying.
Reheating: These bars are best enjoyed chilled or at room temperature. No need to reheat, just grab one and savor the flavors!
Simple Fruit and Nut Bars Recipe FAQs
What kind of dates should I use for these bars?
You can use Medjool dates for their soft, creamy texture, making it easier to blend into a paste. If you’re working with firmer Deglet Noor dates, soak them in warm water for about 10 minutes to soften before processing.
How should I store the Simple Fruit and Nut Bars?
Keep your bars in an airtight container at room temperature for up to 1 week. For longer freshness, they can be stored in the refrigerator for up to 2 weeks. If you wish to make a larger batch, wrap individual bars tightly in plastic and freeze for up to 3 months.
Can I freeze the bars, and if so, how?
Absolutely! To freeze the Simple Fruit and Nut Bars, first, cut them into the desired size, then wrap each bar tightly in plastic wrap or place them in a freezer-safe container. They will stay fresh for about 3 months. To enjoy, simply thaw them in the fridge overnight.
What if my bars are too crumbly?
If your bars crumble when cutting, they might need a bit more moisture. Next time, ensure that the date paste is smooth and well-processed. You can also try adding a teaspoon of almond butter or honey to the mixture before pressing it into the pan to help bind it better.
Are there any allergy considerations to keep in mind?
These bars are easily customizable, making them suitable for various dietary needs. If you or your loved ones have nut allergies, you can substitute mixed nuts with seeds like sunflower seeds or pumpkin seeds. Just be sure to check ingredient labels for potential allergens if you’re using store-bought products.
Delicious Simple Fruit and Nut Bars for Anytime Snacking
Ingredients
Equipment
Method
- Prepare the Baking Pan: Line an 8-inch square baking pan with foil, allowing overhang for easy removal.
- Process the Dates: Pulse the pitted dates in a food processor until they form a sticky, chunky paste.
- Warm the Mixture: In a small pot over low heat, combine almond butter, honey, and vanilla extract, stirring until smooth.
- Mix the Base Ingredients: Combine the warm almond butter mixture with the processed dates until cohesive.
- Add Remaining Ingredients: Fold in oats, mixed nuts, and pumpkin seeds until evenly distributed.
- Press into the Pan: Transfer the mixture into the lined pan and press it firmly into an even layer.
- Chill and Cut: Place the pan in the freezer for about 30 minutes until firm.
- Slice and Store: Cut the slab into bars and store in an airtight container at room temperature for up to a week.
Leave a Reply