
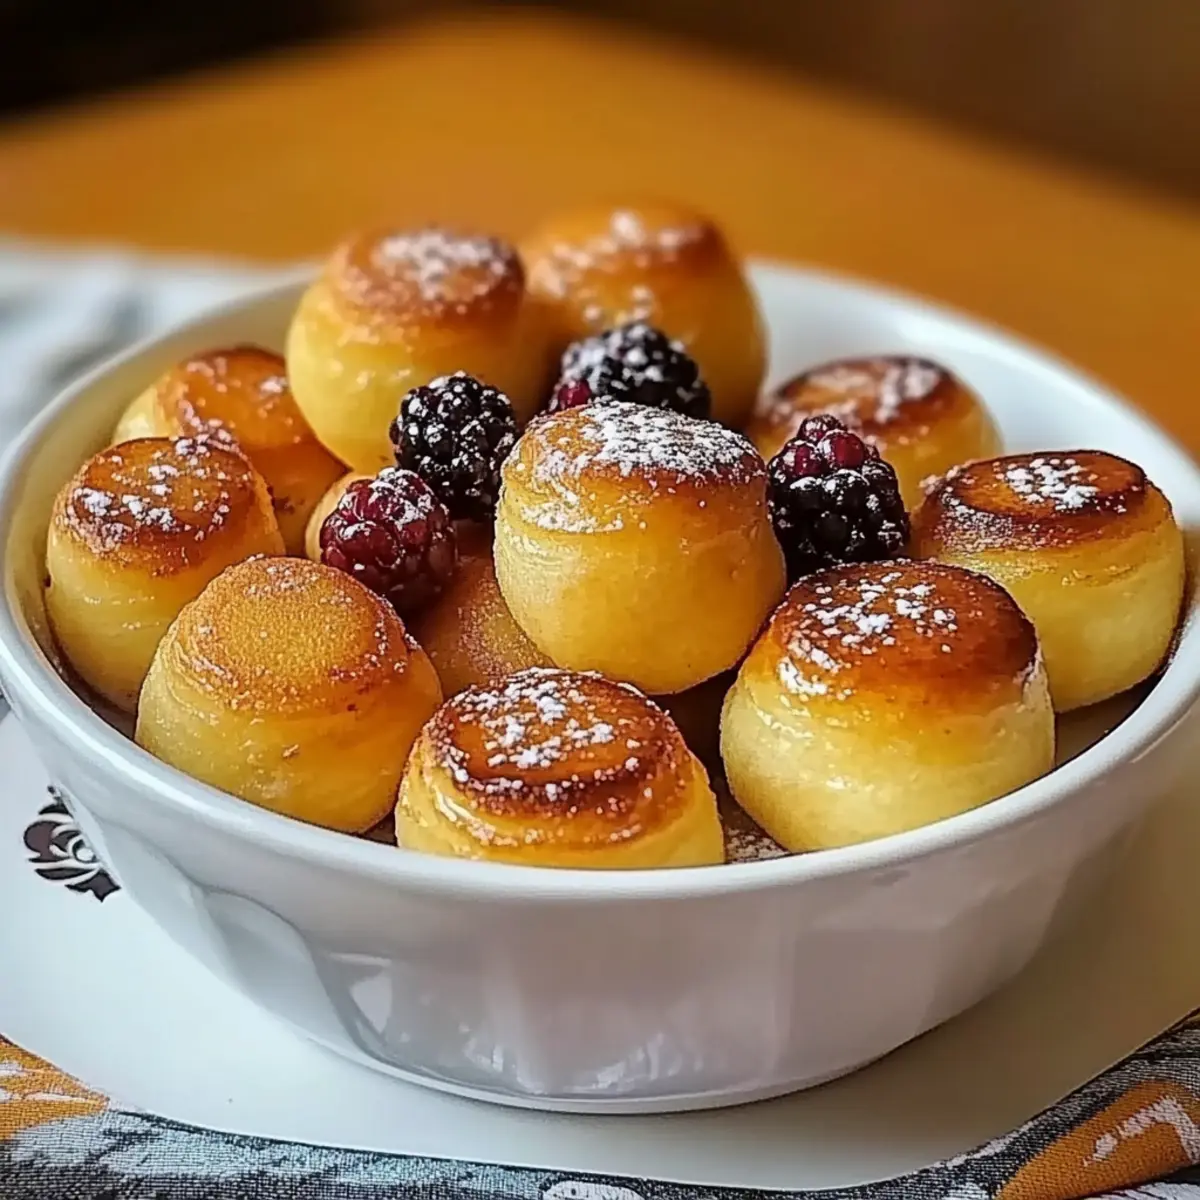
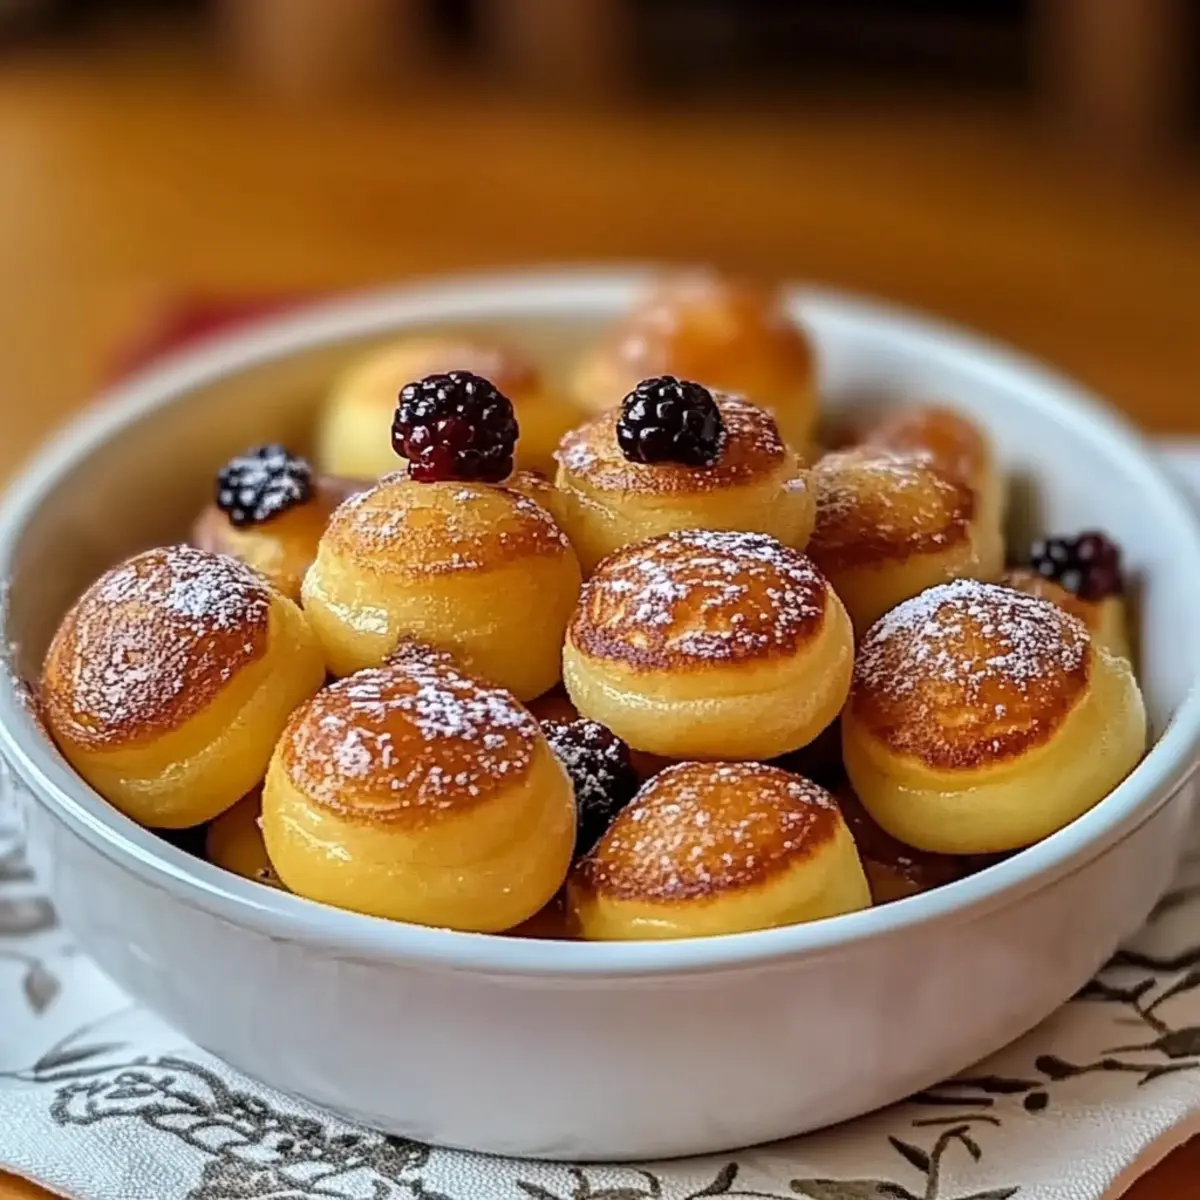
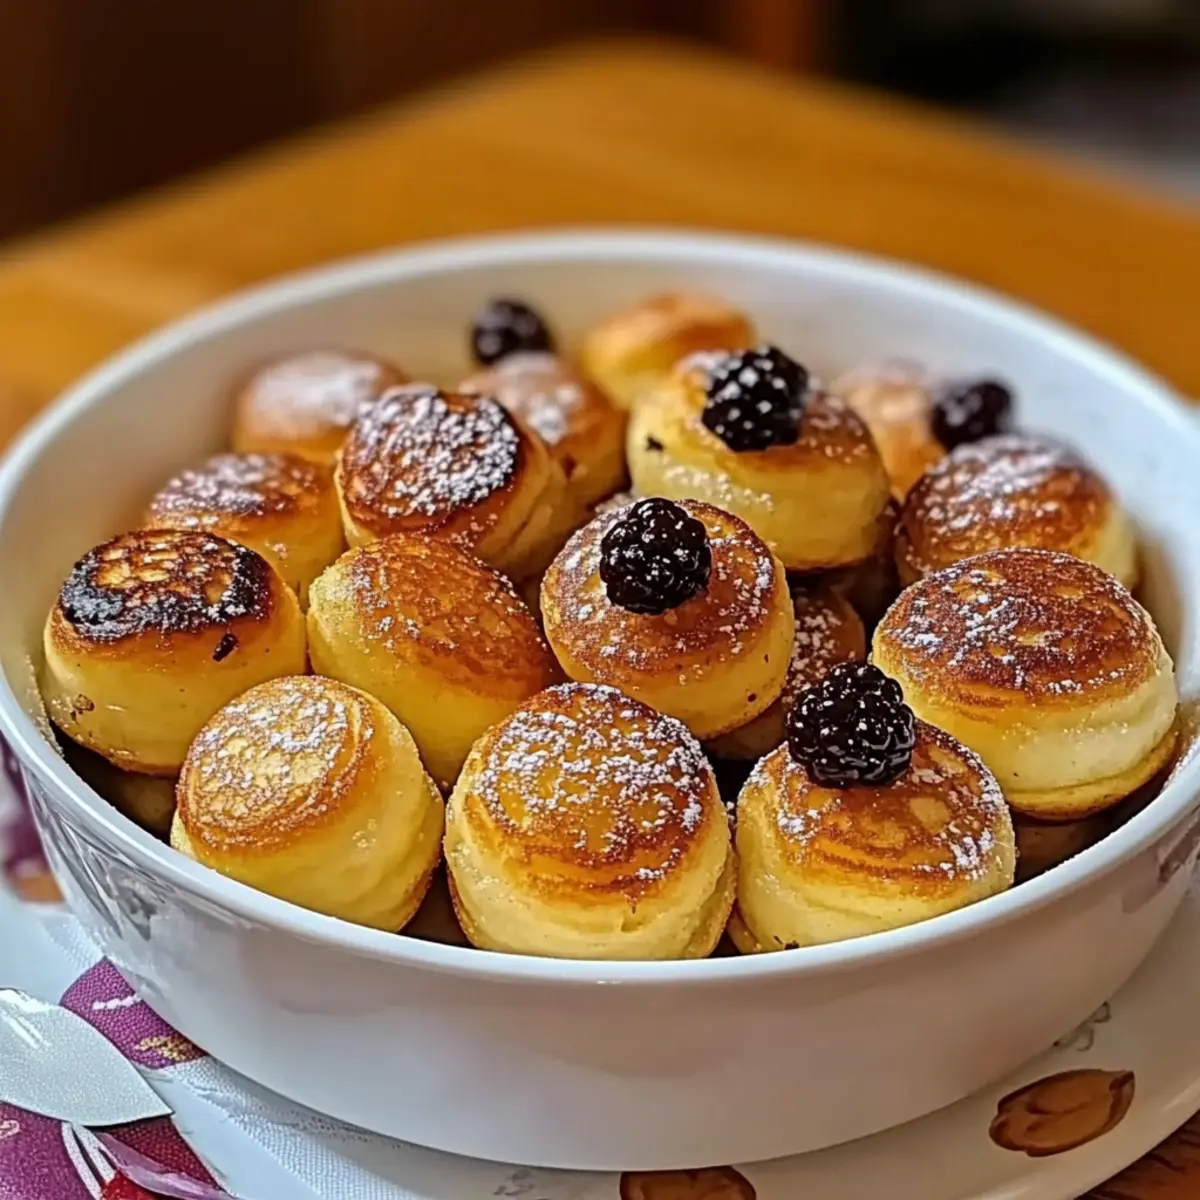
As I flipped the last pancake on a lazy Sunday morning, my eyes caught the delightful sight of tiny, golden rounds popping out of the oven—my new obsession: Pancake Poppers. These fluffy mini delights are not just adorable but also a versatile bite-sized breakfast that transforms your brunch table into a feast of flavors. Perfect for busy mornings, they whip up quickly and can be customized with your favorite mix-ins, whether it’s melted chocolate chips or fresh berries. Plus, the kid-friendly nature of these poppers makes them a hit for both tiny tots and adults alike. Imagine serving them with a drizzle of syrup or a dollop of whipped cream, turning any meal into a special occasion. Are you ready to flip your breakfast tradition on its head?
Why are Pancake Poppers a must-try?
Bite-Sized Bliss: These pancake poppers are perfect for those who adore quick, easy breakfasts without sacrificing flavor. Endless Customization: You can toss in chocolate chips, fruits, or even go savory with cheese—there’s truly something for everyone! Kid-Approved: They make breakfast fun for kids, satisfying even the pickiest eaters. Time-Saving Delight: Whip these up in under 30 minutes, perfect for busy mornings or unexpected brunch guests. Crowd Pleaser: Serve them at gatherings; they disappear fast when served with various dipping sauces like syrup or whipped cream, adding an interactive element to the meal. For a different take, don’t miss our Pancake Poppers Bites, which extend your breakfast options!
Pancake Poppers Ingredients
For the Batter
• All-Purpose Flour – Provides structure and a tender crumb; swap for whole wheat flour for a heartier texture or a gluten-free blend for a gluten-free version.
• Sugar – Adds sweetness; consider using honey or maple syrup for a natural sweetener.
• Baking Powder & Baking Soda – Essential leavening agents for fluffy pancake poppers; don’t skip these!
• Salt – Enhances flavor; essential for balancing sweetness.
• Buttermilk – Creates a light, airy batter; substitute with regular milk plus a dash of vinegar or lemon juice to replicate buttermilk.
• Eggs – Contributes richness and structure; integral to achieving the perfect consistency.
• Melted Butter – Adds moisture and slight crispness to the edges; use coconut oil or dairy-free alternatives if needed.
Bonus Mix-Ins (Optional)
• Chocolate Chips – Perfect for a sweet touch; add them for melty goodness in each popper.
• Berries – Fresh options like blueberries or strawberries can brighten flavor; toss them in for a fruity surprise.
• Nut Butter – Stir in for an added richness and nutty flavor; it makes for a delicious protein boost!
Now you’re all set to create these delightful Pancake Poppers that are sure to be a hit at any breakfast or brunch!
Step‑by‑Step Instructions for Pancake Poppers
Step 1: Preheat and Prepare
Begin by preheating your oven to 375°F (190°C) while you prepare your mini muffin tin. Grease each cup generously with cooking spray or melted butter to ensure the pancake poppers release easily after baking. This step is crucial for achieving that delightful golden-brown exterior.
Step 2: Whisk Dry Ingredients
In a large mixing bowl, combine 1 cup of all-purpose flour, 2 tablespoons of sugar, 1 teaspoon of baking powder, ½ teaspoon of baking soda, and a pinch of salt. Use a whisk to mix these ingredients thoroughly, ensuring even distribution of the leavening agents. This creates the perfect foundation for your pancake poppers to rise beautifully.
Step 3: Mix Wet Ingredients
In another bowl, mix together ½ cup of buttermilk, 1 large egg, 1 teaspoon of vanilla extract, and 3 tablespoons of melted butter until smooth. The mixture should be creamy and well-combined, with no lumps. This moist blend is essential to create those fluffy pancake poppers that melt in your mouth.
Step 4: Combine Wet and Dry Mixtures
Slowly pour the wet ingredients into the bowl with the dry ingredients. Gently fold the mixtures together using a spatula until just combined; be careful not to overmix. A few lumps are perfectly fine and ensure that your pancake poppers maintain a light, airy texture when baking.
Step 5: Fill Muffin Cups
Using a spoon or small scoop, gently fill each greased muffin cup about ¾ full with the pancake batter. If you choose to add any mix-ins, like chocolate chips or fresh berries, sprinkle them on top at this stage. This ensures that they’re evenly distributed throughout your delicious pancake poppers.
Step 6: Bake to Perfection
Place the filled muffin tin in the preheated oven and bake for 12-15 minutes. Keep an eye on them; they should turn a lovely golden color, and a toothpick inserted in the center should come out clean. This is the sign that your pancake poppers are perfectly cooked and ready to be enjoyed.
Step 7: Cool and Serve
Once baked, remove the muffin tin from the oven and allow the pancake poppers to cool for about 5 minutes. This helps them firm up slightly. Gently run a knife around the edges to loosen them before carefully removing each one. For an extra treat, dust with powdered sugar or drizzle with syrup before serving.
Make Ahead Options
These Pancake Poppers are a fantastic option for make-ahead meal prep, allowing you to savor a homemade breakfast even on your busiest mornings. You can prepare the batter up to 24 hours in advance by mixing the dry ingredients and storing them in an airtight container, and then keeping the wet ingredients separately in the refrigerator. When you’re ready to cook, simply combine them; this ensures the batter stays fresh and fluffy. Alternatively, you can bake the pancake poppers and refrigerate them for up to 3 days. To reheat, pop them in the microwave for a quick 15–20 seconds or in the oven at 350°F (175°C) for about 5 minutes, keeping them just as delicious as when they were freshly made!
Pancake Poppers Variations & Substitutions
Get creative and customize your pancake poppers with these fun and tasty ideas!
- Gluten-Free: Substitute all-purpose flour with a gluten-free blend for delicious, fluffy mini pancakes everyone can enjoy.
- Natural Sweetener: Replace sugar with honey or maple syrup for a healthier sweetness that enhances the flavor profile.
- Savory Delight: For a savory twist, omit sugar and add shredded cheese and herbs, creating a tasty brunch option that excites the palate.
- Fruit Fusion: Swap chocolate chips for diced fresh fruits like strawberries or bananas, bursting with flavor in every bite.
- Protein Boost: Stir in Greek yogurt or add a scoop of protein powder to the batter for an extra punch of nutrition!
- Mini Muffin Variations: Mix in pieces of nut butter for a delightful creaminess within your poppers; perfect for nut lovers.
- Flavor Punch: Experiment with spices like cinnamon or nutmeg for a warm, aromatic flavor that elevates your pancake poppers.
- Fun Toppings: Serve with an assortment of dips, such as maple syrup, fruit preserves, or whipped cream for an interactive and tasty brunch experience.
With these variations, your pancake poppers will be anything but ordinary! And if you’re ever in the mood for something different, check out our Pancake Poppers Bites for an exciting new take. Enjoy the delightful journey of flavors!
How to Store and Freeze Pancake Poppers
Fridge: Store cooled pancake poppers in an airtight container for up to 4 days. This keeps them fresh and ready for quick breakfasts or snacks.
Freezer: For longer storage, freeze pancake poppers in a single layer on a baking sheet, then transfer to a freezer bag for up to 3 months. This method prevents them from sticking together.
Reheating: To enjoy, simply microwave directly from the fridge or freezer. Heat for 30–60 seconds, ensuring they’re warmed through but not dried out.
Revitalize: For an extra touch, reheat in a toaster oven for a few minutes to regain that delightful crispiness on the outside while staying fluffy inside.
Expert Tips for Pancake Poppers
-
Prevent Overmixing: Combine wet and dry ingredients gently. Overmixing can result in dense pancake poppers, losing that desired fluffy texture.
-
Greasing Technique: Use melted butter to grease the muffin tin, ensuring easier release and a beautifully crisp exterior on your pancake poppers.
-
Let Batter Rest: Allow the batter to rest for 5 minutes before baking. This step enhances the final texture, making them even fluffier.
-
Custom Mix-Ins: Personalize your pancake poppers with thoughtful mix-ins! Chocolate chips, fruits, or spices can elevate the flavor; just ensure even distribution for uniform cooking.
-
Bake Time: Keep a close eye during baking! Each oven varies; check for a golden brown color and a clean toothpick to avoid under or overbaking your poppers.
-
Serving Suggestions: Elevate your serving experience by presenting pancake poppers with an array of dipping sauces like syrup, fruit preserves, or whipped cream, making breakfast a fun, interactive meal!
What to Serve with Fluffy Mini Pancake Poppers
Imagine the joy of a delicious breakfast, where each bite is a delightful surprise enveloped in sweetness and fluffiness.
- Maple Syrup: A classic companion that adds a rich sweetness, enhancing the poppers’ flavors with every drizzle.
- Whipped Cream: Light and airy, it pairs beautifully, offering a creamy counterbalance to the pancake poppers’ fluffy texture.
- Fresh Berries: Strawberries, blueberries, or raspberries introduce a burst of freshness and vibrant color, making your brunch visually stunning.
The combination of warm pancake poppers and freshly sliced berries will tantalize your senses.
- Greek Yogurt: Creamy and protein-packed, it adds a tangy twist, creating a satisfying contrast to the sweet pancake poppers.
- Nut Butter Dip: Whether creamy peanut or almond, a nut butter dip offers a rich and nutty flavor that makes each popper even more enjoyable.
- Fruit Preserves: Spread on top or served on the side, fruit preserves provide a sweet-tart layer that perfectly complements the richness of the pancakes.
For a festive touch, serve with sparkling juice or mimosas, turning your breakfast into a joyful celebration.

Pancake Poppers Recipe FAQs
How do I choose the right ripeness of fruits for my pancake poppers?
Absolutely! When selecting fruits like bananas or berries for your pancake poppers, opt for those that are ripe but not overly soft. Berries should be vibrant and firm, while bananas should have a few speckles but aren’t mushy. Slightly under-ripe fruits work well too, as they can add a nice texture and sweetness without being overly sugary.
How should I store leftover pancake poppers?
For optimal freshness, store cooled pancake poppers in an airtight container in the refrigerator for up to 4 days. Make sure they are completely cooled before sealing to prevent moisture buildup, which can lead to soggy poppers. They are perfect for a quick breakfast or snack and taste just as delightful the next day!
Can I freeze pancake poppers?
Very! To freeze them, first, place cooled pancake poppers in a single layer on a baking sheet and freeze for about 1-2 hours until solid. Then, transfer them to a freezer bag or airtight container for up to 3 months. This method prevents them from sticking together and keeps them in perfect condition for a quick breakfast later on.
What should I do if my pancake poppers turn out dense?
If you find your pancake poppers are dense, it’s likely due to overmixing the batter. Remember to mix until just combined! If you’ve done this, try adding a little more milk or buttermilk next time and allow the batter to rest for about 5 minutes. This will help create a lighter, fluffier texture.
Are pancake poppers safe for kids with food allergies?
Yes! You can make pancake poppers safe for kids with specific food allergies by choosing allergen-free substitutes. Use a gluten-free flour blend if gluten is a concern, and stick to dairy-free options like almond milk and coconut oil. Always check the labels of mix-ins like chocolate chips and nut butters to ensure they are free from allergens.
What’s the best way to reheat frozen pancake poppers?
For the best results, reheat your frozen pancake poppers directly from the freezer in the microwave for about 30-60 seconds or until warmed through. For a crisp exterior, consider using a toaster oven for a few minutes at 350°F (175°C). Just keep an eye on them to ensure they don’t dry out!
Pancake Poppers: Deliciously Fluffy Bites for Breakfast Bliss
Ingredients
Equipment
Method
- Preheat your oven to 375°F (190°C) and grease a mini muffin tin.
- In a bowl, whisk together the dry ingredients: flour, sugar, baking powder, baking soda, and salt.
- In another bowl, mix the wet ingredients: buttermilk, egg, vanilla extract, and melted butter until smooth.
- Combine the wet and dry mixtures gently, folding until just combined.
- Fill each muffin cup about ¾ full with the batter, adding mix-ins if desired.
- Bake for 12-15 minutes until golden and a toothpick comes out clean.
- Cool for 5 minutes, then remove from the tin and serve with syrup or powdered sugar.
Leave a Reply