
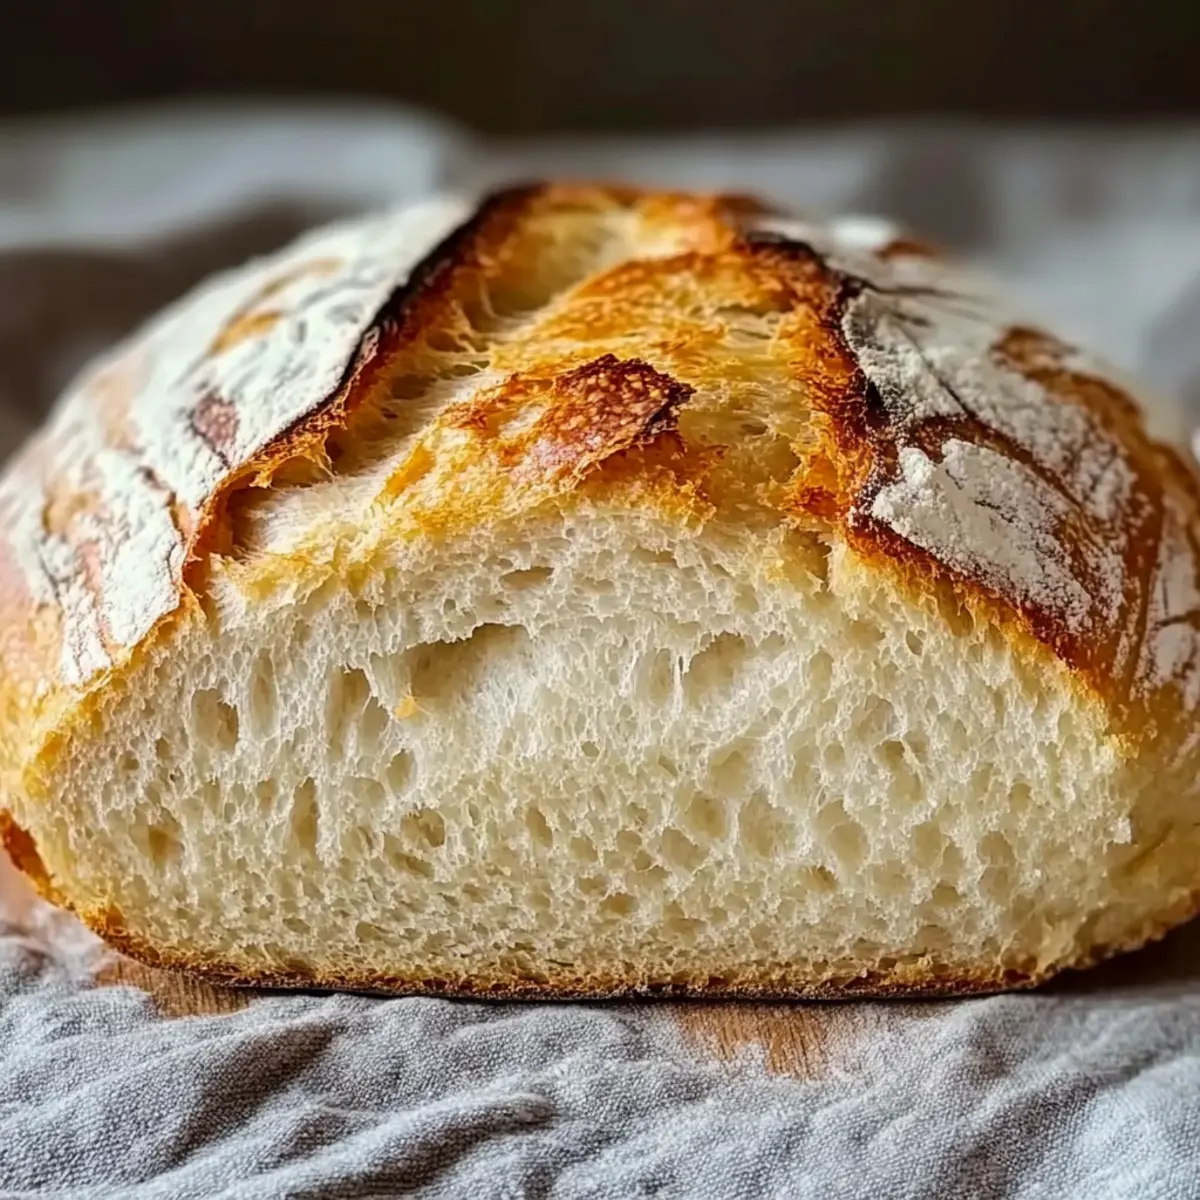
The scent of freshly baked bread wafting through your kitchen can instantly brighten any day. With my No Knead Gluten Free Bread, you can embrace this comforting aroma without breaking a sweat! This easy recipe is perfect for those embracing gluten-free diets and is a dream for anyone tired of complex bread-making techniques.
One of the best perks? It requires no kneading at all, allowing you to whip it up while sipping your morning coffee or helping the kids with homework. Plus, the crispy crust and soft, fluffy interior are sure to win over friends and family at any gathering.
So, whether you enjoy it warm with a slather of butter or as the base for your favorite sandwich, get ready to enjoy a homemade delight that’s gluten-free and utterly delicious! What delicious toppings will you pair with your bread?
Why Is This Bread So Special?
Simplicity: With a no-knead method, this bread makes baking a breeze.
Delicious Flavor: The combination of simple ingredients creates a mouthwatering, fragrant loaf that everyone will love.
Versatile: Use it as the perfect base for sandwiches, or enjoy it warm with butter and jam, making it suitable for any meal.
Quick Prep Time: You can mix the ingredients in just minutes and let the dough rise while you take care of other tasks, allowing for multitasking.
Crowd-Pleaser: Your family and friends will be impressed with your homemade gluten-free creation that rivals traditional bread—perfect for gatherings or cozy dinners!
Try serving this delightful bread alongside some hearty soup or even with a slice of Mini Pumpkin Bread for a comforting meal that everyone can enjoy!
No Knead Gluten Free Bread Ingredients
For the Bread
• Gluten Free All-Purpose Flour Blend – This forms the base, so choose a trusty store-bought blend for best results.
• Instant Yeast – This quick-acting yeast helps the No Knead Gluten Free Bread rise beautifully.
• Sea Salt – Enhances the overall flavor; can be substituted with table salt if on hand.
• Olive Oil – Adds moisture and richness; feel free to swap in melted butter for extra flavor.
• Sugar – This supports yeast activation and browning; honey is an excellent natural alternative.
• Warm Water – About 110°F (43°C) is ideal for activating the yeast effectively.
• Apple Cider Vinegar – Provides tang and improves texture; lemon juice works just as well.
Optional Add-Ins
• Seeds (e.g., sunflower, pumpkin) – Sprinkle in a handful for added nutrition and delightful crunch.
• Herbs (e.g., rosemary or thyme) – Infuse your bread with more flavor by adding fresh or dried herbs.
Step‑by‑Step Instructions for No Knead Gluten Free Bread
Step 1: Combine Dry Ingredients
In a large mixing bowl, whisk together 3 cups of gluten free all-purpose flour blend, 1 packet of instant yeast, 1 teaspoon of sea salt, and 1 tablespoon of sugar. Ensure that all dry ingredients are well mixed to promote even rising. This blend sets the foundation for your No Knead Gluten Free Bread, so take care to incorporate everything thoroughly.
Step 2: Mix in Wet Ingredients
Pour in 1 and 1/2 cups of warm water (about 110°F or 43°C), 2 tablespoons of olive oil, and 2 tablespoons of apple cider vinegar. Stir the mixture with a wooden spoon or spatula until a sticky dough forms. The dough should be glossy and slightly tacky to the touch, indicating that the wet ingredients have fully integrated with the dry.
Step 3: Let the Dough Rise
Cover the bowl tightly with plastic wrap or a clean kitchen towel, allowing it to rest at room temperature for about 1 hour. During this time, the dough will rise slightly and bubble, evidencing the yeast at work. This hands-off process is the beauty of the No Knead Gluten Free Bread, giving you time to enjoy a cozy moment.
Step 4: Preheat the Oven
While the dough is rising, preheat your oven to 425°F (220°C) and prepare a standard loaf pan by lining it with parchment paper. This step is crucial, as it ensures the pan is ready for your bread, allowing for a smooth transfer once the dough has risen adequately.
Step 5: Transfer the Dough
After the resting period, scrape the dough out of the bowl into the prepared loaf pan using a spatula. Gently smooth the top with the back of the spatula if needed. The dough will be somewhat rustic; don’t worry about perfecting its shape. This is part of the charm of your homemade No Knead Gluten Free Bread!
Step 6: Bake the Bread
Place the loaf pan in the preheated oven and bake for 55 to 60 minutes. Look for a golden-brown crust that feels firm to the touch. The bread should sound hollow when tapped on the bottom, an excellent indicator of its doneness. This step transforms your mixture into a beautiful loaf ready to be enjoyed.
Step 7: Cool and Slice
Remove the loaf from the oven and allow it to cool in the pan for about 10 minutes. After that, transfer it to a wire rack to cool completely. This cooling phase is essential for achieving the perfect texture—fluffy and airy on the inside and with that delightful crunchy crust that defines your No Knead Gluten Free Bread.
Expert Tips for No Knead Gluten Free Bread
-
Fresh Yeast: Ensure your instant yeast is fresh; expired yeast can lead to dense bread that doesn’t rise properly.
-
Sticky Dough: If the dough gets too sticky, either let it rest a bit longer for better consistency or use a greased spatula for easier handling.
-
Preheating Matters: Always preheat your oven before placing the loaf inside; this ensures that your No Knead Gluten Free Bread cooks evenly and develops that perfect golden crust.
-
Cooling for Texture: Allow the bread to cool completely on a wire rack. This step is crucial for the ideal fluffy interior and crunchy crust.
-
Proper Storage: Store leftover bread wrapped in a clean tea towel for a couple of days or slice and freeze with parchment paper between slices for longer freshness.
Make Ahead Options
Planning ahead with this No Knead Gluten Free Bread makes your weeknight meals a breeze! You can prepare the dough up to 24 hours in advance by mixing the dry ingredients and wet ingredients separately; combine them when you’re ready to bake. Just remember to let the mixture rest at room temperature until bubbly before transferring it to the loaf pan. To maintain its quality, cover the bowl tightly with plastic wrap or a clean kitchen towel. If you’re looking to save even more time, you can also bake the bread in advance and freeze it—just slice and wrap it with parchment paper between pieces for easy thawing. When you need a warm slice, simply pop it in the toaster or warm it in the oven, and you’ll have fresh, delicious gluten-free bread ready in minutes!
How to Store and Freeze No Knead Gluten Free Bread
Fridge: Keep the bread wrapped in a clean tea towel or a bread box for up to 2 days to maintain its freshness and prevent it from drying out.
Freezer: To store for longer, slice the bread and place parchment paper between the slices before wrapping tightly in plastic wrap. It can be frozen for up to 1 month.
Reheating: When ready to enjoy, thaw at room temperature and heat in the oven at 350°F (175°C) for about 10-15 minutes for that delightful crispy crust again.
Room Temperature: If consuming within a day, the No Knead Gluten Free Bread is best enjoyed fresh. Keep it in a cool, dry place, away from direct sunlight.
What to Serve with No Knead Gluten Free Bread
The delight of this fresh-baked loaf invites a symphony of flavors and textures to your table.
-
Creamy Tomato Soup: This classic pairing creates a comforting combination, with the rich flavors of the soup complementing the crunchy crust beautifully.
-
Garlic Herb Butter: Spread this joyful concoction on warm slices for a decadent treat. The aroma of garlic and herbs elevates each bite to sheer bliss.
-
Avocado Toast: Top your slices with smashed avocado, a sprinkle of salt, and a drizzle of olive oil for a fresh, vibrant meal that’s packed with nutrients. It’s both delightful and satisfying!
-
Mixed Green Salad: A light, crisp salad balances the hearty bread perfectly. Toss in seasonal vegetables, nuts, and a tangy vinaigrette for a refreshing contrast.
-
Honey or Jam: Serve with a side of honey or artisanal jam to experience a sweet treat. The combination of sweet and savory is a delightful way to enjoy your bread.
-
Savory Cheese Platter: Pair with cheeses like Brie or aged cheddar to delight your palate. The creamy texture and bold flavors create an elegant experience.
-
Warm Cocoa or Herbal Tea: Enjoy your bread with a steaming cup of cocoa or a soothing herbal tea. Both beverages provide a cozy comfort that enhances your at-home dining experience.
No Knead Gluten Free Bread Variations
Dive into a world of delightful possibilities with your No Knead Gluten Free Bread! Your kitchen is your canvas, so let’s unleash some fun flavor twists.
-
Seeds: Add a handful of sunflower or pumpkin seeds for a nutty crunch and extra nutrition.
-
Herbs: Toss in some fresh rosemary or thyme to infuse the bread with fragrant, earthy flavors that elevate every bite.
-
Apple Cider Vinegar Swap: Replace apple cider vinegar with lemon juice for a bright, refreshing taste. It’s a zesty twist that can lighten the bread beautifully!
-
Cheesy Delight: Fold in some grated cheese like Parmesan or cheddar before baking for a cheesy, savory variation the whole family will adore. It’s like a warm hug in a slice!
-
Spicy Kick: Craving heat? Add crushed red pepper flakes or jalapeños for a delightful spicy surprise that will make your taste buds dance.
-
Dried Fruit: Mix in dried cranberries or raisins for a touch of sweetness and texture that balances the savory components perfectly.
-
Nutty Variation: Stir in some ground flaxseed or finely chopped nuts to enhance the nutrition and give it a lovely texture. Each slice will be a little treasure!
-
Gluten-Free Cinnamon Raisin: Add cinnamon and raisins for a warm, sweet version that makes excellent toast for breakfast. It transforms the loaf into a treat everyone will want!
As you play with these variations, consider enjoying your bread with a touch of homemade jam or alongside a warm bowl of soup, perhaps even trying it with a slice of scrumptious Pecan Shortbread Bars for a sweet finish!
No Knead Gluten Free Bread Recipe FAQs
How do I choose the right gluten-free flour blend?
Absolutely! When selecting a gluten-free all-purpose flour blend, look for one that contains xanthan gum or guar gum as it helps to mimic the elasticity of gluten. If you’re unsure, a trusted brand like King Arthur or Bob’s Red Mill is always a good starting point.
How should I store No Knead Gluten Free Bread?
To maintain freshness, wrap your bread in a clean tea towel or store it in a bread box at room temperature for up to 2 days. If you want to keep it longer, slice the bread and place parchment paper between each slice, then wrap tightly with plastic wrap and freeze. It can last up to 1 month in the freezer.
Can I freeze No Knead Gluten Free Bread?
Yes, you can! After slicing the bread, place parchment paper between each slice to prevent them from sticking together. Then, wrap the entire loaf tightly in plastic wrap or aluminum foil and store it in the freezer for up to 1 month. When you’re ready, simply thaw at room temperature and reheat it in the oven at 350°F (175°C) for about 10-15 minutes.
What can I do if my dough didn’t rise?
If your dough doesn’t rise, it could be due to expired yeast or too cold of a room temperature. Always check the expiration date on your yeast, and ensure the water you use is warm (about 110°F or 43°C) to activate the yeast effectively. If faced with overly sticky dough, don’t rush the rising time; let it sit a bit longer to become fluffier.
Are there any dietary considerations for this bread?
Yes, the No Knead Gluten Free Bread is suitable for gluten-sensitive diets. However, always check the labels of your ingredients if you have allergies, like to certain seeds or vinegar varieties. For those with an egg allergy, rest assured this recipe is entirely egg-free.
What if I want to add additional flavorings to my bread?
You can enhance the flavor by incorporating a handful of seeds, such as sunflower or pumpkin, or fresh herbs like rosemary or thyme. Simply fold them into the dough after mixing in the wet ingredients to customize your No Knead Gluten Free Bread to your liking!
No Knead Gluten Free Bread: Your Easy Homemade Delight
Ingredients
Equipment
Method
- Combine dry ingredients: In a large bowl, whisk together gluten free all-purpose flour blend, instant yeast, sea salt, and sugar.
- Mix in wet ingredients: Pour in warm water, olive oil, and apple cider vinegar. Stir until a sticky dough forms.
- Let the dough rise: Cover the bowl with plastic wrap and let it rest for about 1 hour at room temperature.
- Preheat the oven: Preheat oven to 425°F (220°C) and line a loaf pan with parchment paper.
- Transfer the dough: Scrape the dough into the prepared loaf pan, smoothing the top if needed.
- Bake the bread: Bake for 55 to 60 minutes until golden brown and sounds hollow when tapped.
- Cool and slice: Allow to cool in the pan for 10 minutes, then transfer to wire rack to cool completely.
Leave a Reply