
As I sat down at my favorite sushi bar, the explosion of flavors and textures danced in my mind, making me crave that delightful experience at home. Kani Sushi, particularly these homemade spicy crab rolls, brings that very adventure to my kitchen. Crafted with creamy avocado and refreshing cucumber, this easy-to-make recipe is not just a quick dinner idea, but a joyful occasion to gather with loved ones. Plus, with every roll, you’ll discover how accessible sushi can be without compromising on taste. Are you ready to roll up some fun?
Why Is Kani Sushi So Irresistible?
Simplicity, this recipe is designed for home cooks of all levels, making sushi a breeze to prepare in your own kitchen. Flavor explosion, the savory combination of spicy crab, creamy avocado, and crunchy cucumber ensures every bite is a delightful experience. Quick and efficient, it’s a perfect weeknight dinner solution that can be made in under 30 minutes. Versatile filling options let you customize your rolls with everything from spicy tuna to vibrant veggies. Discover how easy it is to enjoy restaurant-quality sushi right at home with this easy kani sushi recipe.
Kani Sushi Ingredients
• Get ready to roll with these must-have components!
For the Sushi Rice
- Sushi Rice – Use short-grain uncooked sushi rice for the perfect sticky texture.
- Water – Necessary for cooking, ensuring the rice achieves the right consistency.
- Unseasoned Rice Vinegar – Adds necessary acidity; regular white vinegar can be substituted if needed.
- Granulated Sugar – A touch of sweetness to balance the tanginess of the vinegar.
- Salt – Enhances the overall flavor of the sushi rice.
For the Filling
- Imitation Crab Meat (Surimi) – This is the star of your Kani sushi, imitating crab flavor; real crab can be used if preferred.
- Kewpie Mayonnaise – Adds a creaminess that complements the crab perfectly.
- Sriracha – Adds a spicy kick; adjust to your taste preference.
- Lime Juice – Freshens up the filling with a zesty brightness.
- Sesame Oil – Provides an aromatic nutty flavor that enhances the filling.
For the Vegetables
- Avocado – Brings in a creamy, rich texture.
- Persian Cucumbers – Offers a refreshing crunch; you can substitute it with regular seedless cucumbers if necessary.
For Assembly
- Nori Sheets – Essential for wrapping; use properly cut or halved sheets for your rolls.
- Toasted Sesame Seeds (Black and White) – Perfect for garnishing and adding texture.
For Serving
- Soy Sauce – A classic sushi accompaniment that enhances flavor.
- Wasabi – Adds a pungent heat for those who enjoy a spicy kick.
- Pickled Ginger – Cleanses the palate between bites, making each flavor pop.
Step‑by‑Step Instructions for Kani Sushi
Step 1: Prepare Sushi Rice
Begin by rinsing 2 cups of short-grain sushi rice under cold water until the water runs clear. This removes excess starch. Next, combine the rinsed rice with 2 ½ cups of water in a rice cooker or pot. Cook on medium heat, bringing it to a gentle simmer for 18-20 minutes until the water is absorbed and the rice is tender and slightly sticky.
Step 2: Season Rice
While the sushi rice is cooking, mix ¼ cup unseasoned rice vinegar, 2 tablespoons granulated sugar, and 1 teaspoon salt in a small bowl. Once the rice is finished cooking, transfer it into a large bowl and gently fold in the vinegar mixture while the rice is still warm. Use a wooden spatula to avoid smashing the grains, ensuring a well-seasoned rice for your kani sushi.
Step 3: Make Filling
In a mixing bowl, finely chop 8 ounces of imitation crab meat. Add in 3 tablespoons of Kewpie mayonnaise, 1 tablespoon of sriracha (or to taste), 1 tablespoon of fresh lime juice, and 1 teaspoon of sesame oil. Mix all ingredients thoroughly until the crab is well-coated and the filling has a creamy texture, ready to enhance the delicious kani sushi rolls.
Step 4: Prepare Vegetables
Slice 1 ripe avocado in half, remove the pit, and cut into thin strips. Next, take 1 or 2 Persian cucumbers, slicing them into matchstick-sized pieces. These fresh vegetables will add a lovely crunch and creaminess to your kani sushi rolls, providing a delightful contrast to the savory crab filling.
Step 5: Assemble Sushi
On a bamboo sushi mat, place a sheet of nori, shiny side down. Wet your hands with water to keep the sushi rice from sticking. Take a handful of seasoned sushi rice and evenly spread it over the nori, leaving about an inch at the top. Layer a generous portion of the crab filling, along with cucumber and avocado strips, along the bottom of the rice.
Step 6: Roll Sushi
Using the bamboo mat, gently start rolling from the bottom, tucking in the fillings securely. Keep the roll tight but not overly compressed, using light pressure. Continue to roll until the exposed edge of the nori is reached, applying a bit of water to seal the roll. This step ensures your kani sushi rolls hold their shape and have that perfect presentation.
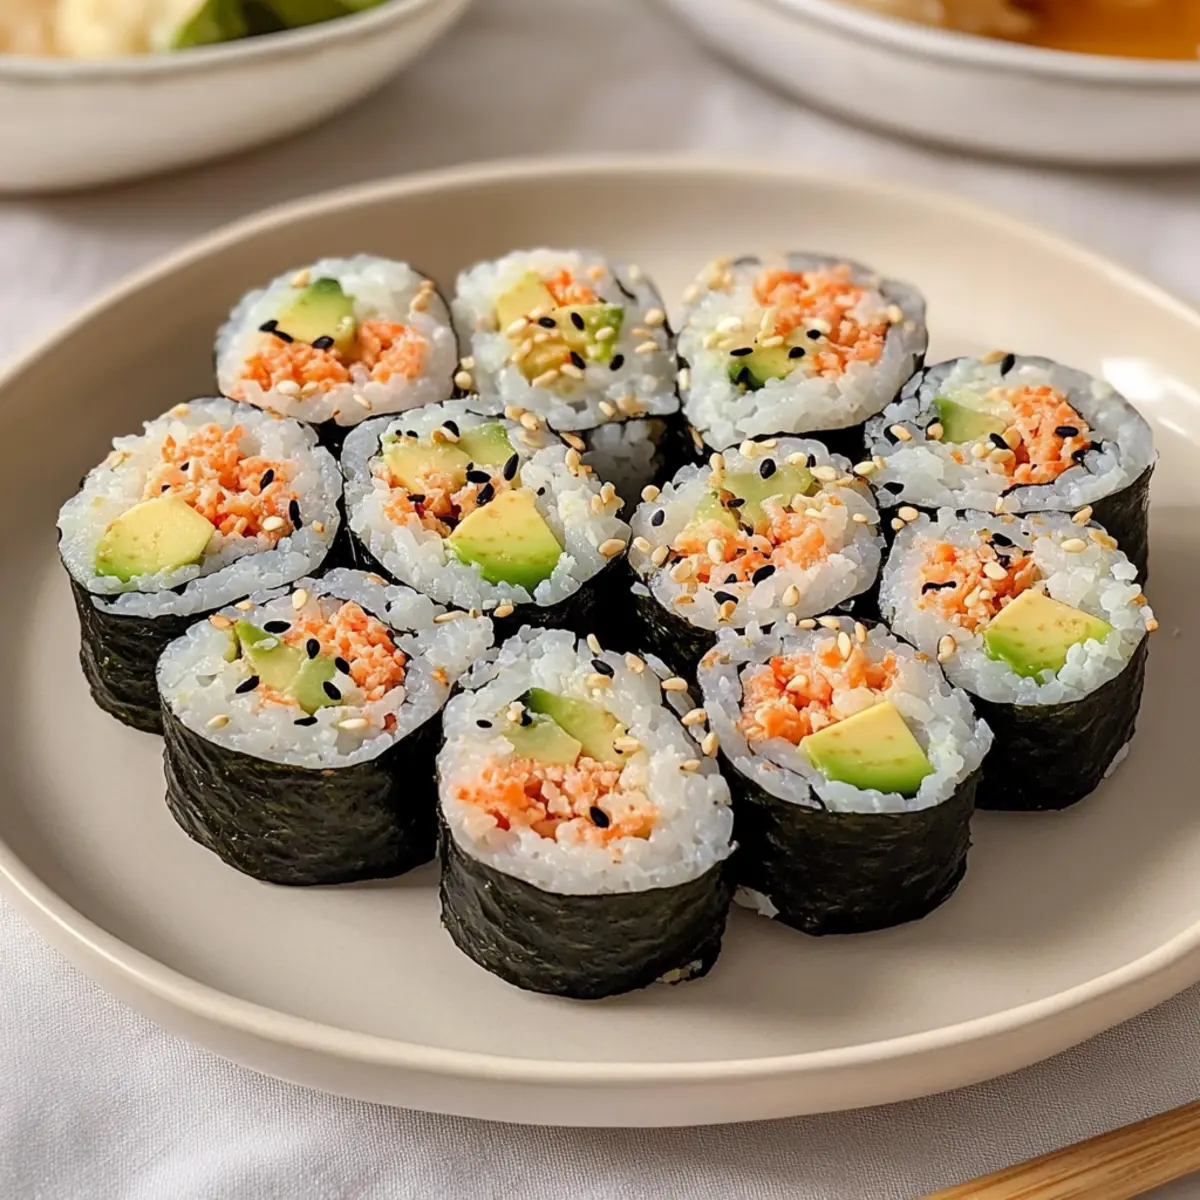
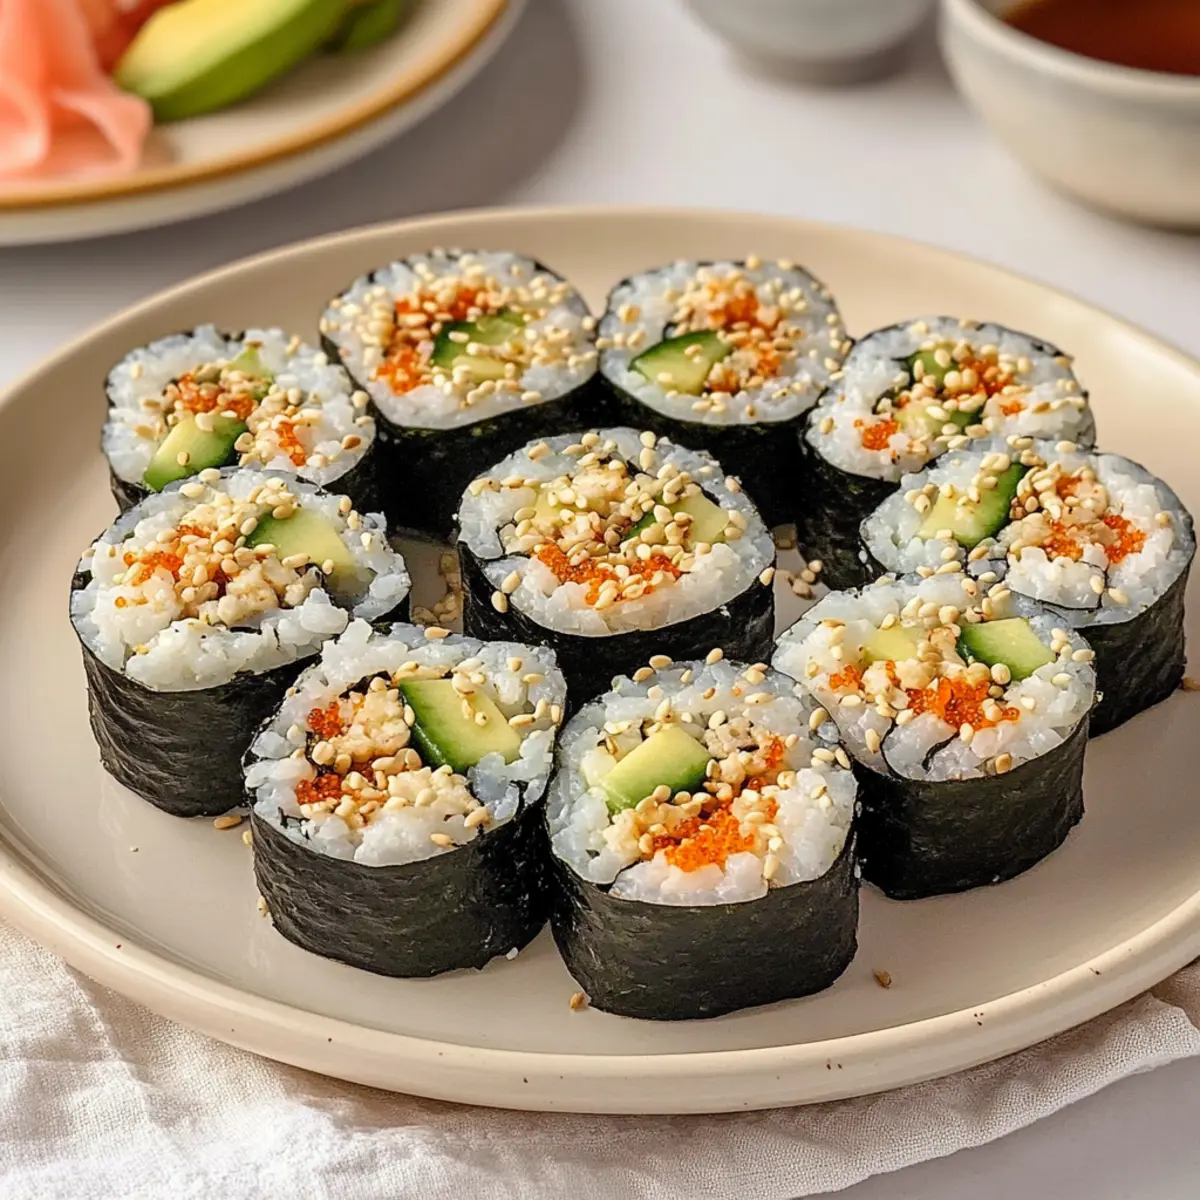
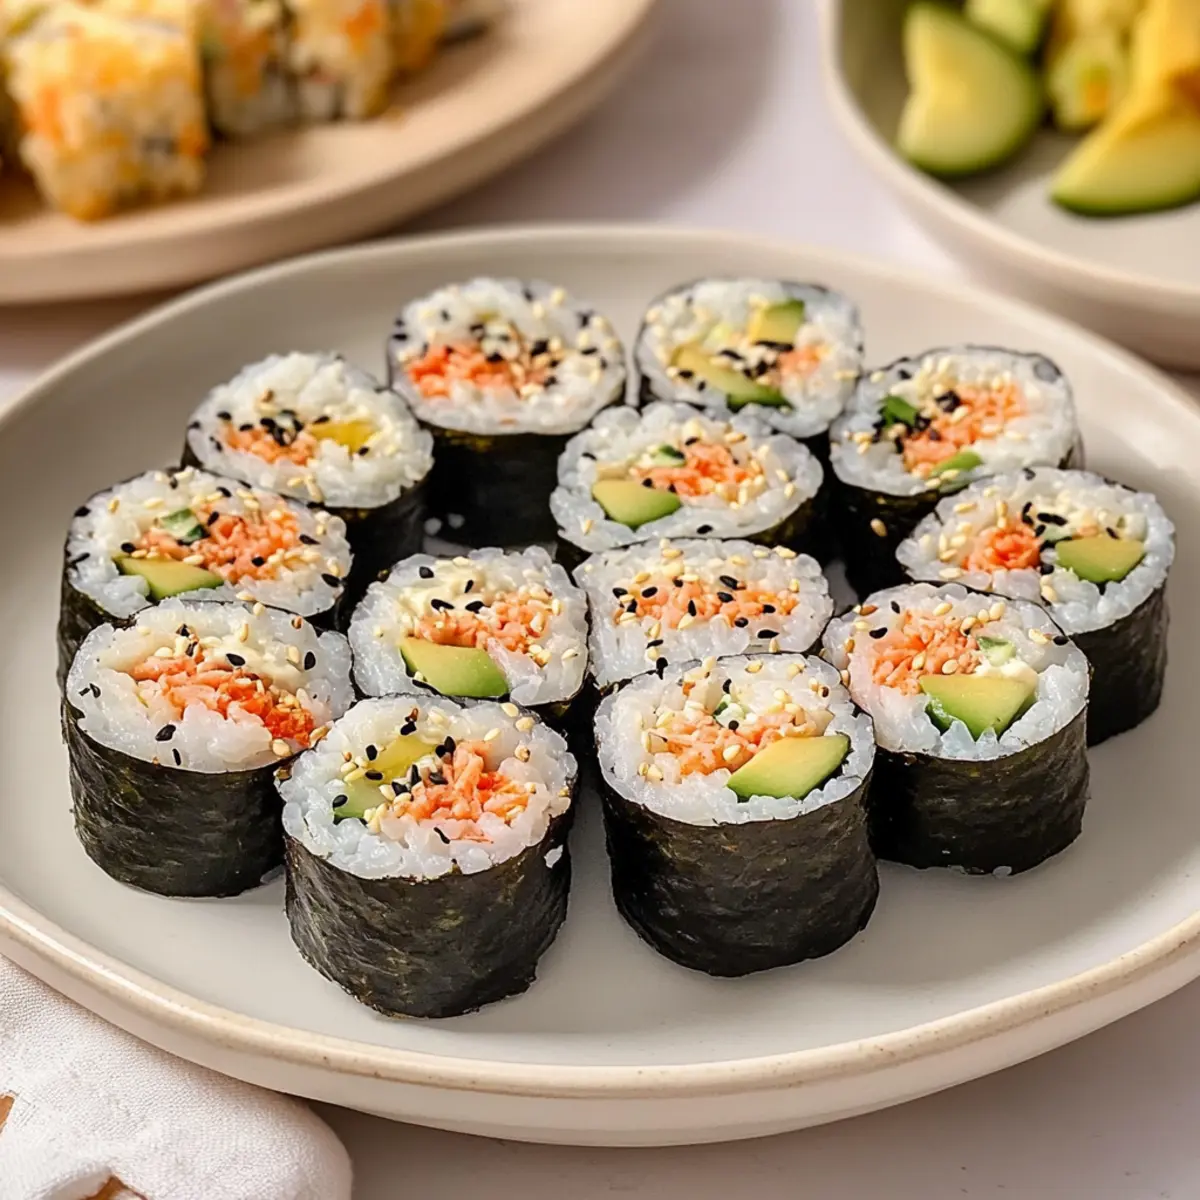
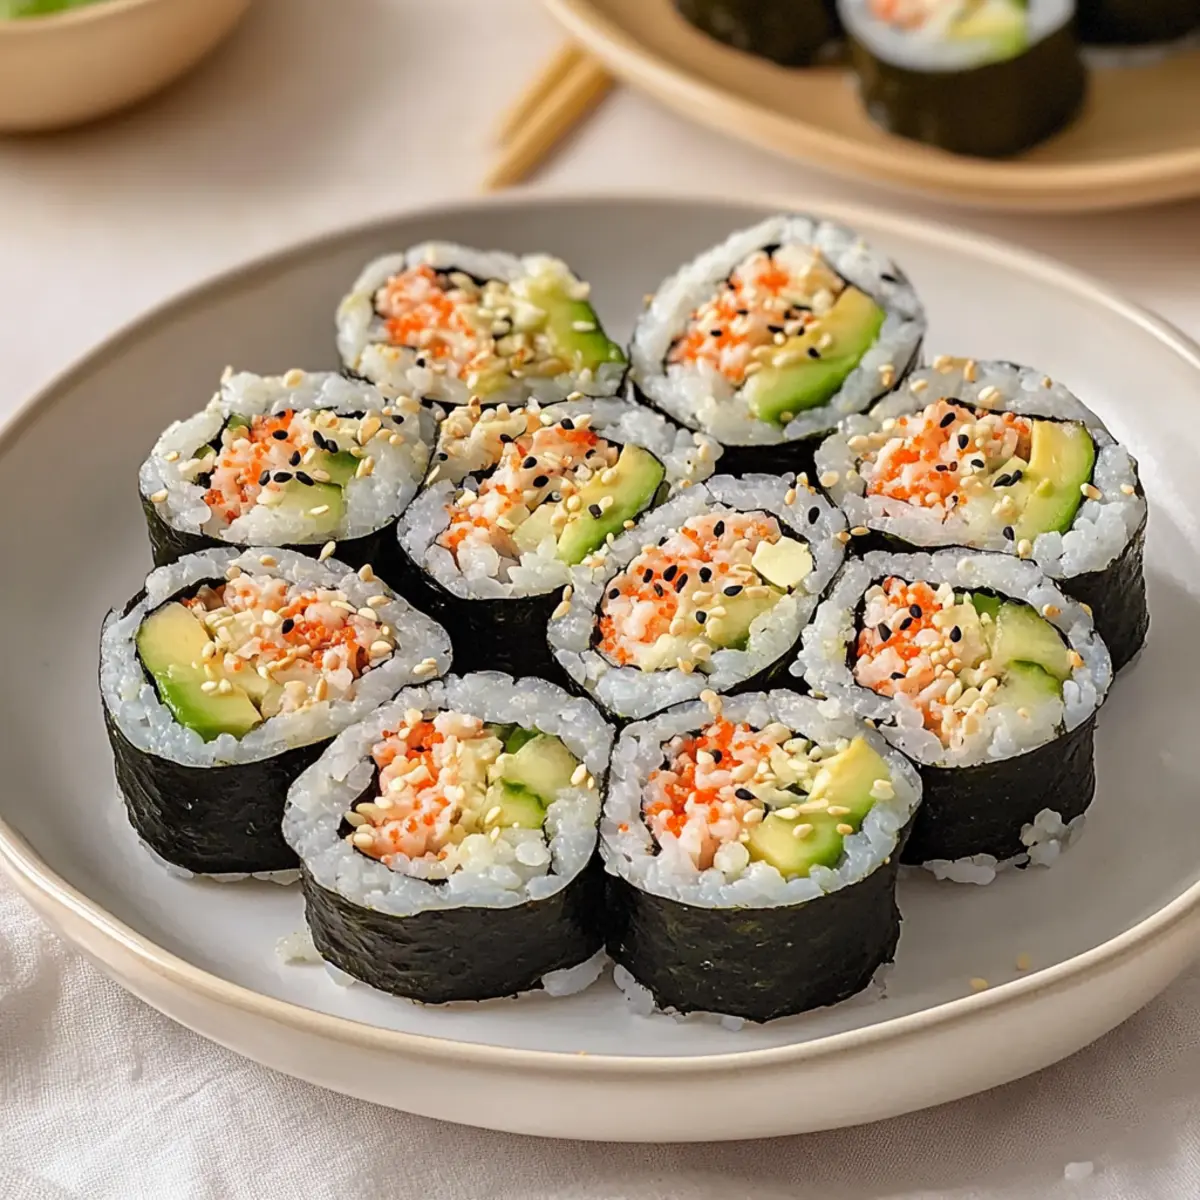
Step 7: Slice & Serve
With a sharp knife dampened in water to prevent sticking, slice the roll into bite-sized pieces, about 1 inch thick. Arrange the slices on a platter and garnish with toasted sesame seeds. Serve immediately alongside soy sauce, wasabi, and pickled ginger for a complete and delightful kani sushi experience that brings the sushi bar right to your home.
Kani Sushi Variations & Substitutions
Customize your kani sushi experience with these delightful twists that will tantalize your taste buds and inspire creativity!
-
Dairy-Free: Swap out the Kewpie mayonnaise for a vegan mayo or make your own using cashews or silken tofu for a creamy texture.
This keeps your sushi delicious while staying plant-based. -
Spicy Tuna Twist: Substitute imitation crab for spicy tuna to add a vibrant kick.
Mix fresh tuna with sriracha and a bit of mayo for an unforgettable filling. -
Vegetarian Delight: Replace crab with tempura vegetables or grilled marinated tofu.
Add some pickled radish or other veggies to create layers of flavor without seafood. -
Uramaki Style: Roll your sushi inside-out, placing the rice on the outside and the nori in the middle.
This option offers a unique presentation and lets you add toppings like avocado or sesame seeds on the outside. -
Fruit Fusion: Combine some fresh mango or pineapple in your fillings for a sweet, tropical experience.
This unexpected twist beautifully contrasts the savory elements! -
Sushi Bowl: If rolling isn’t your thing, deconstruct your sushi into a delightful bowl.
Layer rice, crab filling, and toppings over a bed of greens for a fresh take. -
Low-Carb Alternative: Replace sushi rice with cauliflower rice for a lighter option that’s still full of flavor.
Season it just like sushi rice for that authentic taste with fewer carbs. -
Heated Up: For an extra layer of flavor, add some grilled eel or seared scallops as a filling.
These options bring a delicious smokiness to your rolls and uplift the traditional kani sushi.
By mixing and matching any of these variations, you choose the flavors that resonate most with your home-cooked meals! If you’re feeling adventurous, consider pairing your sushi with a nice bowl of miso soup or some homemade edamame for a complete dining experience.
What to Serve with Homemade Kani Sushi Rolls
Elevate your sushi night with these delightful pairings that will tantalize your taste buds and create a memorable dining experience.
-
Miso Soup: A warm, comforting bowl of miso soup adds a touch of umami that complements the fresh flavors of kani sushi beautifully. It’s the perfect start to a sushi meal.
-
Edamame: Lightly salted edamame serves as a crunchy appetizer that balances the creaminess of the sushi. Their subtle sweetness pairs perfectly with the spicy crab filling.
-
Seaweed Salad: This refreshing seaweed salad adds a savory depth and complements the seafood flavors in your sushi. Its tangy dressing enhances the overall palate experience.
-
Pickled Vegetables: A side of pickled vegetables brings a delightful tanginess that cuts through the richness of the sushi. Their crisp texture adds an exciting crunch to each bite.
-
Tempura Vegetables: Crispy tempura vegetables provide a satisfying crunch and a delicate taste that works harmoniously with the kani sushi. Their light batter allows the fresh ingredients to shine through.
-
Sake: Sipping chilled sake or a light Japanese beer creates an authentic dining experience. The clean flavors of sake enhance the freshness of the sushi.
-
Chocolate Mochi: For a sweet finish, serve chocolate mochi. Its soft, chewy texture contrasts beautifully with the sushi, rounding off your meal with a touch of sweetness.
Treat your taste buds to an unforgettable sushi night with these perfect companions!
Expert Tips for Kani Sushi
-
Sticky Rice: Ensure your sushi rice is perfectly sticky to keep the rolls intact. Rinsing the rice thoroughly is crucial for achieving that texture.
-
Wet Hands: Always wet your hands while handling sushi rice. This prevents the rice from sticking to your fingers, making assembly easier and neater.
-
Fresh Ingredients: Use the freshest vegetables and crab for optimal flavor. Quality ingredients are key in making your kani sushi truly delectable.
-
Perfect Rolling: Don’t compress your roll too tightly. A gentle but firm pressure will prevent squishing the filling while ensuring a beautifully shaped sushi.
-
Immediate Serving: Enjoy your kani sushi right after rolling. Sushi is best served fresh, as refrigeration can harden the rice and alter textures.
-
Experiment with Fillings: Feel free to add different ingredients! Incorporating spicy tuna or tempura vegetables can elevate your kani sushi experience and impress your loved ones.
How to Store and Freeze Kani Sushi
-
Room Temperature: Sushi is best enjoyed fresh, but if you have leftovers, they can sit at room temperature for up to 15 minutes before serving.
-
Fridge: Store Kani sushi in an airtight container in the refrigerator for up to 24 hours. Be aware that refrigeration can harden the rice.
-
Freezer: While it’s not recommended to freeze sushi, if you must, wrap each roll tightly in plastic wrap and store in an airtight container for up to 1 month. Thaw in the fridge and consume immediately.
-
Reheating: Avoid reheating sushi, as the texture will degrade significantly. Instead, allow it to come to room temperature before serving for the best experience.
Make Ahead Options
Preparing Kani Sushi ahead of time can save you precious moments on busy weeknights! You can cook the sushi rice and season it up to 24 hours in advance, allowing it to cool completely before refrigerating in an airtight container to preserve its freshness. Also, the crab filling can be mixed and stored in the fridge for up to 3 days, keeping all the flavors intact. When you’re ready to roll, simply slice your vegetables fresh and assemble your sushi. Remember to moisten your hands when handling the rice to ensure it stays sticky and doesn’t fall apart. Enjoy restaurant-quality Kani Sushi without the rush, all while delighting your loved ones!
Kani Sushi Recipe FAQs
What type of sushi rice should I use for Kani Sushi?
Absolutely! For the best results, you should use short-grain uncooked sushi rice. This type of rice is crucial because it becomes sticky when cooked, which helps the rolls hold together beautifully. Avoid other types of rice, as they won’t give you that classic sushi texture.
How should I store leftover Kani Sushi?
If you have leftover Kani sushi, store it in an airtight container in the refrigerator for up to 24 hours. Just remember, refrigeration can harden the sushi rice, so it is best to consume it as soon as possible. Before eating, let it sit at room temperature for about 15 minutes to help soften it up again.
Can I freeze Kani Sushi?
While it’s generally not recommended to freeze sushi because of texture changes, you can do so if you absolutely need to. Wrap each sushi roll tightly in plastic wrap, then place them in an airtight container. They can be stored in the freezer for up to 1 month. When you’re ready to enjoy, simply thaw them in the fridge overnight and consume immediately for the best taste.
What should I do if my sushi rice is too dry or too sticky?
If your sushi rice is too dry, it might not have absorbed enough water during cooking. Next time, ensure you measure your water accurately. On the flip side, if it’s too sticky, try rinsing the rice a bit more thoroughly with cold water before cooking to remove excess starch. This helps achieve the perfect texture.
Is Kani Sushi suitable for people with gluten allergies?
Unfortunately, Kani Sushi is not gluten-free due to the use of imitation crab meat, which contains wheat-based additives. If you’re looking for a gluten-free option, consider using real crab meat or a gluten-free sushi filling and ensuring that the other ingredients—like the soy sauce—are gluten-free.
What fresh ingredients should I include for the best flavor?
For the freshest and most delicious Kani Sushi, I highly recommend using ripe avocados and crunchy Persian cucumbers. Not only do they enhance the flavor, but they also provide an excellent texture contrast in your rolls. Using fresh and high-quality ingredients really elevates your sushi experience!
Deliciously Easy Kani Sushi Rolls for Home Chefs
Ingredients
Equipment
Method
- Rinse 2 cups of short-grain sushi rice under cold water until clear, then cook with 2 ½ cups water for 18-20 minutes.
- Mix ¼ cup rice vinegar, 2 tablespoons sugar, and 1 teaspoon salt. Fold into the cooked rice while warm.
- Finely chop 8 ounces of imitation crab meat, then mix with 3 tablespoons Kewpie mayonnaise, 1 tablespoon sriracha, 1 tablespoon lime juice, and 1 teaspoon sesame oil.
- Slice 1 avocado into strips and cut 1-2 Persian cucumbers into matchsticks.
- On a bamboo mat, place a nori sheet and spread sushi rice, leaving an inch at the top. Add crab filling, cucumber, and avocado.
- Roll the sushi tightly using the bamboo mat and seal with water at the exposed edge.
- Slice the sushi roll into bite-sized pieces and garnish with sesame seeds. Serve with soy sauce, wasabi, and pickled ginger.
Leave a Reply