
“Can you believe how easy it is to whip up a delicious dessert without ever turning on the oven?” I discovered this exciting truth while experimenting with these Cottage Cheesecake Jars, which are not only a velvety delight but also a high-protein treat that merges indulgence with health. With just four simple ingredients, they come together in a flash—perfect for those evenings when you crave something sweet yet nourishing. These jars are not only a great option for health-conscious dessert lovers but also crowd-pleasers for gatherings or family nights! Imagine enjoying a creamy cheesecake that doesn’t weigh you down; that’s exactly what these jars offer. Made to be customizable with various toppings from fresh fruits to chocolate shavings, there’s no limit to your creativity. So, are you ready to dive into a world of easy yet utterly satisfying desserts? Let’s get started!
Why Are Cottage Cheesecake Jars Amazing?
Simplicity at Its Best: With just four ingredients and no baking required, these jars come together effortlessly, making them perfect for even the busiest of days.
Flavorful Customization: Whether you prefer a classic vanilla or a rich chocolate twist, these jars can accommodate any palate—just mix in some cacao powder for an indulgent change!
High-Protein Delight: Packed with cottage cheese and Greek yogurt, these decadent desserts are not only delicious but also provide a satisfying protein boost, perfect for a health-conscious treat.
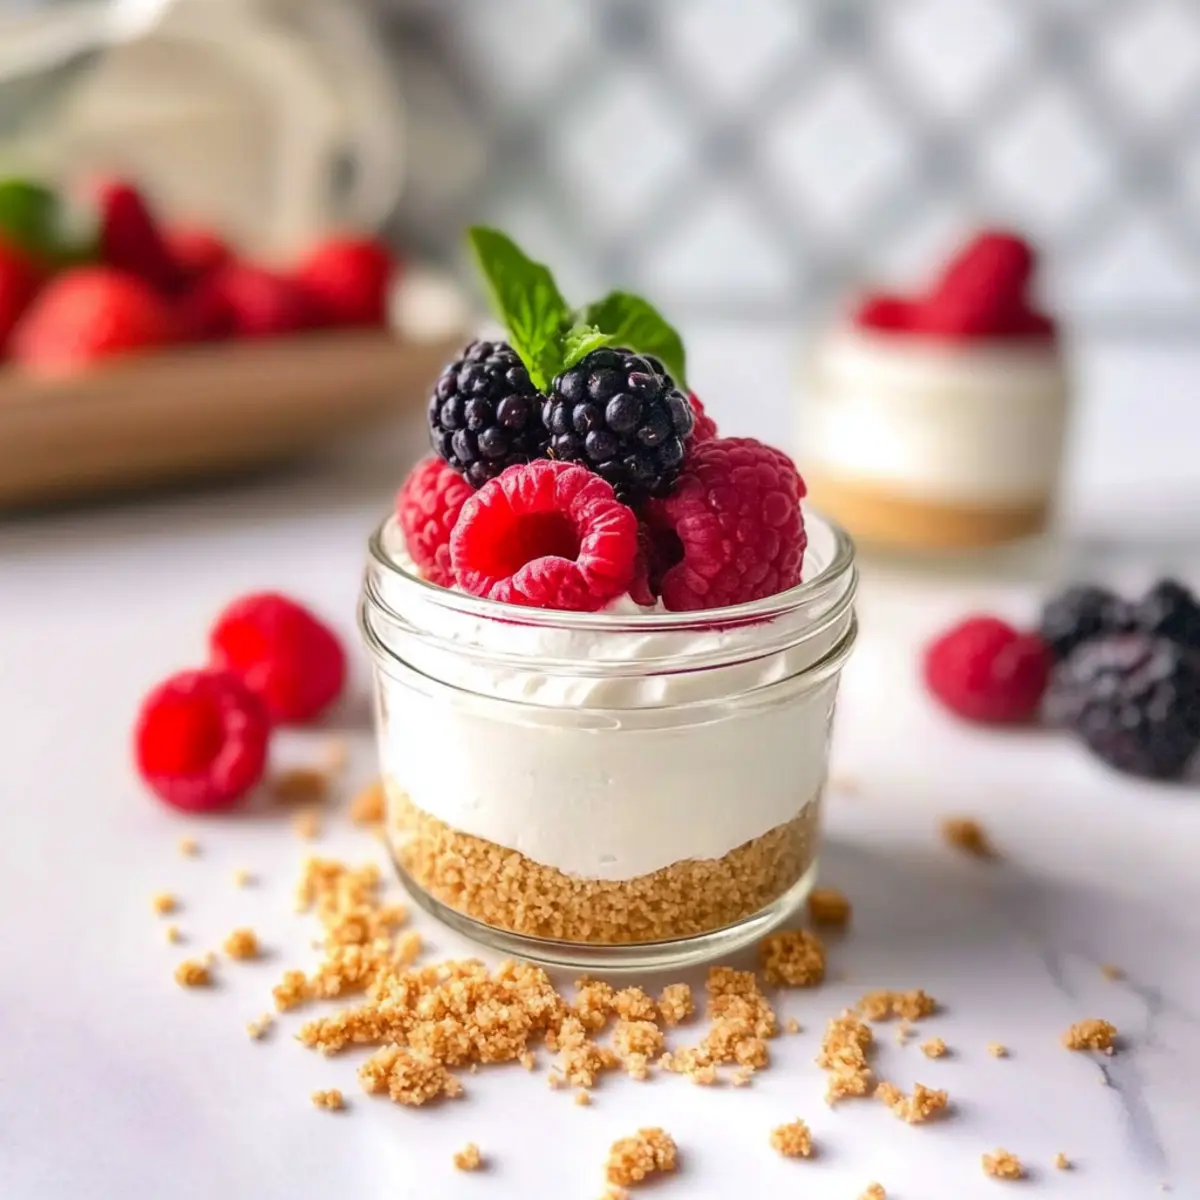
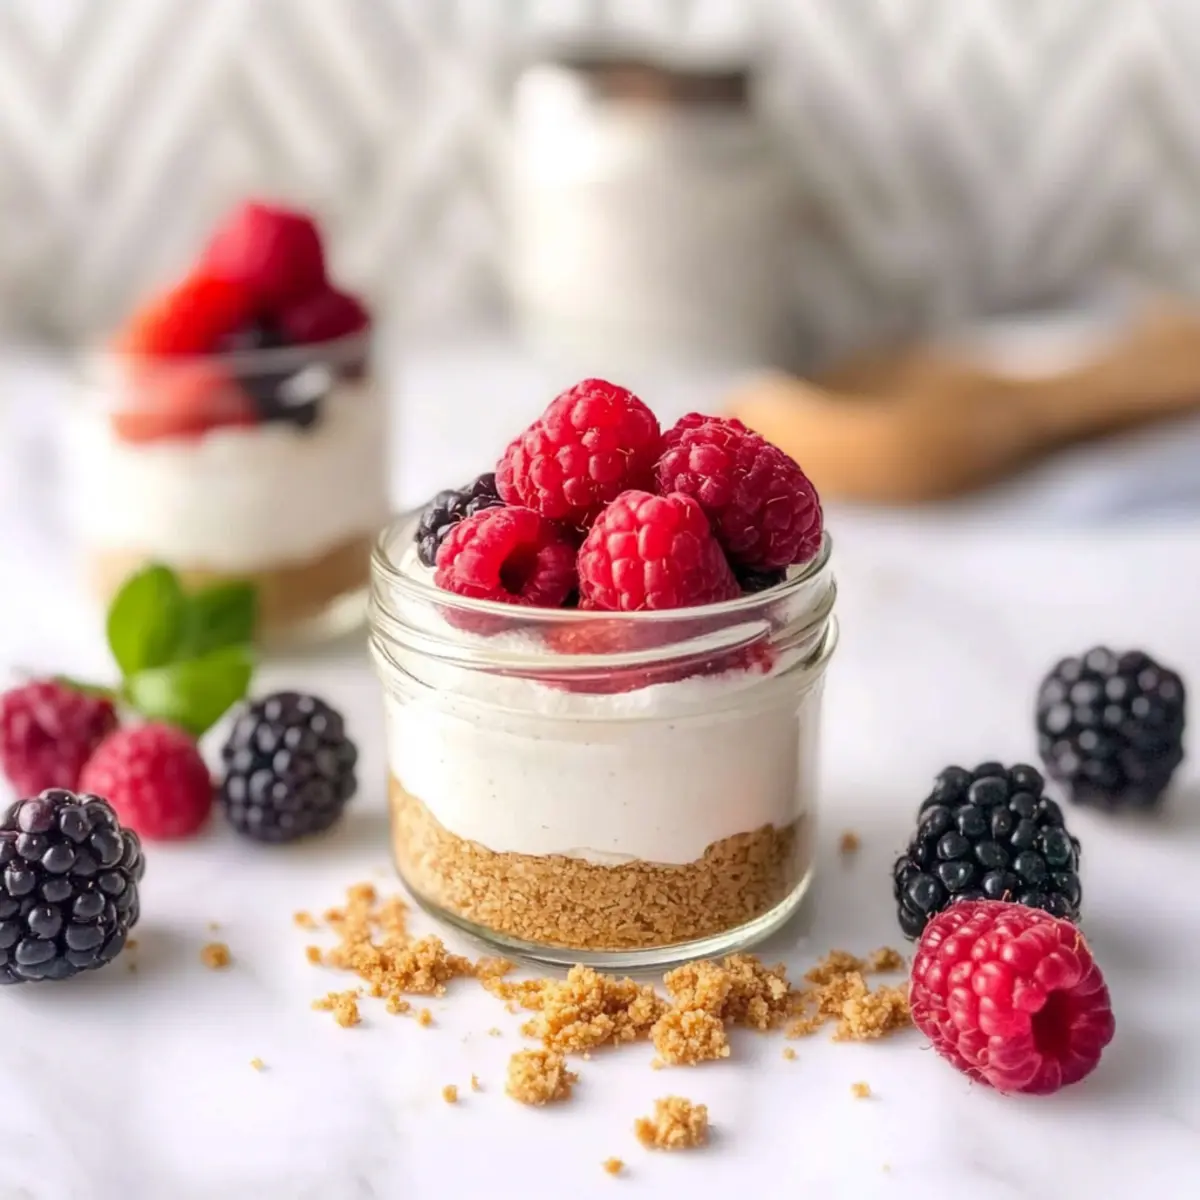
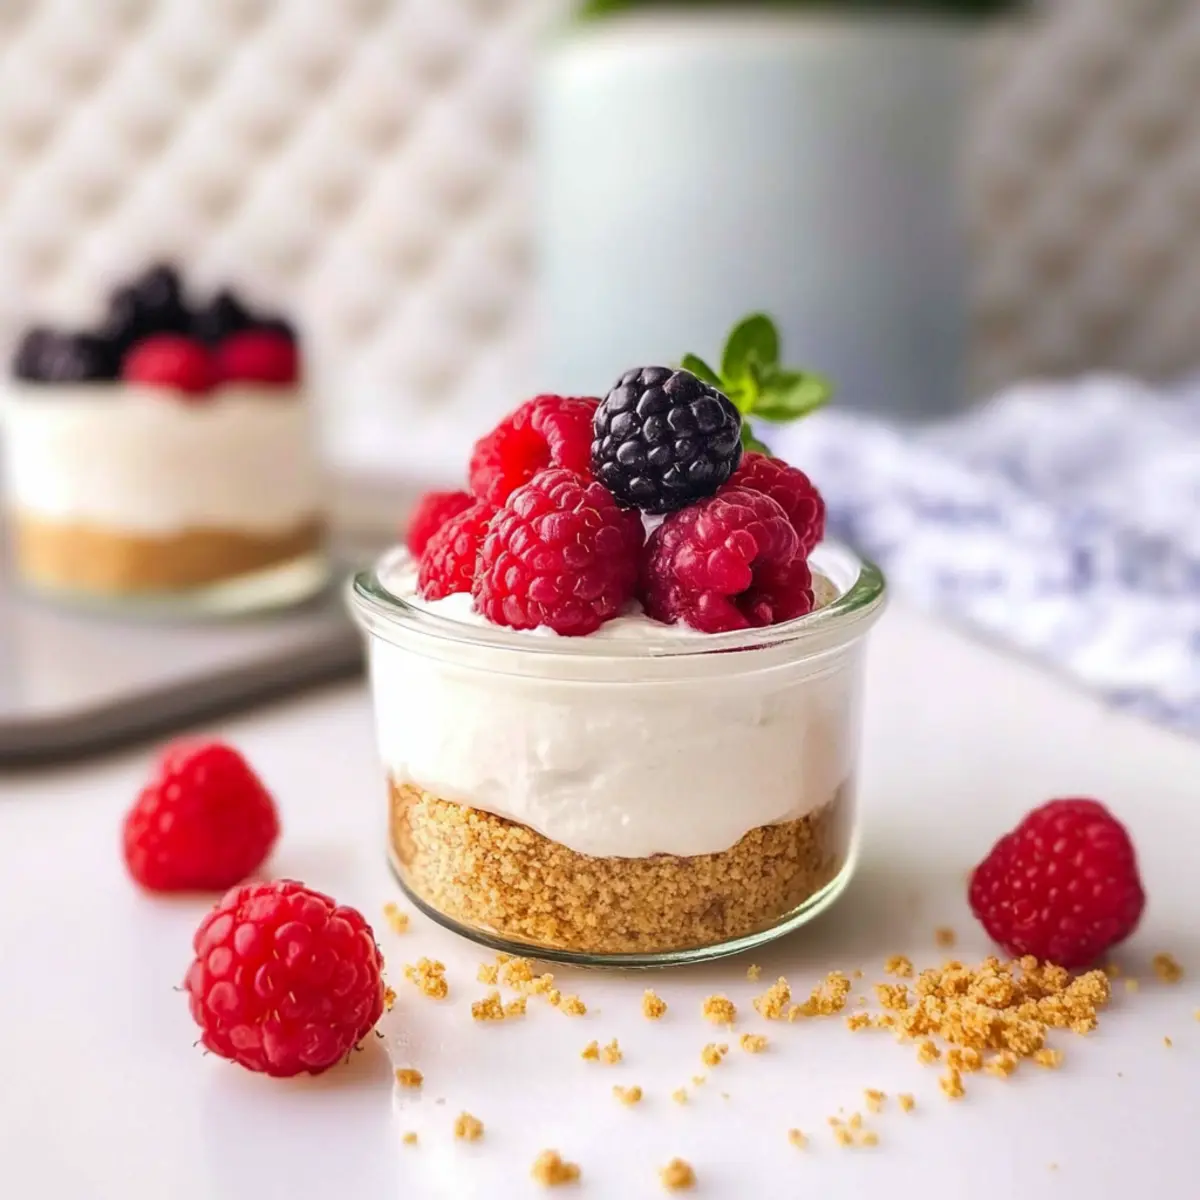
Visually Stunning: Layered beautifully in jars, they make for an eye-catching dessert option for gatherings, like an outdoor barbecue or a cozy family dinner—sure to impress your guests!
Convenient Snacking: Serve them as a quick breakfast, an afternoon pick-me-up, or a late-night treat—these jars fit seamlessly into your daily routine. For a richer option, consider pairing them with a delightful Red Velvet Cheesecake for a truly indulgent experience.
Cottage Cheesecake Jars Ingredients
Here’s what you’ll need to create these delightful Cottage Cheesecake Jars!
For the Filling
- Cottage Cheese – Provides the creamy cheese base with a distinct cheesy flavor. Substitution: None, but different brands can affect texture.
- Plain Greek Yogurt – Adds tanginess and enhances creaminess. Substitution: Regular yogurt may be used.
- Maple Syrup – Acts as the primary sweetener, contributing a rich flavor. Substitution: Honey or agave syrup can also be used.
- Vanilla Bean Paste – Lends a sweet, aromatic flavor to the cheesecake filling. Substitution: Vanilla extract may be used in place of paste.
For the Crust
- Graham Crackers – Serve as the crust, providing a crunchy texture. Substitution: Crushed cookies or granola can also be used.
For the Topping
- Fresh Fruit – Used for topping, adding a pop of color and freshness. Substitution: Any seasonal fruit can be added.
- Cacao Powder – Optional for the chocolate version, enhancing the flavor if mixed in. Substitution: Omit for the plain version, adjusting sweetness as desired.
Step‑by‑Step Instructions for Cottage Cheesecake Jars
Step 1: Blend the Filling
In a blender or food processor, combine cottage cheese, plain Greek yogurt, maple syrup, and vanilla bean paste. Blend the mixture on medium speed for about 10-15 seconds until it reaches a smooth and creamy consistency. Scrape down the sides if necessary to ensure all ingredients are well incorporated. This creamy filling will be the star of your Cottage Cheesecake Jars!
Step 2: Prepare the Crust
Take your graham crackers and place them in a sturdy plastic bag. Using a rolling pin or your hands, crush the crackers until they have a fine, crumbly texture. This step should take about 2-3 minutes and will give your jars a satisfying crunch. Set the crushed graham crackers aside for layering into your jars.
Step 3: Layer the Ingredients
Grab your preferred jars (like mason jars) and begin layering the ingredients. Start by adding 1.5 tablespoons of crushed graham crackers at the bottom of each jar. Next, spoon in approximately 1/4 cup of the creamy cheesecake filling you blended earlier. Ensure a nice smooth layer to form the foundation of your Cottage Cheesecake Jars.
Step 4: Add the Toppings
Now comes the fun part! Top each jar with your choice of fresh fruit. Spoon a generous amount of berries, sliced bananas, or any seasonal fruit you desire on top of the cheesecake filling. This will not only enhance the flavor but also add a vibrant pop of color, making your Cottage Cheesecake Jars visually appealing.
Step 5: Optional Chocolate Twist
If you’re craving a chocolate version, now is the time! Before layering, mix cacao powder into the cheesecake filling to create a rich chocolate flavor. Blend until smooth and then proceed with layering into the jars as previously described. This delightful variation will add an extra layer of indulgence to your Cottage Cheesecake Jars.
Step 6: Chill and Set
Place the assembled jars in the refrigerator for at least 30 minutes to cool and set. This chilling time allows the flavors to meld beautifully and ensures the cheesecake filling firms up slightly. When ready, serve straight from the fridge for a refreshing treat that’s perfect any time of day.

Storage Tips for Cottage Cheesecake Jars
Fridge: Keep the jars sealed in the refrigerator for up to 6 days. This will help maintain the creamy texture and fresh flavors of your Cottage Cheesecake Jars.
Freezer: While not ideal, you can freeze the cheesecake filling in airtight containers for up to 3 months. Note that the texture may change once thawed, so it’s best to enjoy them freshly made!
Reheating: If you’re serving it chilled, simply remove the jars from the fridge and enjoy straight away. For a warm twist, you can microwave the filling for about 10-15 seconds to slightly warm it, but avoid overheating.
Assembly Reminder: If you’ve prepped ahead, add the graham cracker crust just before serving to keep it crunchy and delicious!
Expert Tips for Cottage Cheesecake Jars
-
Blend Smartly: Blend the filling just until smooth—10-15 seconds is perfect. Over-blending may lead to a runny texture that won’t hold up well in jars.
-
Choose Quality Ingredients: The texture and flavor heavily rely on the quality of cottage cheese and Greek yogurt. Opt for fresh, high-protein brands for the best results.
-
Crust Crunch: To keep your graham cracker crust crispy, layer it just before serving. If you prepare in advance, the crust may become soggy in the fridge.
-
Flavor Variations: Don’t hesitate to mix in spices like cinnamon or swap maple syrup for honey for unique flavor twists in your Cottage Cheesecake Jars.
-
Fun Toppings: Get creative with toppings! Consider adding nuts, a drizzle of chocolate sauce, or even layered jam for a delightful surprise in each bite.
Cottage Cheesecake Jars Variations
Feel free to let your creativity shine and customize these jars to suit your taste!
-
Chocolate Delight: Add 2 tablespoons of cacao powder to the filling for a decadent chocolate flavor that will satisfy any dessert lover.
-
Fruit Fusion: Top with a mix of fresh berries or seasonal fruits like peaches for a vibrant, colorful presentation that’ll brighten your day.
-
Nutty Crunch: Sprinkle crushed nuts on top for added texture and nutty flavor. Almonds or pecans pair wonderfully with the creamy filling.
-
Sweet Spice: Introduce warmth by blending in a pinch of cinnamon or nutmeg into the filling, creating a cozy, inviting dessert experience.
-
Alternative Sweeteners: Swap maple syrup for honey or agave syrup for an alternative natural sweetener option that may offer different flavor profiles.
-
Tropical Twist: Incorporate coconut cream and top with shredded coconut for a tropical flair, transforming your jars into a mini paradise.
-
Flavored Yogurt: Use different flavored Greek yogurt, like vanilla or berry, instead of plain to infuse a new taste dimension without extra work.
For a sensational mix of flavors, why not pair these jars with a stunning Red Velvet Cheesecake? You’ll have delightful options to share with friends and family!
Make Ahead Options
These Cottage Cheesecake Jars are fantastic for busy home cooks looking to save time! You can prepare the cheesecake filling up to 3 days in advance by blending the cottage cheese, Greek yogurt, maple syrup, and vanilla bean paste, then store it in an airtight container in the refrigerator. To maintain quality, layer the graham cracker crust just before serving to keep it crunchy. When you’re ready to enjoy, simply layer the filling into jars with the graham cracker crust and top with fresh fruit or optional cacao powder for a chocolate twist. This way, you’ll have a delightfully creamy dessert ready to serve with minimal effort!
What to Serve with High-Protein Cottage Cheesecake Jars
These delightful jars will become the centerpiece of your dessert spread, inviting everyone to indulge in a satisfying, creamy experience.
- Fresh Berries: Bursting with flavor, fresh berries like strawberries or blueberries add a vibrant touch and a tart contrast to the sweet cheesecake.
- Chocolate Shavings: Add a luxurious finish with chocolate shavings; they elevate the dessert’s look while enhancing its richness. A melt-in-your-mouth surprise awaits!
- Crunchy Nut Topping: Toasted nuts or granola provide a satisfying crunch that pairs wonderfully with the creamy texture—perfect for texture lovers!
- Herbal Tea: Serve a calming cup of herbal tea alongside for a smooth and relaxing complement to the dessert’s sweetness, ideal for unwinding after a meal.
- Whipped Coconut Cream: For a tropical twist, top with whipped coconut cream; it’s light and aromatic, providing a luscious contrast to the cheesecake filling.
- Sweet Iced Coffee: Pair with a glass of sweet iced coffee; the slight bitterness of coffee beautifully balances the sweetness of the jars.
Cottage Cheesecake Jars Recipe FAQs
How do I choose the best cottage cheese?
Absolutely! When selecting cottage cheese for your Cottage Cheesecake Jars, look for a brand that is high in protein and low in added sugars. Opt for varieties that are creamy and smooth, without dark spots or large curds that could affect the texture. I often recommend trying one that’s labeled as “small curd” for a creamier experience.
How should I store my Cottage Cheesecake Jars?
Very! Keep your jars sealed in the refrigerator for up to 6 days. Make sure they’re airtight to maintain their freshness. This storage method helps preserve the creamy texture and prevents the graham cracker crust from becoming soggy. If you prepared them a day in advance, they should still taste delicious when served!
Can I freeze Cottage Cheesecake Jars?
Certainly! While freezing isn’t ideal for the assembled jars, you can freeze the cheesecake filling in an airtight container for up to 3 months. When you’re ready to enjoy, simply thaw it in the refrigerator overnight. Keep in mind the texture may change slightly, so it’s best to only freeze the filling, not the crust.
What can I do if my cheesecake filling is too runny?
If your filling turns out runny, it’s likely due to over-blending or using low-quality ingredients. To fix it, try refrigerating the mixture for about 15-30 minutes before assembling the jars. If you’re still facing issues, consider adding a small amount of cornstarch to thicken it up. Blend again briefly until smooth!
Are there any dietary considerations I should be aware of?
Definitely! If you’re making these Cottage Cheesecake Jars for someone with dietary restrictions, consider using gluten-free graham crackers or plant-based yogurt to cater to different needs. Always check for dairy allergies if using cottage cheese and Greek yogurt. You can also replace maple syrup with agave syrup for a vegan option!
How do I make the chocolate version of the jars?
Creating a chocolate version is simple! Just mix in about 2-3 tablespoons of cacao powder into the cheesecake filling before blending. Blend until fully incorporated, and then proceed to layer the jars as described in the recipe. This variation adds an indulgent twist that chocolate lovers will adore!
Decadent Cottage Cheesecake Jars: A Healthy Treat You’ll Love
Ingredients
Equipment
Method
- Blend the filling by combining cottage cheese, Greek yogurt, maple syrup, and vanilla bean paste in a blender. Blend on medium for 10-15 seconds until smooth.
- Prepare the crust by crushing graham crackers in a plastic bag until fine and crumbly.
- Layer each jar starting with 1.5 tablespoons of crushed graham crackers, then add about 1/4 cup of the cheesecake filling.
- Top each jar with fresh fruit for added flavor and visual appeal.
- For a chocolate version, mix cacao powder into the filling before layering.
- Chill the jars in the refrigerator for at least 30 minutes before serving.
Leave a Reply