
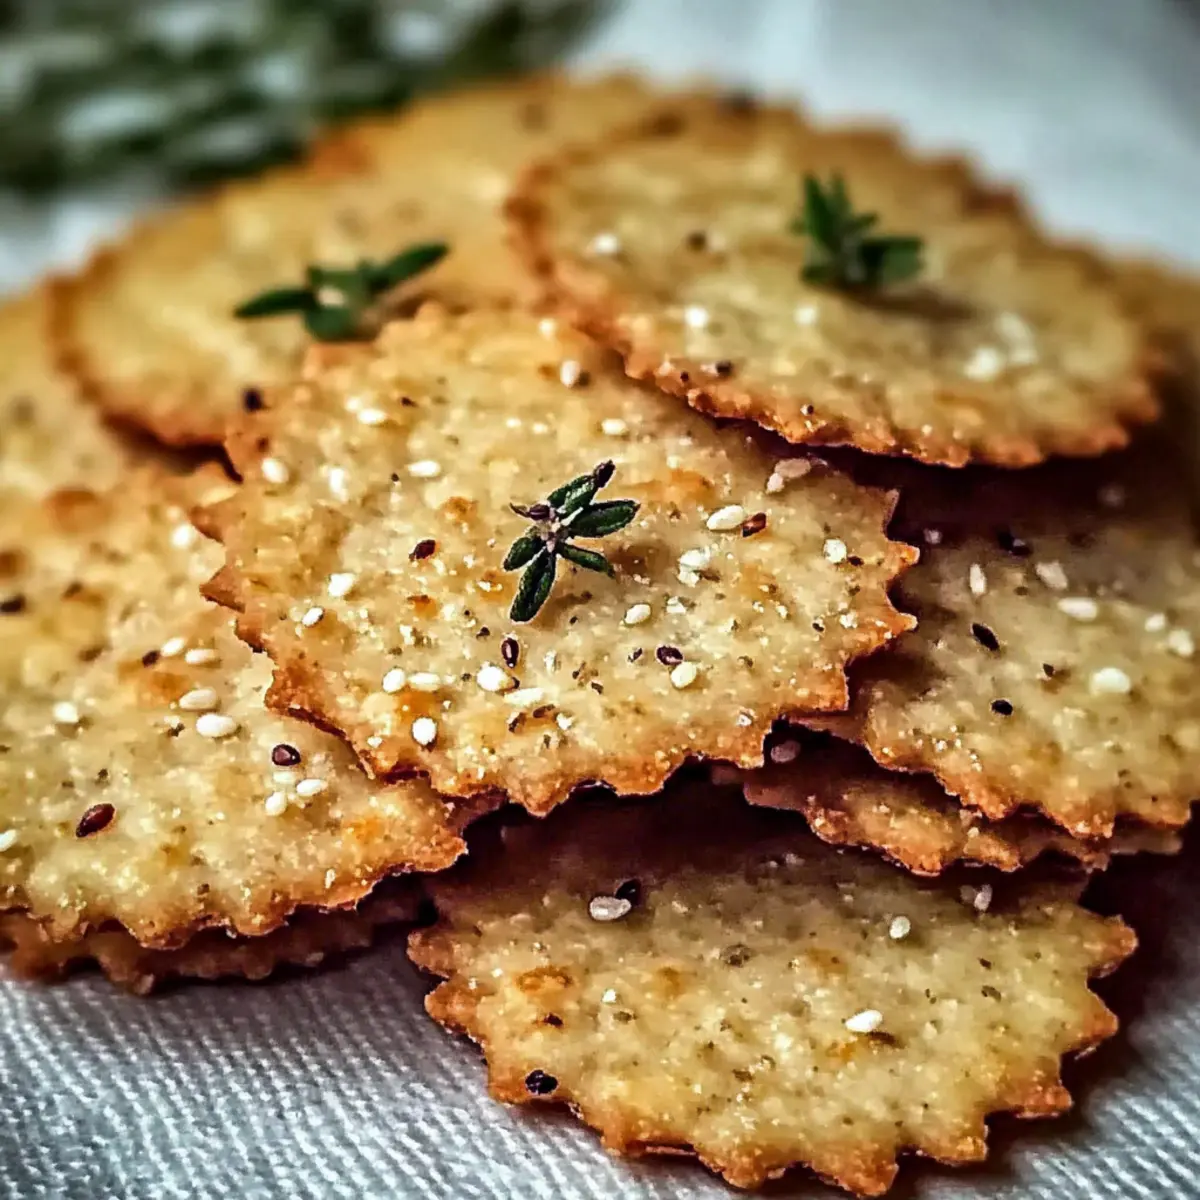
As I stood in my kitchen, the aroma of toasted chickpea flour wafted through the air, taking me on a flavorful journey filled with warm spices and herbal notes. Today, I’m beyond excited to share my Savory Gluten-Free Chickpea Crackers recipe, a delicious alternative to fast food that you can whip up in no time. These crispy snacks are not only vegan and dairy-free, but they also boast a satisfying crunch that will keep you coming back for more. Plus, with endless possibilities for customizing flavors—think smoked paprika or za’atar—you can make them uniquely yours. Whether you enjoy them with hummus or as a tasty base for your favorite dips, these chickpea crackers are a guilt-free treat you’ll want to have on hand. Ready to transform your snack game? Let’s dive in!
Why Are Chickpea Crackers So Irresistible?
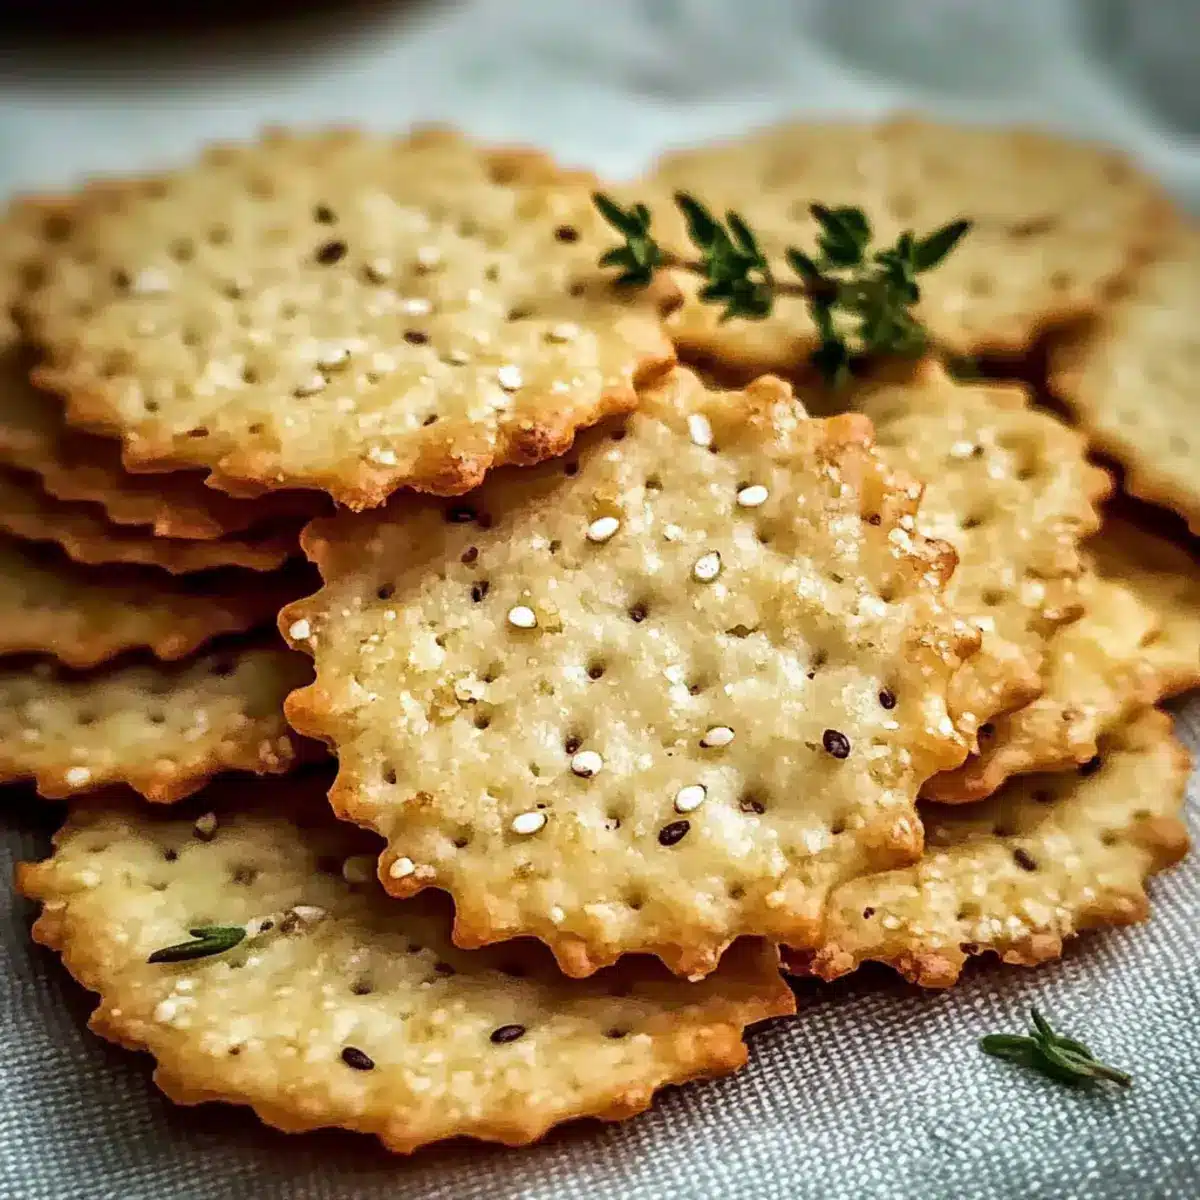
Crispy Texture: Enjoy the satisfying crunch of baked chickpea crackers, reminiscent of store-bought snacks but healthier.
Flavor Versatility: Customize your crackers with a variety of spices—garlic, rosemary, or even za’atar—making them perfect for any palate.
Quick & Easy: Whip these up in less than 30 minutes, giving you a delicious snack in a flash.
Healthy Indulgence: These gluten-free, plant-based treats are packed with protein and fiber, a great alternative to fast food cravings.
Crowd-Pleaser: Serve them at parties or family gatherings and watch everyone reach for more; ideal with dips like hummus or baba ganoush.
The possibilities are endless, so grab your ingredients and let’s get started on these delightful Chickpea Crackers!
Chickpea Crackers Ingredients
-
For the Crackers
-
Chickpea Flour – A nutritious gluten-free alternative; you can also use almond flour or buckwheat for different flavors.
-
Olive Oil – Adds a rich texture and contributes to crispness; can substitute with coconut oil if desired.
-
Dried Mixed Herbs – Infuses the crackers with flavor; consider rosemary, thyme, or oregano for a delightful herbal note.
-
Garlic Powder – Optional but highly recommended for a savory kick; fresh garlic can be substituted if chopped finely.
-
Salt – Essential for enhancing flavor; adjust to suit your taste preferences.
-
Black Pepper – Adds a mild heat; feel free to replace it with cayenne pepper for a spicier kick.
-
Water – Binds the mixture; adjust to achieve the right dough consistency.
-
For Optional Toppings
-
Sesame Seeds – Sprinkle for nutty flavor and added crunch; can be left out or substituted with your favorite seeds.
-
Flaky Sea Salt – Finish your crackers with a pinch for extra tastiness; consider using everything bagel seasoning for a fun twist.
Dive into your journey of making delicious Chickpea Crackers that are perfect for snacking!
Step‑by‑Step Instructions for Chickpea Crackers
Step 1: Preheat the Oven
Begin by preheating your oven to 350°F (175°C). While the oven warms, line a baking sheet with parchment paper to prevent sticking and ensure even baking. This crucial step will create the perfect backdrop for your Chickpea Crackers, enhancing their crispness as they cook.
Step 2: Mix Dry Ingredients
In a large mixing bowl, whisk together the chickpea flour, dried mixed herbs, garlic powder, salt, and black pepper until well combined. The mixture should be evenly blended, with the herbs and spices scattered throughout the flour. This blend forms the flavorful base of your chickpea crackers, setting the stage for their delicious aroma.
Step 3: Combine Ingredients
Create a well in the center of the dry mix and pour in the olive oil along with half of the water. Gradually mix in the remaining water, stirring until a smooth dough forms. The dough should be pliable but slightly tacky. This harmonious blend will give your Chickpea Crackers their unique texture and flavor.
Step 4: Knead Dough
Transfer the dough to a lightly floured surface. Gently knead it for a few minutes until it becomes smooth and cohesive, aiming for a consistency that holds together well without being overly sticky. Kneading helps develop the structure of the dough, ensuring your chickpea crackers are sturdy yet tender when baked.
Step 5: Roll Dough
Place the dough between two sheets of parchment paper and roll it out to about ⅛ inch thickness using a rolling pin. After rolling, gently score the dough into your desired cracker shapes using a pizza cutter or a knife. This preparation allows for even baking and easy breaking after they come out of the oven.
Step 6: Apply Toppings
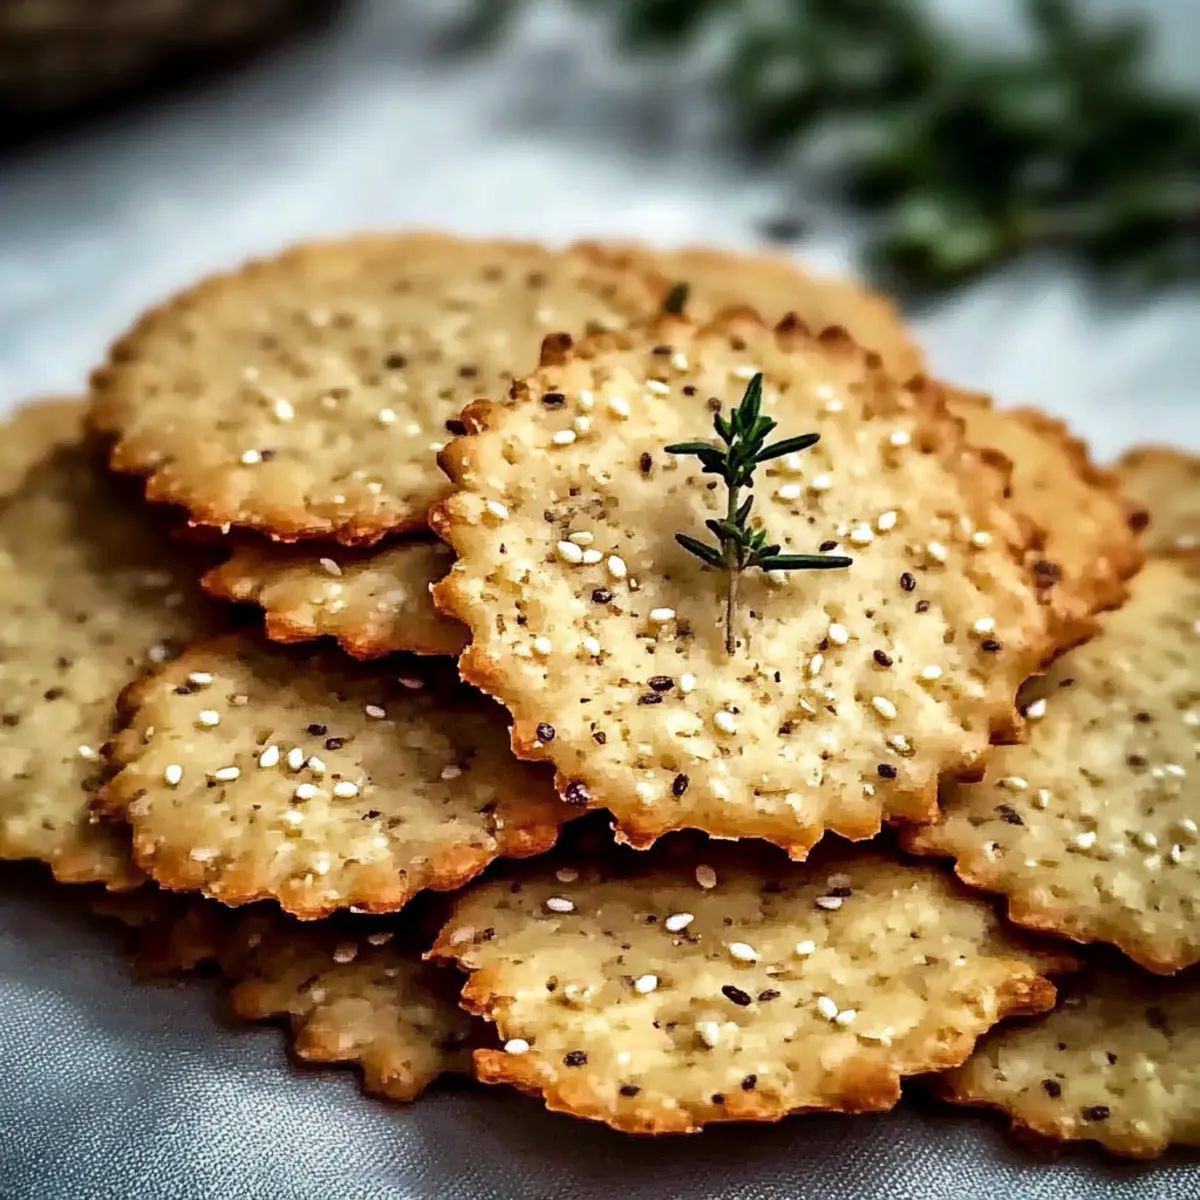
Lightly brush the surface of the dough with water or olive oil to help toppings stick. Sprinkle with sesame seeds, flaky sea salt, or any spices of your choice for an additional flavor boost. This step adds an eye-catching finish to your Chickpea Crackers, making them even more delightful.
Step 7: Bake
Carefully transfer the prepared baking sheet to the preheated oven. Bake the crackers for 15–20 minutes, checking for golden-brown edges starting at the 12-minute mark. The visual cue of crisp, golden edges indicates that your Chickpea Crackers are nearing perfection, filling your kitchen with a tantalizing aroma.
Step 8: Cool
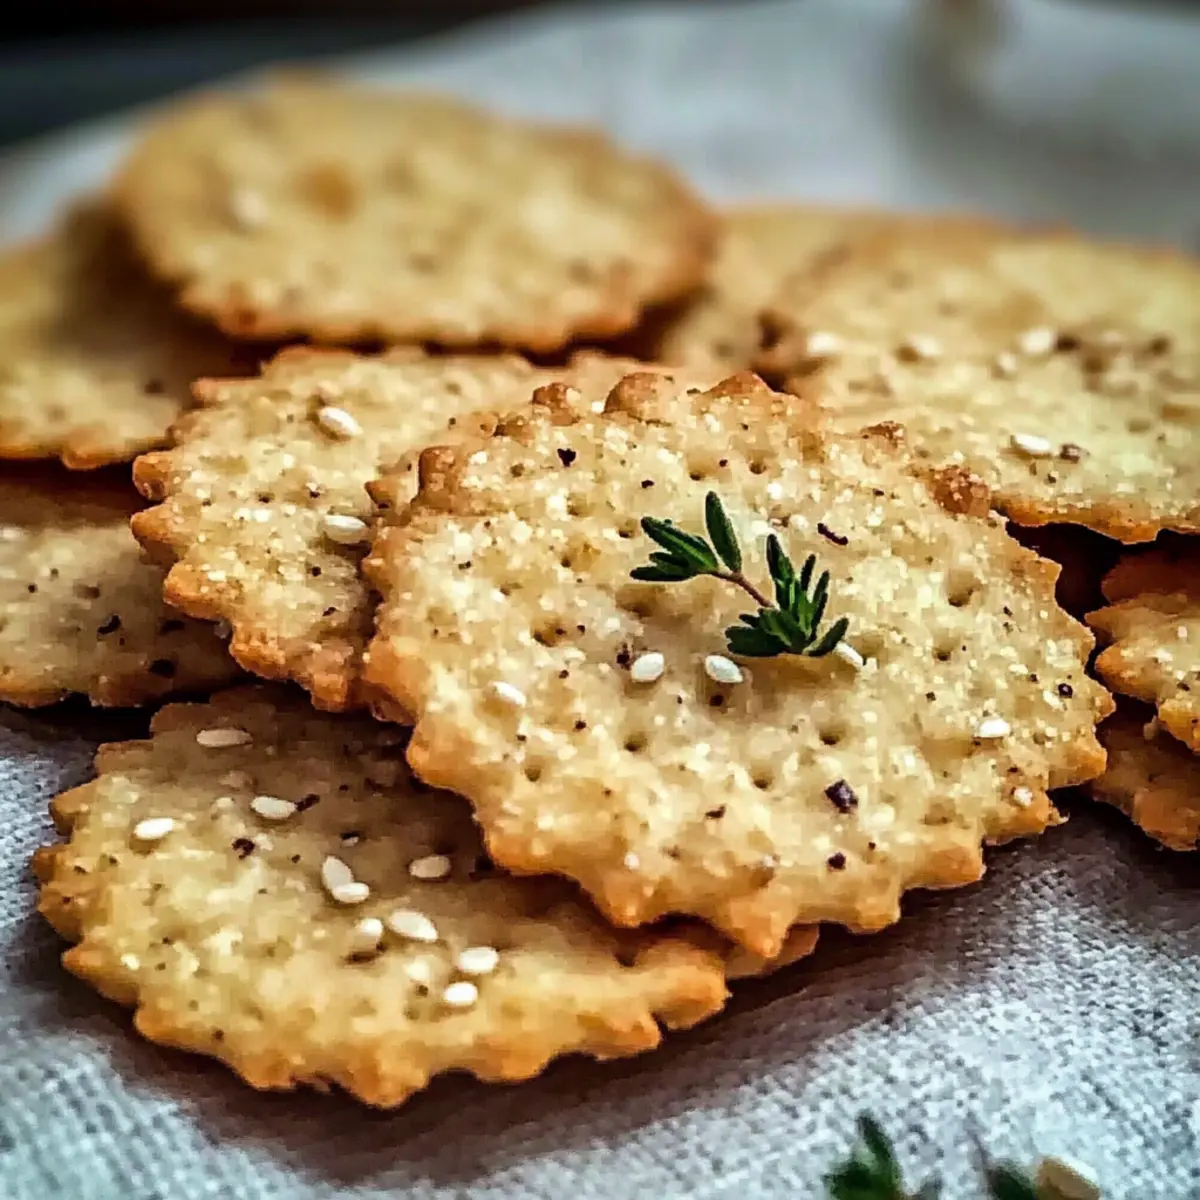
Once baked, remove the chickpea crackers from the oven and allow them to cool completely on the baking sheet. This crucial cooling step will ensure the crackers firm up and achieve their desired crispy texture. Resist the urge to eat them right away, as patience will reward you with perfectly crunchy snacks!
What to Serve with Savory Gluten-Free Chickpea Flour Crackers
Looking to elevate your snack experience? These delightful chickpea crackers beautifully complement a variety of dipping options and side dishes.
- Creamy Hummus: The rich, creamy texture of hummus enhances the crunchy bite of chickpea crackers, creating a satisfying snack duo.
- Spicy Baba Ganoush: The smoky flavor of baba ganoush pairs wonderfully with these savory crackers, bringing an exciting Mediterranean twist to your palate.
- Fresh Vegetable Sticks: Crisp bell peppers, carrots, and cucumbers add a refreshing crunch that complements the nuttiness of your chickpea crackers.
- Guacamole: The creamy, zesty nature of guacamole creates a perfect balance with the firm texture of the crackers, making each bite indulgent.
- Cheese Platter: Pair with a selection of cheeses and olives for a delightful charcuterie board, providing a rich contrast to the chickpea’s flavor.
- Crispy Roasted Chickpeas: For a fun and texture-rich experience, serve alongside roasted chickpeas, echoing the chickpea theme in a different context.
- Sparkling Water: Enhance your snack experience with a glass of bubbly sparkling water flavored with a slice of lemon or lime.
- Fruit Salsa: A bright and fruity salsa adds a powerhouse of contrasting flavors and a splash of color, making snack time visually appealing.
- Dark Chocolate: For those with a sweet tooth, a small plate of dark chocolate can turn your snack into a delightful treat, balancing savory and sweet.
Make Ahead Options
These Chickpea Crackers are perfect for meal prep enthusiasts looking to save time on busy weeknights! You can mix the dry ingredients (chickpea flour, herbs, and spices) and store them in an airtight container for up to 3 days. Additionally, you can prepare the dough ahead of time and refrigerate it for up to 24 hours. When you’re ready to bake, simply roll out the chilled dough, score, and top your crackers as desired before placing them in the oven. To maintain their crispy texture, allow them to cool completely after baking, and store any leftovers in an airtight container. This way, you’ll have delicious snacks ready in minutes with minimal effort!
Storage Tips for Chickpea Crackers
-
Room Temperature: Store fully cooled chickpea crackers in an airtight container at room temperature for up to one week to maintain their crispiness.
-
Freezer: For longer storage, wrap uncooked rolled dough in parchment paper and place in an airtight freezer bag; it can be frozen for up to three months.
-
Reheating: If your crackers lose their crunch, reheat them in a 350°F (175°C) oven for a few minutes to restore their texture. Enjoy your Chickpea Crackers fresh and crispy!
Expert Tips for Chickpea Crackers
-
Consistent Thickness: Ensure the dough is rolled to an even ⅛ inch thickness; varying thickness can result in uneven baking and chewiness.
-
Watch Baking Time: Keep an eye on your crackers, especially after the 12-minute mark. Chickpea flour tends to brown quicker than wheat flour, so don’t let them burn!
-
Cool Completely: Allow the crackers to cool completely on the baking sheet. This step is crucial for achieving that satisfying crispiness you desire.
-
Flavor Experimentation: Don’t hesitate to explore different spices and toppings! Experimenting with flavors like smoked paprika or za’atar can elevate your chickpea crackers to new heights.
-
Storage Tips: Store leftover crackers in an airtight container at room temperature. For longer freshness, freeze the uncooked rolled dough for up to three months.
Chickpea Crackers Customization Ideas
Feel free to unleash your creativity in the kitchen by tailoring these delightful chickpea crackers to suit your taste!
-
Gluten-Free Swap: Try almond flour or buckwheat in place of chickpea flour; adjust water for the perfect consistency.
-
Cheesy Twist: Add nutritional yeast for a subtle cheesy flavor; combine with smoked paprika for a delightful smokiness.
-
Herb-Infused: Experiment with fresh herbs like basil or cilantro in place of dried herbs, finely chopped for a burst of freshness.
-
Flavor Boost: Incorporate everything bagel seasoning or garlic powder for an irresistible, savory punch; it’s perfect for flavor enthusiasts.
-
Heat Level: Substitute black pepper with cayenne for a spicy kick; a little goes a long way if you enjoy some heat.
-
Nutty Topping: Sprinkle with sesame seeds or poppy seeds before baking; they’ll add a lovely crunch and extra flavor.
-
Sweet & Savory Combo: Add a pinch of cinnamon or a drizzle of honey to the dough for a subtly sweet twist; pair perfectly with cheese platters.
-
Dippy Delight: Consider topping with flaky sea salt or chili flakes to make these crackers even more fun to enjoy with your favorite dips, like creamy hummus.
With these variations, there’s no limit to the flavorful possibilities that await! If you’re interested in dipping them, check out my recipe for homemade hummus—the perfect pair for your fresh-baked crackers. Don’t forget to share your favorite twists in my comments!
Chickpea Flour Crackers Recipe FAQs
How do I choose the best chickpea flour for my crackers?
Absolutely! When selecting chickpea flour, look for a fine texture and a light color. The coarser varieties may not yield the same crispy result. If you’re feeling adventurous, try experimenting with different gluten-free flours like almond or buckwheat, but be sure to adjust the water ratio for the right consistency.
What is the best way to store leftover chickpea crackers?
To keep your Chickpea Crackers fresh, store them in an airtight container at room temperature for up to one week. If you want to save some for later, I often recommend freezing the uncooked rolled dough. Wrap it tightly in parchment paper, then place it in an airtight freezer bag, where it can last up to three months.
Can I freeze the uncooked dough for chickpea crackers?
Yes! Freezing uncooked dough is a great way to have a quick snack ready when cravings hit. Here’s how: After rolling out your dough, simply place it between sheets of parchment paper and wrap it up securely. When you’re ready to bake, just let it thaw in the fridge overnight, roll it out if needed, and bake as per the instructions!
What if my chickpea cracker dough is too sticky or crumbly?
Very! If your dough feels too sticky, sprinkle a bit more chickpea flour as you knead it until you achieve a smooth consistency. Conversely, if it’s too crumbly, gradually add a teaspoon of water at a time, kneading gently until it holds together. Finding the right texture is key to perfect crackers!
Are chickpea crackers suitable for people with allergies?
Definitely! Chickpea flour is naturally gluten-free and plant-based, making it a fantastic choice for those with gluten intolerance or vegan diets. Do keep in mind that while they are free from dairy and animal products, always check for any potential allergens based on the toppings or additional spices you use. Make them your own while ensuring they align with dietary needs!
How can I add more flavor to my chickpea crackers?
The more the merrier! Customize your crackers by blending in different herbs and spices like smoked paprika for a smoky taste or nutritional yeast for a cheesy flavor. Experiment with a pinch of cayenne for some heat or sprinkle with everything bagel seasoning on top before baking to elevate their flavor profile!
Crispy Chickpea Crackers for Guilt-Free Snacking Delight
Ingredients
Equipment
Method
- Preheat your oven to 350°F (175°C) and line a baking sheet with parchment paper.
- Whisk together the chickpea flour, dried mixed herbs, garlic powder, salt, and black pepper.
- Create a well in the center of the dry mix, then add olive oil and half of the water, gradually mixing in remaining water to form dough.
- Transfer the dough to a floured surface and knead until smooth and cohesive.
- Roll the dough between two sheets of parchment paper to ⅛ inch thickness and score into desired shapes.
- Lightly brush with water or olive oil, then sprinkle with sesame seeds and flaky sea salt.
- Bake for 15–20 minutes, checking for golden-brown edges at the 12-minute mark.
- Remove from oven and let cool completely on baking sheet.
Leave a Reply