
The savory aroma of crispy fried chicken wafting through my kitchen brings back memories of bustling Tokyo streets, where every bite of the comforting Japanese Katsu Bowls with Tonkatsu Sauce transports me back to those lively days. This dish combines tender, crunchy chicken on a bed of warm, fluffy rice, all lovingly drizzled with a tangy homemade sauce that balances savory and sweet. Not only is this recipe a fantastic way to enjoy a comforting home-cooked meal, but it’s also incredibly flexible; feel free to customize the protein or add your favorite veggies. Whether you’re planning a casual weeknight dinner or a delightful gathering with loved ones, these katsu bowls are sure to impress. Curious how to bring a taste of Japan right to your table? Let’s dive into this delicious recipe!
Why Are Katsu Bowls So Delicious?
Crispy, golden perfection: Each bite of fried chicken creates a satisfying crunch that contrasts beautifully with the soft rice beneath. Homemade tangy sauce: The rich, savory Tonkatsu sauce brings depth and excitement, making every bowl completely irresistible. Customizable options: Switch up proteins or toss in your favorite veggies like stir-fried broccoli for added nutrition. Quick preparation: This recipe is simple enough for weeknight dinners yet impressive enough for gatherings. Pair with a side of pickled veggies or miso soup to complete your meal, just like in a cozy Tokyo eatery!
Japanese Katsu Bowls Ingredients
• Let’s gather what you need for those irresistible Japanese Katsu Bowls!
For the Chicken
- Boneless, Skinless Chicken Breasts – A lean protein that ensures tender meat; thighs can be substituted for juiciness.
- Panko Breadcrumbs – These Japanese-style breadcrumbs provide a light, crispy texture; use regular breadcrumbs for a denser option if desired.
- Large Eggs – Essential for binding the coating; whisk thoroughly for the best adhesion.
- All-Purpose Flour – Helps the breadcrumbs stick to the chicken; swap with gluten-free flour for a gluten-free alternative.
For the Tonkatsu Sauce
- Low-Sodium Soy Sauce – Offers that deep umami flavor; tamari works as a great gluten-free substitute.
- Mirin or Rice Vinegar – Adds a sweet and acidic balance to the sauce; mix water with a splash of vinegar if necessary.
- Brown Sugar – Brings sweetness to the sauce; can be replaced with white sugar for a different taste.
For Frying and Serving
- Vegetable Oil – Needed for frying the chicken; canola or sunflower oil works as suitable replacements.
- Cooked White or Brown Rice – This soft base supports the crispy chicken; feel free to use quinoa for a healthier grain option.
- Green Onions – Chopped for garnish, providing a fresh kick of flavor and color.
- Sesame Seeds – Sprinkled on top for an added crunch and visual appeal.
Now that you have all the ingredients for your delightful Japanese Katsu Bowls with Tonkatsu Sauce, let’s move on to the preparation!
Step‑by‑Step Instructions for Japanese Katsu Bowls with Tonkatsu
Step 1: Prepare the Chicken
To start making your Japanese Katsu Bowls, place the boneless, skinless chicken breasts between two pieces of plastic wrap. Use a meat mallet to gently pound the chicken to about 1/2 inch thickness, which ensures even cooking. This will result in tender and juicy chicken once fried, providing the perfect base for your delicious katsu bowls.
Step 2: Dredge the Chicken
Set up your dredging station with three shallow bowls—one with all-purpose flour, the second with whisked eggs, and the third with panko breadcrumbs. Take each flattened chicken breast and coat it in the flour first, ensuring an even layer. Then, dip it in the egg mixture before pressing it firmly into the panko, fully covering the chicken for that irresistible crunch in your katsu bowls.
Step 3: Heat the Oil
In a large skillet, pour in enough vegetable oil to create a depth of about 1/4 inch. Heat the oil over medium heat until it shimmers, which should take about 5 minutes and indicates it’s around 350°F (175°C). A thermometer can help ensure the perfect temperature for frying, as this avoids greasy chicken and helps achieve that golden perfection that katsu bowls are famous for.
Step 4: Fry Until Golden Brown
Carefully place the prepared chicken into the hot oil, cooking for 3-4 minutes on one side until it turns a beautiful golden brown. Flip the chicken and fry for an additional 3-4 minutes on the other side until it reaches the same color and is fully cooked through. Keep an eye on the chicken to ensure it doesn’t burn, creating a deliciously crispy exterior for your Japanese Katsu Bowls.
Step 5: Make the Tonkatsu Sauce
While the chicken fries, prepare the homemade tonkatsu sauce. In a medium bowl, combine low-sodium soy sauce, mirin (or rice vinegar), brown sugar, and a touch of water. Whisk the ingredients together until the sugar fully dissolves, resulting in a smooth, tangy sauce that perfectly complements the crispy chicken in your katsu bowls.
Step 6: Assemble Your Bowls
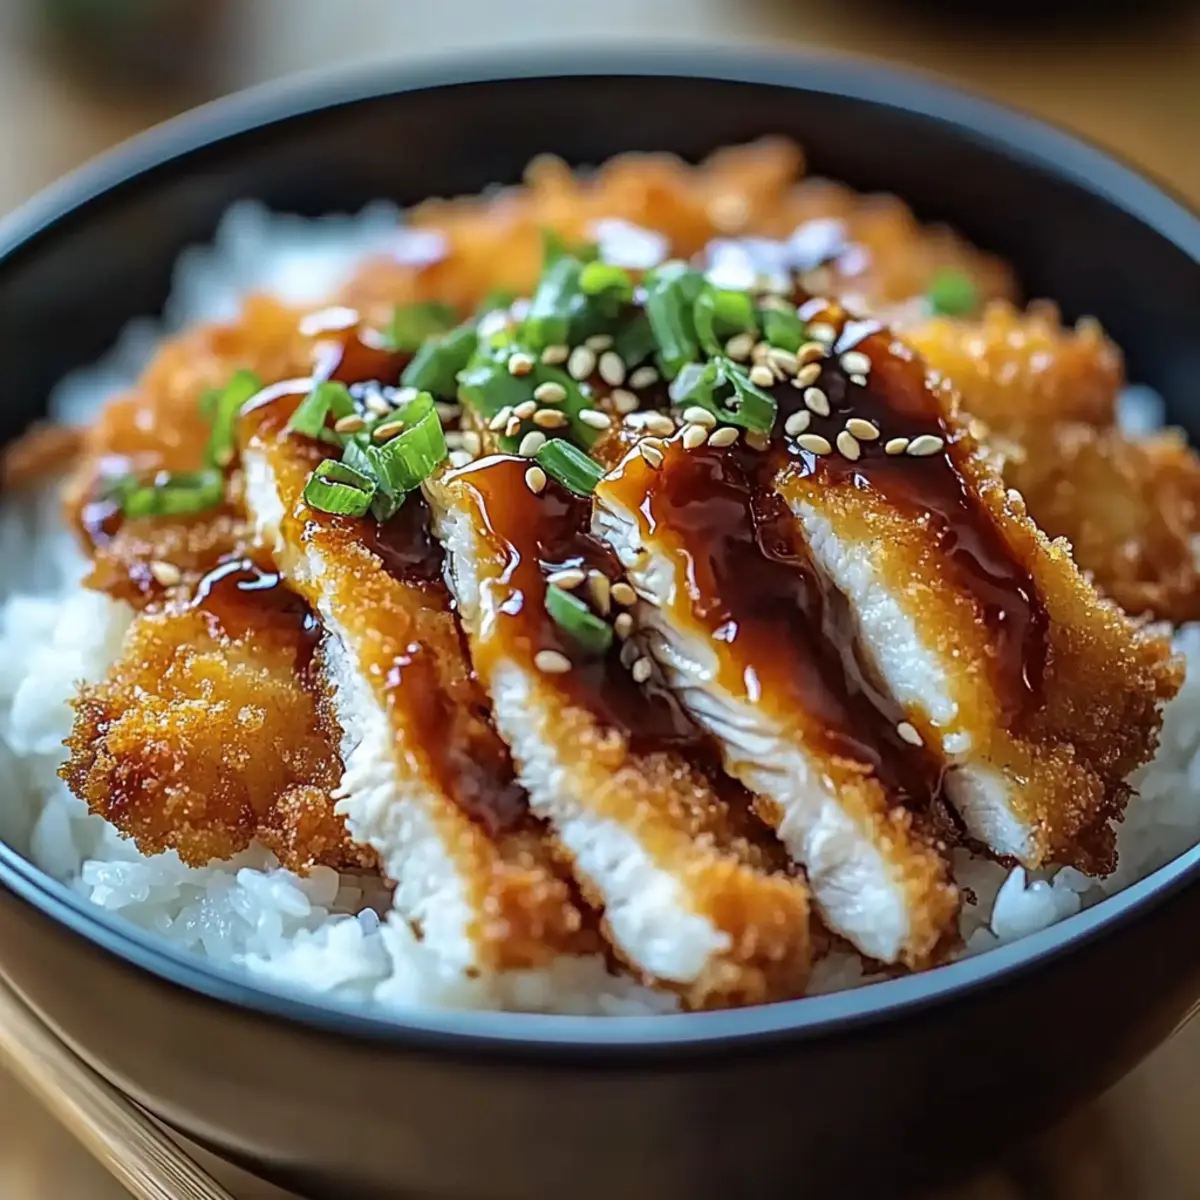
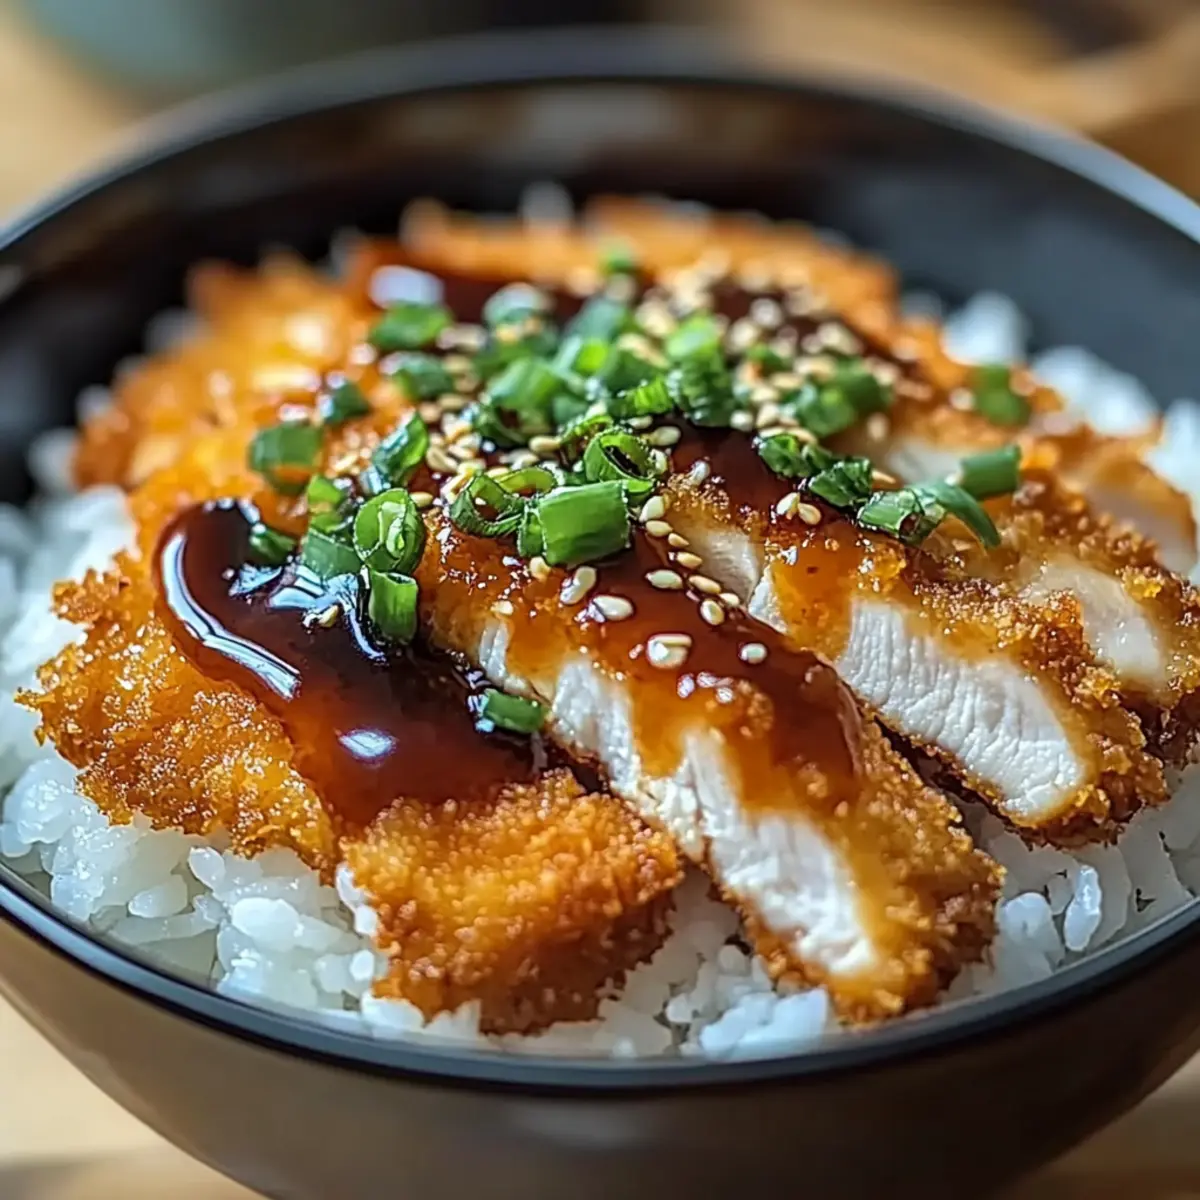
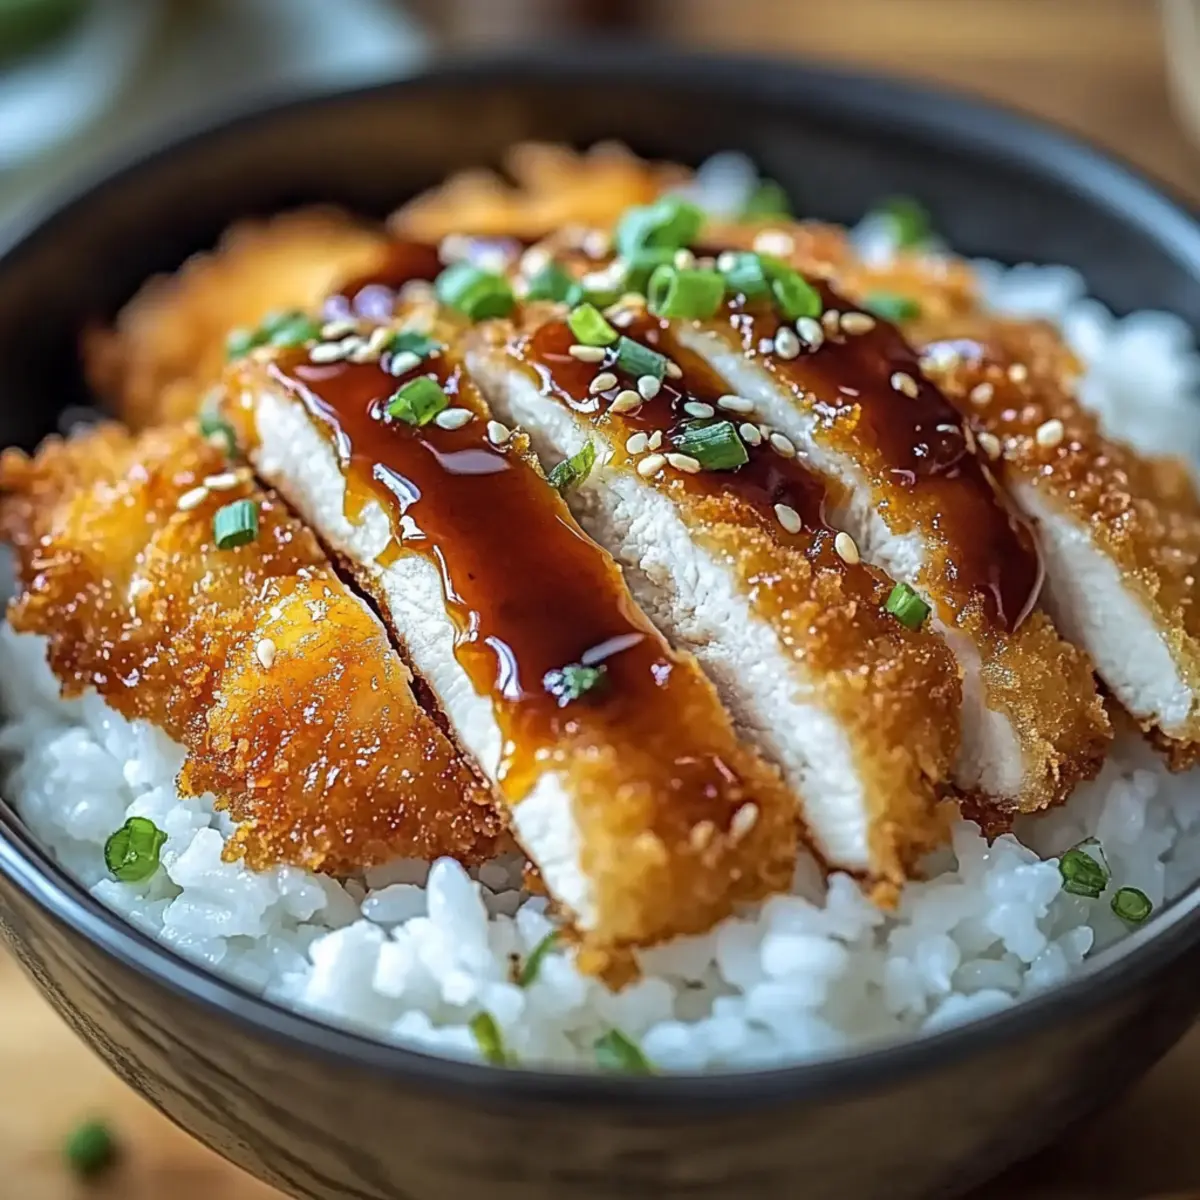
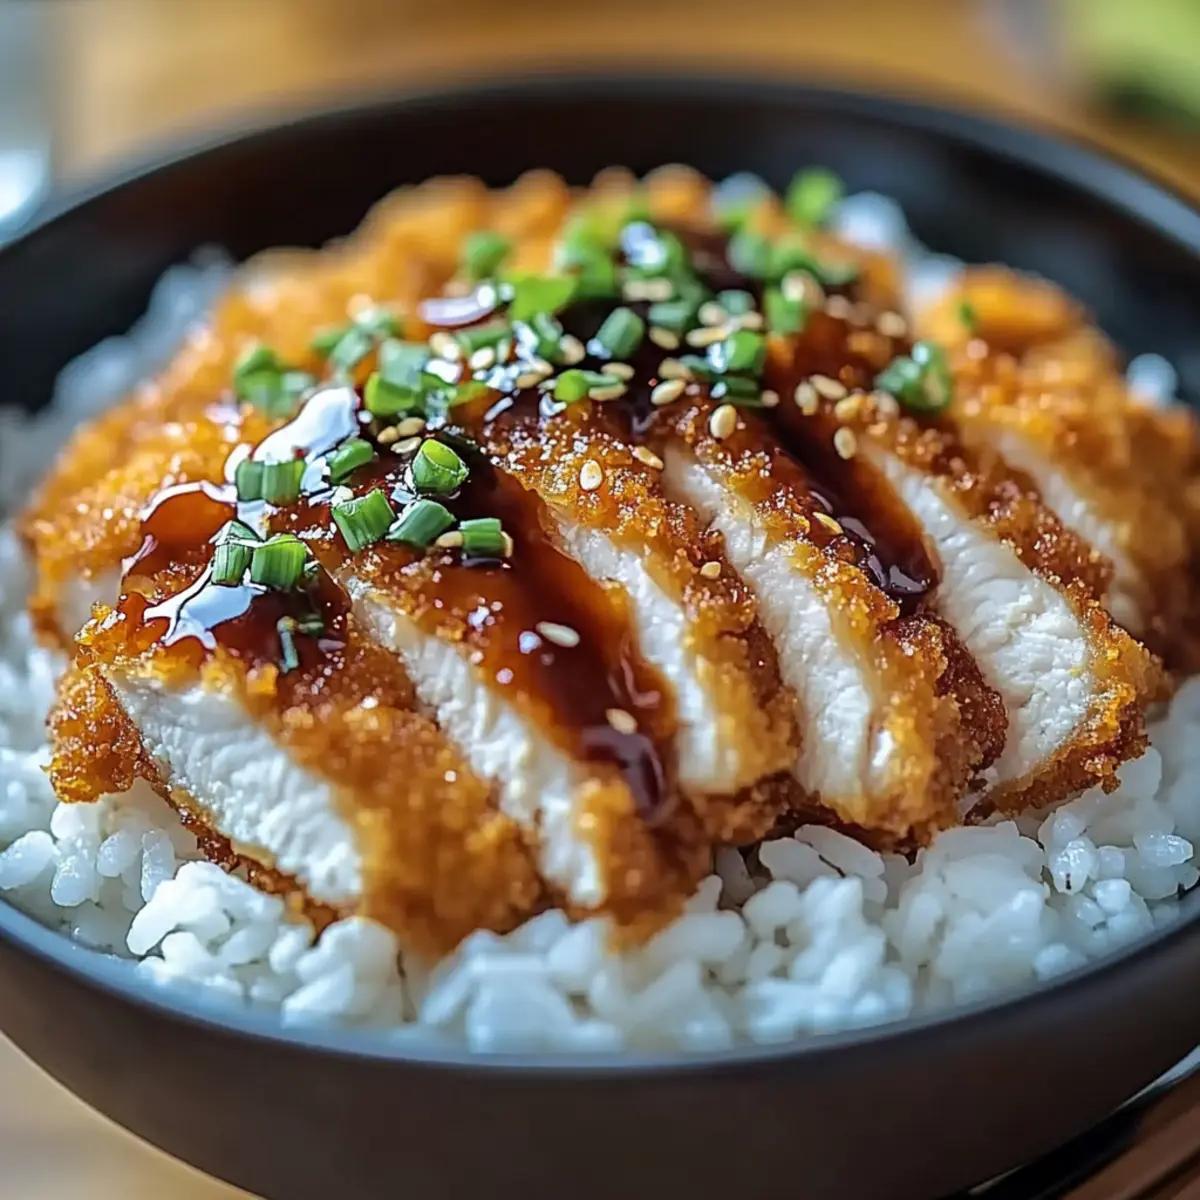
With the chicken fried and the sauce ready, it’s time to assemble your delicious Japanese Katsu Bowls. Start by filling each bowl with warm cooked rice, creating a cozy base. Next, slice the crispy chicken into strips and lay them gracefully on top of the rice. Drizzle generously with the tonkatsu sauce, then finish with a sprinkle of chopped green onions and sesame seeds for a flavorful, eye-catching presentation.
How to Store and Freeze Japanese Katsu Bowls
Fridge: Store leftover Japanese Katsu Bowls in an airtight container in the fridge for up to 3 days to maintain freshness.
Freezer: Freeze individual servings (without rice) in airtight containers for up to 2 months. To avoid freezer burn, wrap the chicken tightly in plastic wrap before placing it in the container.
Reheating: Reheat fried chicken in a skillet over medium heat to restore its crispiness. If reheating rice, microwave it with a splash of water to keep it moist and fluffy.
Expert Tips for Japanese Katsu Bowls
-
Oil Temperature: Use a thermometer to ensure the oil is around 350°F (175°C). This prevents greasy chicken and ensures a perfectly crispy coating.
-
Pound Evenly: Be sure to pound the chicken to an even thickness of 1/2 inch. This guarantees consistent cooking, preventing any pieces from being undercooked.
-
Dredging Technique: When coating the chicken, dust off excess flour before dipping into the egg, and press firmly into the panko for that irresistible crunch in your Japanese Katsu Bowls.
-
Fry in Batches: If making multiple servings, fry the chicken in batches to avoid overcrowding the pan, which can lower the oil temperature and result in soggy chicken.
-
Serve Hot: Enjoy your katsu bowls immediately after assembly for the best texture and flavor, as the crispy chicken is best when fresh.
-
Customize Freely: Feel free to substitute chicken with pork or tofu to suit different preferences while still delivering that delightful katsu experience.
Japanese Katsu Bowls with Tonkatsu Variations
Feel free to play with the flavors and ingredients, letting your taste buds guide you to a personalized Katsu Bowl experience!
- Pork Alternative: Swap the chicken for pork cutlets for a classic Katsu variation that’s equally delicious.
- Tofu Delight: Use firm tofu, pressed and sliced, for a vegetarian-friendly option that absorbs the sauce beautifully.
- Gluten-Free Flour: Replace all-purpose flour with a gluten-free blend to cater to those with dietary restrictions without sacrificing taste.
- Quinoa Base: Switch the rice for quinoa for a protein-packed twist that adds a nutty flavor and unique texture to your bowls.
- Veggie Boost: Add stir-fried vegetables like bell peppers or snap peas to enhance the nutritional profile and bring in vibrant colors.
- Spicy Kick: Drizzle sriracha or add chopped chili peppers to the tonkatsu sauce for a fiery kick that elevates each bite.
- Crispy Coating: For more crunch, mix some crushed cornflakes with the panko breadcrumbs for an even crunchier texture.
- Sauce Variations: Experiment with adding a bit of wasabi or hoisin sauce to the tonkatsu sauce for an unexpected flavor profile that surprises your palate.
Feel inspired by these variations! You can even complement your Katsu Bowls with a side of Christmas Salad with Honey for a refreshing crunch or serve alongside flavorful Street Corn Bowls to round out your meal. Enjoy the journey of flavors!
Make Ahead Options
These Japanese Katsu Bowls with Tonkatsu Sauce are perfect for busy weeknights and meal prep enthusiasts! You can prep the chicken by dredging it in flour, egg, and panko, then covering it tightly and refrigerating for up to 24 hours. The tonkatsu sauce can also be made in advance and stored in an airtight container in the fridge for up to 3 days, allowing the flavors to meld beautifully. When you’re ready to eat, simply heat oil in a skillet and fry the prepped chicken until golden and crispy. This way, you ensure restaurant-quality results with minimal effort and save precious time during busy evenings!
What to Serve with Crunchy Japanese Katsu Bowls with Homemade Tonkatsu Sauce
A delightful and hearty meal awaits you, bursting with flavors and textures that transport you to Tokyo’s lively streets.
-
Crispy Tempura Vegetables: These light and airy bites add a delightful crunch, balancing the richness of the katsu with vibrant, fresh flavors.
-
Steamed Edamame: Tender and slightly nutty, these provide a fresh, protein-packed side to complement the savory elements of your katsu bowls.
-
Miso Soup: Warm and comforting, this classic Japanese soup adds a soothing touch, enhancing the overall meal experience with its umami richness.
-
Sliced Cucumber Salad: Refreshing and crisp, this tangy salad offers a bright contrast to the savory flavors of katsu, while its crunchiness delights the palate.
-
Pickled Vegetables: A staple in Japanese cuisine, these tangy bites cleanse the palate and add an exciting flavor boost to every mouthful of katsu.
-
Green Tea: This smooth and herbal drink pairs beautifully, cleansing the palate and creating a harmonious dining experience after each satisfying bite.
-
Mochi Ice Cream: For dessert, this sweet, chewy treat offers a delightful end to your meal, with flavors like matcha or mango balancing the savory elements of your dinner beautifully.
Japanese Katsu Bowls with Tonkatsu Sauce Recipe FAQs
How do I choose the right chicken for my katsu bowls?
Absolutely! For the best flavor and texture, use boneless, skinless chicken breasts or thighs. Thighs provide a juicier bite, while breasts remain lean. Ensure your chicken is fresh with a firm texture and no dark spots, as these can indicate spoilage.
How long can I store leftover Japanese Katsu Bowls?
Very! Leftovers can be stored in an airtight container in the fridge for up to 3 days. Make sure to let the chicken cool completely before sealing to avoid moisture buildup, which could make it soggy.
Can I freeze my katsu bowls? If so, how?
Yes! To freeze, separate the chicken from the rice. Wrap the fried chicken tightly in plastic wrap and place it in an airtight container or freezer bag, where it can last up to 2 months. When ready to enjoy, thaw in the fridge overnight, then reheat in a skillet to restore that crispy texture.
What if my chicken isn’t as crispy as I’d like?
I often find that oil temperature plays a pivotal role in achieving the perfect crunch. Make sure your oil maintains a temperature of about 350°F (175°C). If your chicken turns out soggy, it may have been overloaded in the pan or cooked at too low of a temperature.
Can I make this recipe gluten-free? What substitutions do I need?
Absolutely! For a gluten-free version of Japanese Katsu Bowls, swap all-purpose flour with a gluten-free alternative and use tamari instead of soy sauce. Panko breadcrumbs can also be found in gluten-free varieties. Always check the labels to ensure no gluten is present!
Is this recipe suitable for kids or those with allergies?
Yes! However, if children or guests have food allergies, check for common allergens in the ingredients. For instance, soy allergies can be addressed by using coconut aminos instead of soy sauce. I often make it gluten-free as well, making it suitable for a wide range of dietary needs.
Crispy Japanese Katsu Bowls with Tonkatsu Sauce Bliss
Ingredients
Equipment
Method
- Prepare the Chicken: Place the chicken breasts between two pieces of plastic wrap and pound to 1/2 inch thickness.
- Dredge the Chicken: Set up three shallow bowls for flour, eggs, and panko. Coat the chicken in flour, dip in eggs, and cover with panko.
- Heat the Oil: Pour vegetable oil into a skillet to 1/4 inch depth and heat over medium until shimmering.
- Fry Until Golden Brown: Fry chicken for 3-4 minutes on each side until golden brown and cooked through.
- Make the Tonkatsu Sauce: Combine soy sauce, mirin, brown sugar, and water in a bowl, whisking until dissolved.
- Assemble Your Bowls: Fill bowls with rice, top with sliced chicken, drizzle with sauce, and garnish with green onions and sesame seeds.
Leave a Reply