
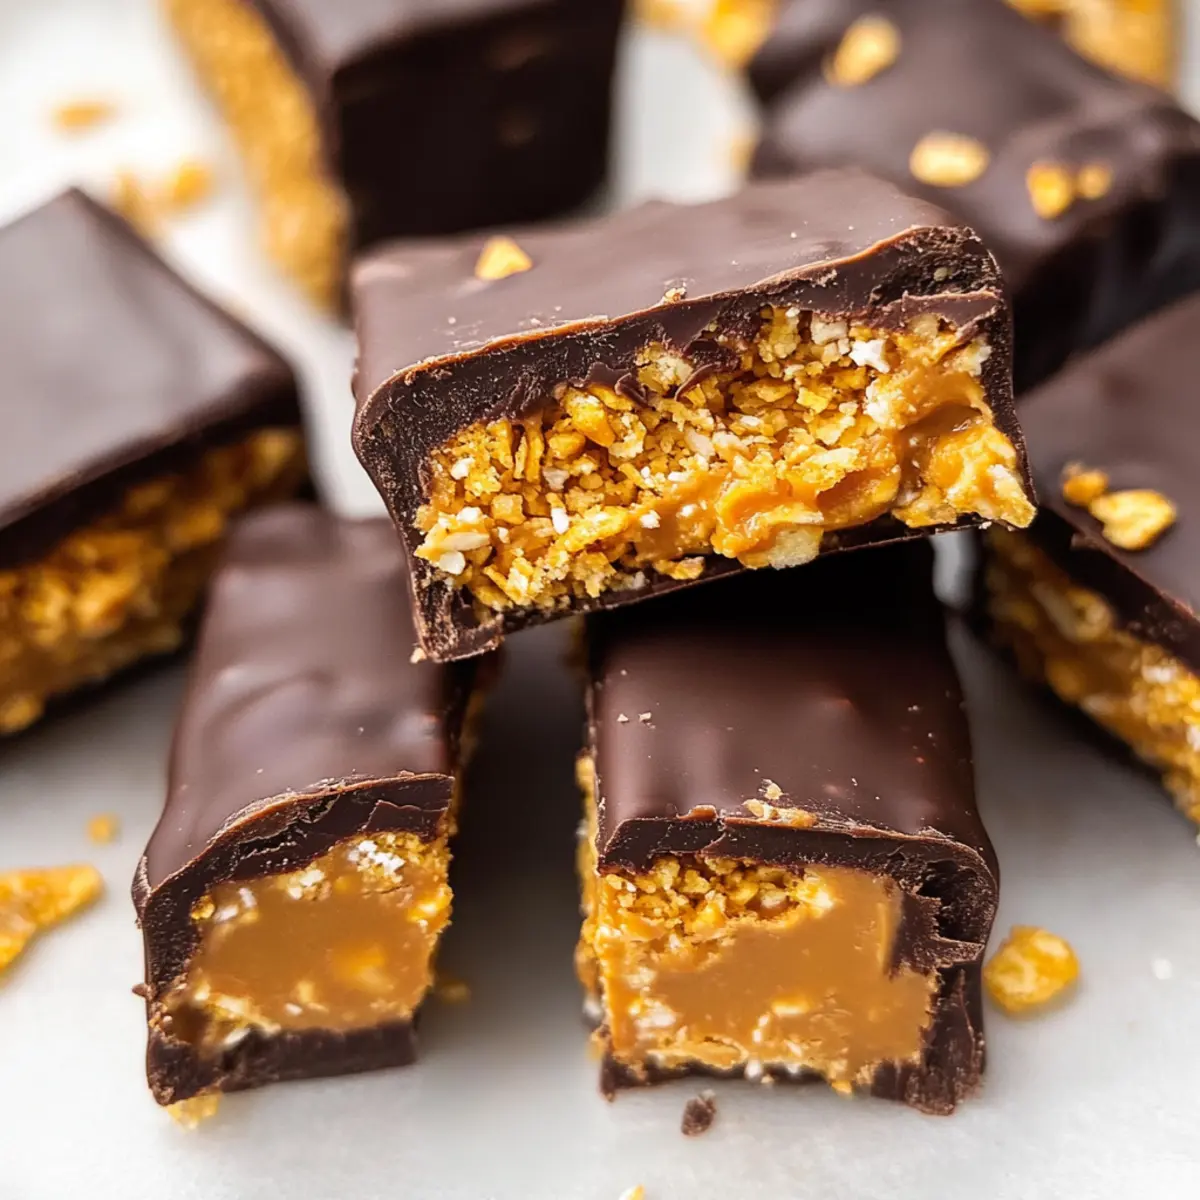
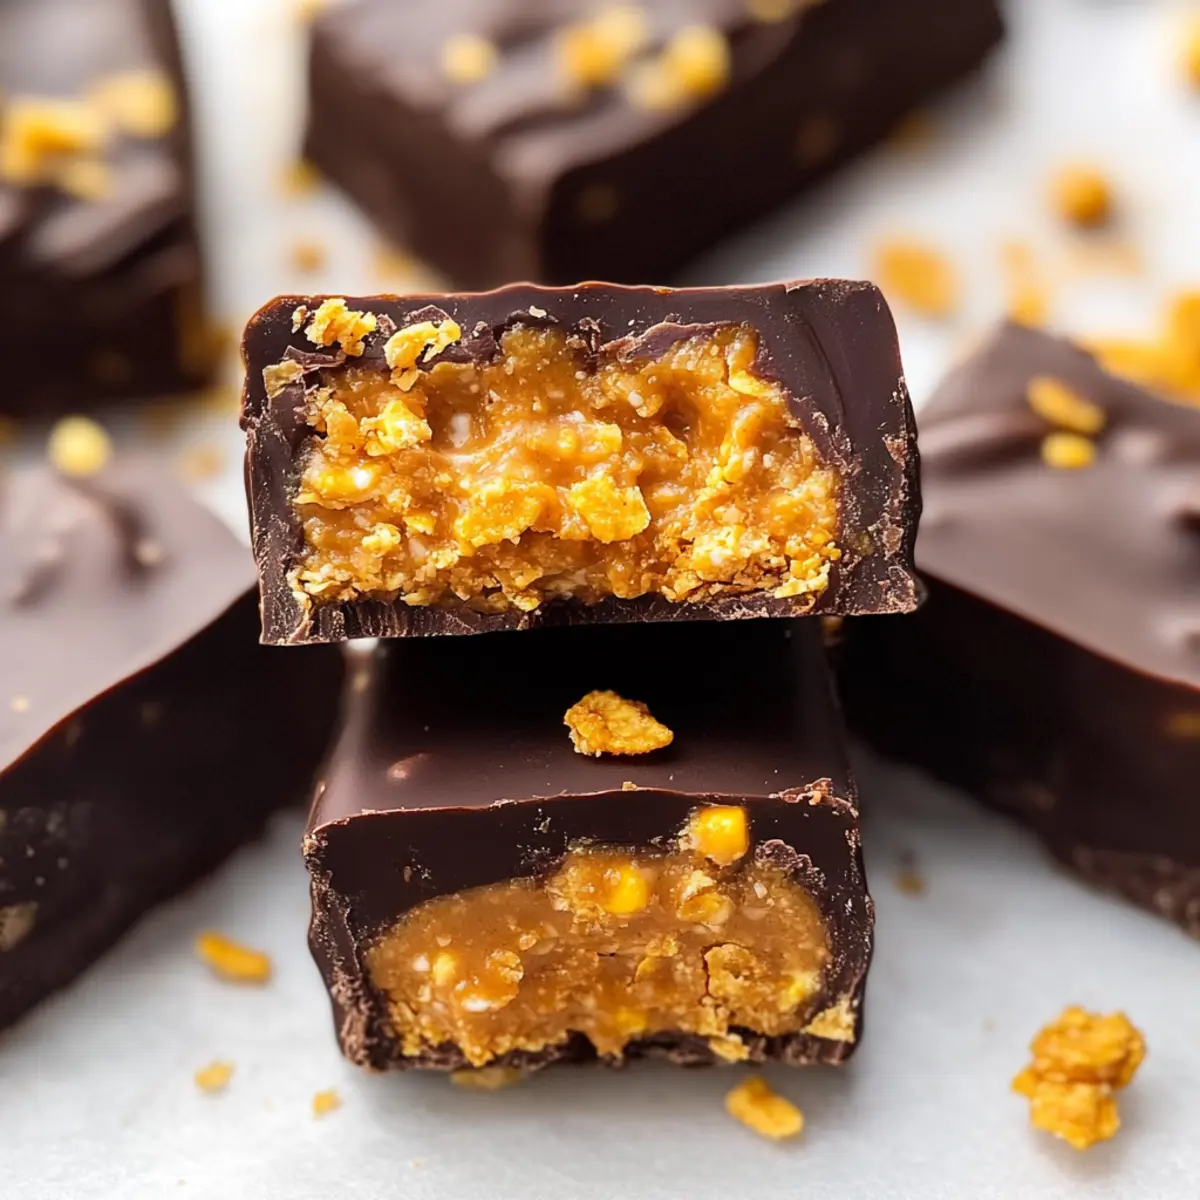
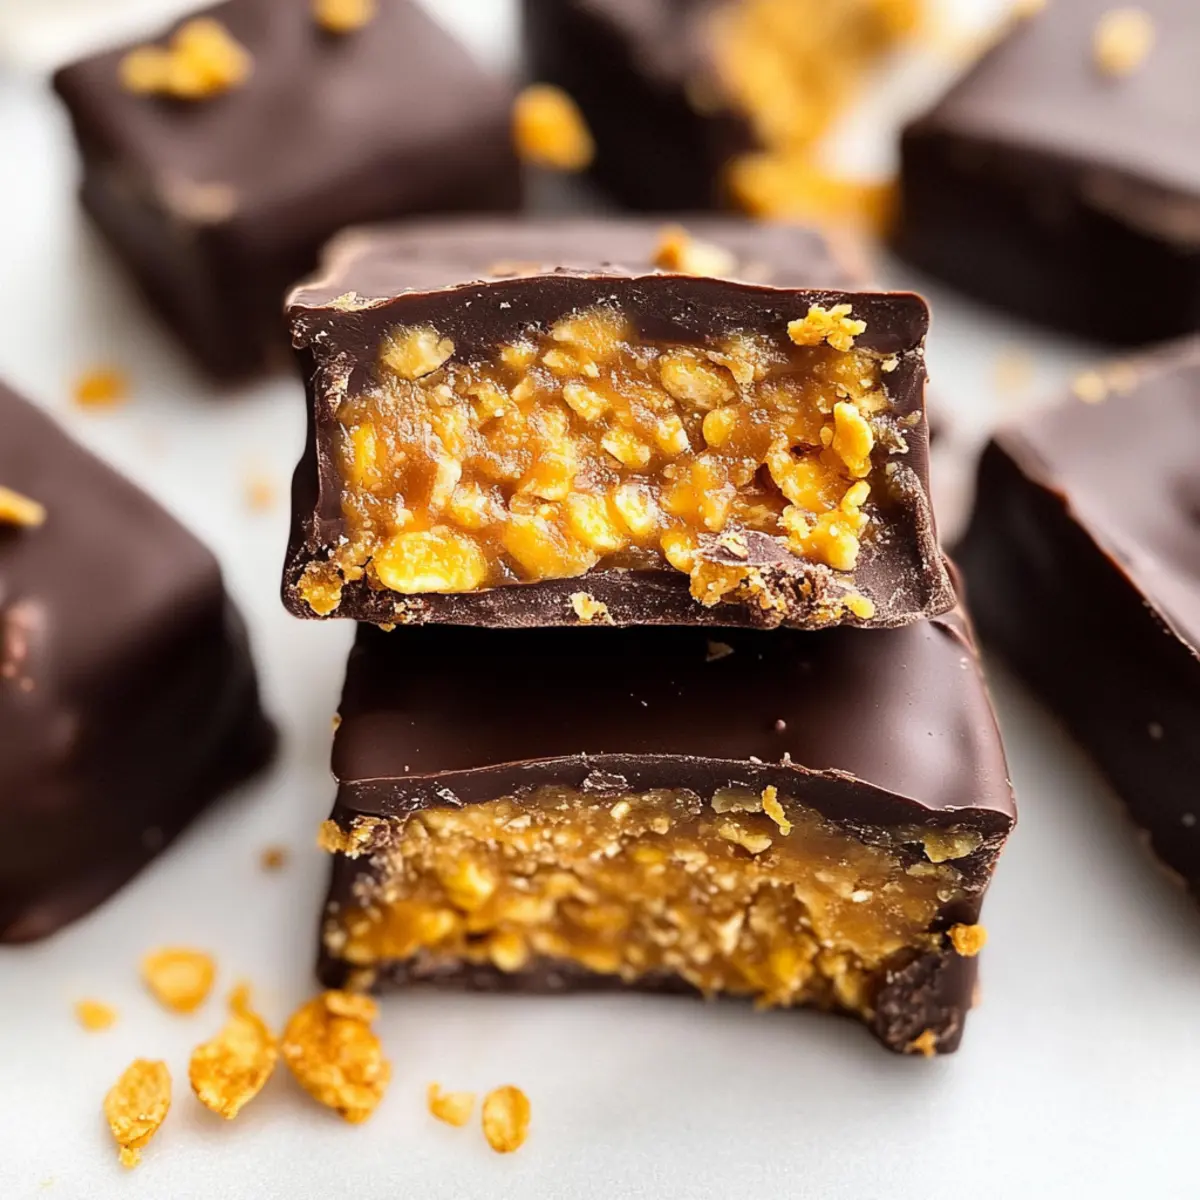
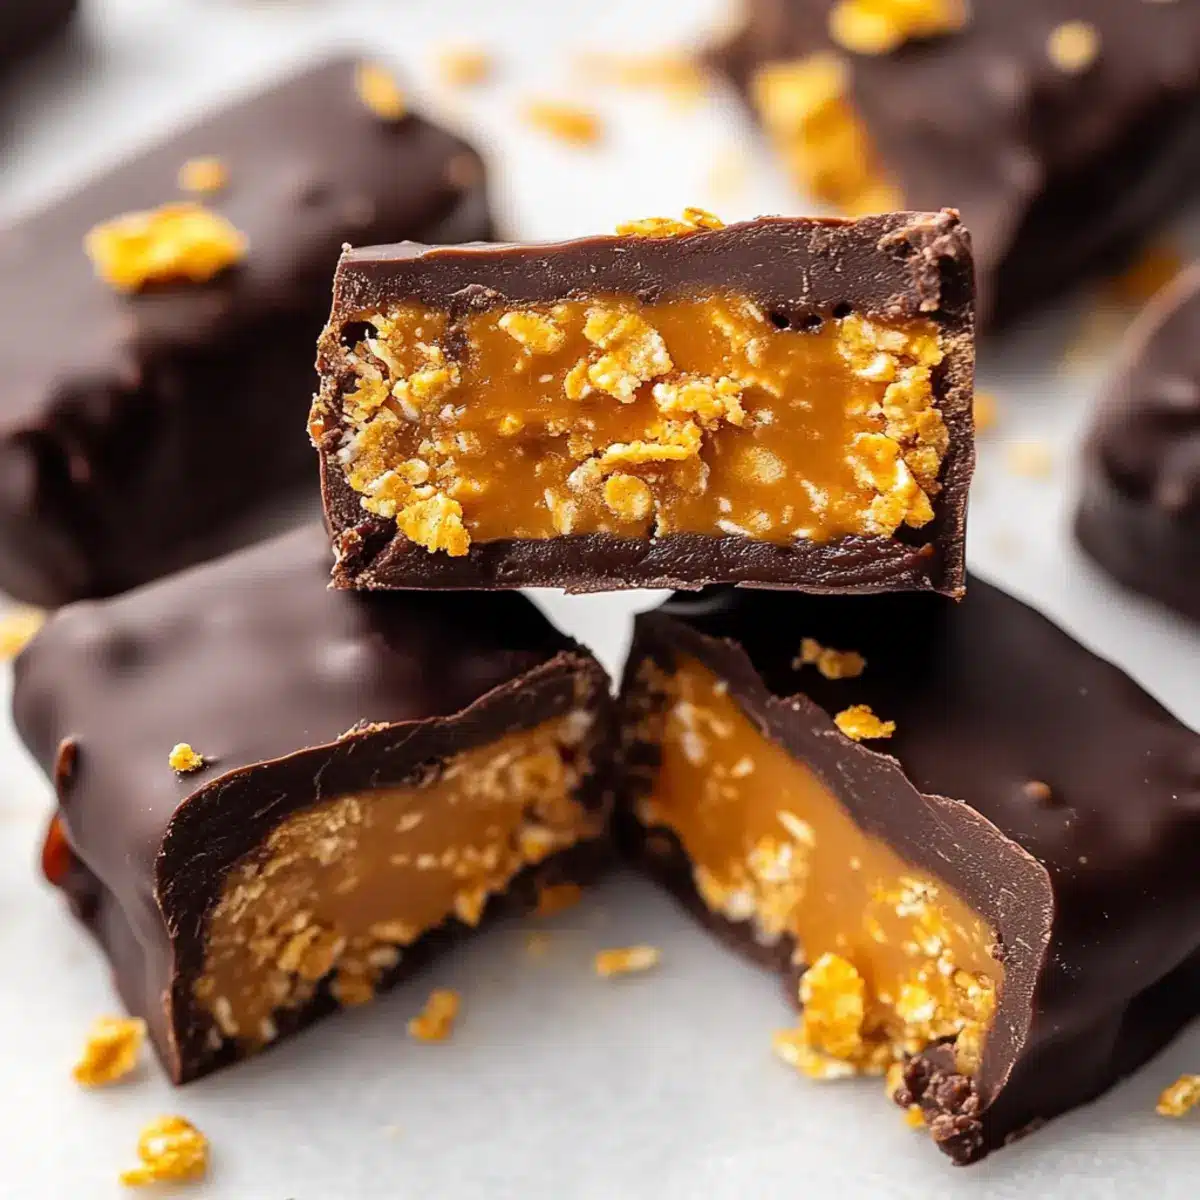
The first time I took a bite of a traditional Butterfinger, it was a revelation—crunchy, creamy, and oh-so-sweet. But what if I told you that you could enjoy that same nostalgic flavor with a healthier twist? Introducing my Healthy Homemade Butterfingers, a guilt-free candy bar that’s as easy to make as it is satisfying. With just five simple ingredients, these bars are not only quick to whip up but also cater to gluten-free and dairy-free diets. Picture enjoying a delicious treat without the usual sugar crash or remorse—perfect for snacking or a wholesome dessert. Ready to transform a classic indulgence into a nutritious delight? Let’s dive into this fun recipe!
Why Choose Healthy Homemade Butterfingers?
Guilt-Free Indulgence: You can indulge without feeling bad, as these bars are made from natural ingredients.
Simple to Prepare: With just five basic components, you’ll have a delightful treat created in no time!
Versatile Options: Customize your bars easily—try using sunflower seed butter for nut-free goodness or agave syrup for a vegan twist.
Texture Galore: Enjoy a crunch from corn flakes with a rich chocolate coating that satisfies your sweet cravings.
Ideal for Snacking: Perfect for lunchboxes or an afternoon pick-me-up, these butterfingers work as a wholesome dessert or snack.
Storage Friendly: Keep them in your freezer for up to three months, so you always have a healthy treat on hand. Don’t forget to check out my tasty Winter Vegetable Quiche or Mexican Eggs Benedict for more guilt-free recipes!
Healthy Homemade Butterfingers Ingredients
• Here’s everything you need for a deliciously nutritious treat!
For the Base
- Peanut Butter – Provides creaminess and a boost of protein; feel free to swap it out for almond butter if you prefer a nut-free option.
- Maple Syrup or Honey – Acts as a natural sweetener to bind your ingredients; try using agave syrup for a vegan take on these Healthy Homemade Butterfingers.
- Corn Flakes – Adds a delightful crunch and texture; just ensure they’re labeled gluten-free if that’s a dietary concern.
For the Coating
- Chocolate Chips – This gives your bars a sweet, rich chocolate flavor; for a dairy-free option, seek out dairy-free chocolate chips!
- Coconut Oil – Helps in melting the chocolate and adds a hint of tropical flavor; you can omit it if you don’t need it for melting.
Step‑by‑Step Instructions for Healthy Homemade Butterfingers
Step 1: Prepare Corn Flakes
Begin by placing your corn flakes in a zip-top bag; use a rolling pin or your hands to crush them into fine crumbs, ensuring a texture similar to that found in traditional butterfingers. Aim for a mix that is mostly uniform, which should take about 2-3 minutes. Set the crushed corn flakes aside for later use in the mixture.
Step 2: Combine Base Mixture
In a large mixing bowl, combine the peanut butter and maple syrup or honey. Use a spatula to mix them together until the blend is smooth and well incorporated. Next, stir in the crushed corn flakes until they are fully coated with the peanut butter mixture, creating a cohesive, sticky base for your Healthy Homemade Butterfingers.
Step 3: Set Mixture
Take a lined 9×4-inch loaf pan and transfer the mixture into it. Press down firmly using the back of a spatula or your clean hands, ensuring the mixture forms an even layer across the bottom of the pan. This step is crucial for the texture; aim to compress it well. Place the pan in the freezer for at least 1 hour to firm up.
Step 4: Cut Bars
After the mixture has frozen and is firm, remove it from the pan and peel off the lining. Using a sharp knife, cut the block into 12 equal-sized bars. The bars should have a solid and compact texture that holds together well, resembling the shape of classic butterfingers.
Step 5: Prepare Chocolate Coating
In a microwave-safe bowl, combine the chocolate chips and coconut oil. Heat in 30-second intervals, stirring in between, until the mixture is completely melted and smooth—this should take about 1-2 minutes. Ensure that you don’t overheat the chocolate, as it should shine glossy, perfect for coating your Healthy Homemade Butterfingers.
Step 6: Harden Chocolate
Take each bar and dip it into the melted chocolate, ensuring a thorough coating on all sides. Allow the excess chocolate to drip off before laying the bars on a parchment-lined plate. Once all bars are coated, place them in the freezer for an additional 10 minutes to set the chocolate, resulting in a deliciously firm and glossy finish.
Make Ahead Options
These Healthy Homemade Butterfingers are perfect for meal prep enthusiasts! You can prepare the base mixture by mixing the peanut butter, maple syrup, and crushed corn flakes up to 24 hours in advance; simply cover it tightly and refrigerate to maintain freshness. If you wish, you can also cut the bars and freeze them for up to 3 months before coating. When you’re ready to enjoy, just melt the chocolate coating and dip your frozen bars—the chocolate will set beautifully as they chill in the freezer for an additional 10 minutes. This way, you’ll always have a delicious, guilt-free treat on hand, making your busy days a little sweeter!
Storage Tips for Healthy Homemade Butterfingers
-
Room Temperature: If you plan to enjoy your Healthy Homemade Butterfingers within a few days, store them in an airtight container at room temperature for up to 3 days, avoiding direct sunlight.
-
Fridge: For extended freshness, keep the bars in the refrigerator where they will last for up to 2 weeks. Use a container that seals tightly to maintain their texture and flavor.
-
Freezer: Store your Healthy Homemade Butterfingers in the freezer for up to 3 months. Wrap them individually in parchment paper and seal in a freezer-safe bag to prevent freezer burn.
-
Reheating: For a soft treat, let the bars sit at room temperature for 10-15 minutes after removing them from the fridge or freezer before enjoying them.
Expert Tips for Healthy Homemade Butterfingers
-
Crush Corn Flakes Properly: Ensure the corn flakes are crushed finely for an even texture, which mimics the classic Butterfinger crunch.
-
Thoroughly Melt Chocolate: Always melt chocolate chips completely without overheating to avoid clumping; glossy chocolate ensures a beautiful coating that enhances your Healthy Homemade Butterfingers.
-
Use a Lined Pan: Line your loaf pan with parchment paper to make removal easier and keep the bars intact. This helps maintain their shape when cutting.
-
Press Firmly: When pressing the mixture into the pan, use enough force to compress it well. This will prevent the bars from crumbling and ensure a solid texture.
-
Experiment with Ingredients: Don’t hesitate to swap peanut butter for sunflower seed butter or try different sweeteners. Customizations can help you find your favorite version of Healthy Homemade Butterfingers!
What to Serve with Healthy Homemade Butterfingers?
Enjoying a delicious treat is even better when it’s paired with complementary flavors and textures that enhance the experience.
-
Fresh Fruit: Juicy apple slices or banana halves provide natural sweetness and a refreshing contrast to the crunchy bars.
-
Nutty Yogurt Parfait: Creamy yogurt layered with granola and fresh berries adds a delightful creaminess while supplying probiotics that nourish your gut.
-
Coffee or Tea: A warm cup of your favorite brew can intensify the rich chocolate flavor, making for a comforting and satisfying afternoon snack.
-
Homemade Trail Mix: A blend of nuts, seeds, and additional dried fruits adds variety, packing extra protein and healthy fats for sustained energy throughout the day.
-
Coconut Chia Pudding: This light, creamy pudding offers a tropical flavor that complements the coconut notes in your butterfingers, adding a fun twist to your dessert table.
-
Dairy-Free Ice Cream: A scoop of coconut or almond milk-based ice cream creates a luxurious dessert experience that will leave your taste buds dancing with delight!
Healthy Homemade Butterfingers Variations
Feel free to get creative with your Healthy Homemade Butterfingers! Each variation adds its unique flair and delights your taste buds.
-
Nut-Free: Substitute peanut butter with sunflower seed butter for a tasty nut-free alternative. The sunflower seed butter will create a slightly different flavor but remains deliciously rich.
-
Vegan Option: Swap honey for agave syrup to make these butterfingers entirely vegan-friendly. Enjoy a sweet treat that fits your lifestyle without compromising on taste.
-
Chocolate Flavor Boost: Experiment with dark chocolate chips or cocoa powder mixed into the peanut butter mixture for a deeper chocolate flavor. Adding cocoa creates a decadent twist that chocolate lovers will adore.
-
Crunchy Texture: Mix in crushed nuts or seeds alongside the corn flakes for an extra crunch. Almonds or pumpkin seeds work great, providing a delightful crunch with every bite and boosting the bars’ nutritional value.
-
Fruit Infusion: Incorporate dried fruits like cranberries or raisins for a touch of sweetness and chewiness. This not only enhances the flavor but adds a burst of color and nutrients!
-
Spicy Kick: Add a pinch of cayenne pepper or a dash of cinnamon to the chocolate coating for a surprising kick. This spicy edge pairs unexpectedly well with the sweetness, creating a delightful contrast.
-
Thicker Bars: Instead of using a loaf pan, pour the mixture into a square baking dish to create thick square bars. They’ll offer more substance, perfect for those craving a heartier snack.
-
Fruity Dip: Make a fruit-infused chocolate by blending in a fruit puree, such as raspberry or strawberry, into your melted chocolate for a fruity dip. It adds flavor and a beautiful hue to your bars!
As you explore these variations, let your imagination run wild! These Healthy Homemade Butterfingers can effortlessly shine alongside other delightful recipes like my Cream Pie Overnight oats or a savory Winter Vegetable Quiche in your cooking adventures.
Healthy Homemade Butterfingers Recipe FAQs
How do I select the right peanut butter for my Healthy Homemade Butterfingers?
Absolutely! Look for natural peanut butter without added sugars or hydrogenated oils. The ingredient list should ideally consist of just peanuts and salt. Texture varies, so you can choose creamy for smoother bars or crunchy for added texture!
How should I store my Healthy Homemade Butterfingers?
For short-term storage, keep them in an airtight container at room temperature for about 3 days. For longer freshness, I recommend refrigerating them in a tightly sealed container, where they will stay good for up to 2 weeks. If you want to enjoy them later, store them in the freezer for up to 3 months!
Can I freeze my Healthy Homemade Butterfingers? If so, how?
Absolutely! To freeze, wrap each bar individually in parchment paper to prevent freezer burn, then place them in a zip-top freezer bag. This way, they’re easy to grab when that sweet craving hits! They can stay frozen for up to 3 months, just remember to let them thaw for about 10-15 minutes at room temperature before enjoying again.
What if my chocolate clumps when I’m melting it?
Very! If your chocolate clumps, it likely overheated. To melt chocolate smoothly, microwave in 30-second intervals, stirring in between each time. If you do notice clumping, you can rescue it by adding a teaspoon of coconut oil to help smooth it out. Just remember to be patient—the glossy texture is key!
Can my pet eat the Healthy Homemade Butterfingers?
No, it’s best to keep them away from pets. Ingredients like chocolate and peanut butter can be harmful to animals. Opt for pet-friendly treats instead to ensure your furry friends stay happy and healthy!
What should I do if the corn flakes don’t crush evenly?
Don’t worry! If some pieces are larger, just give them another gentle crush. You can also sift through the mixture and selectively break down any larger flakes with your fingers. A mixture that’s mostly uniform will help replicate that classic Butterfinger crunch and ensure a delightful texture!
Healthy Homemade Butterfingers You Can Guiltlessly Enjoy
Ingredients
Equipment
Method
- Prepare Corn Flakes: Crush corn flakes in a zip-top bag using a rolling pin or hands.
- Combine Base Mixture: Mix peanut butter and maple syrup or honey in a bowl, then stir in crushed corn flakes.
- Set Mixture: Press mixture into a lined loaf pan and freeze for at least 1 hour.
- Cut Bars: Remove from the pan and cut into 12 equal-sized bars.
- Prepare Chocolate Coating: Melt chocolate chips and coconut oil in a microwave-safe bowl.
- Harden Chocolate: Dip each bar in melted chocolate and freeze for an additional 10 minutes.
Leave a Reply