
As I rolled the delicate dough in my hands, the sweet scent of ripe mangoes filled the air, immediately transporting me to sun-kissed tropical shores. Today, I’m excited to share my Homemade Mango Mochi recipe—a delightful treat that not only showcases the luscious flavor of mango but also brings an element of fun and creativity into your kitchen. This gluten-free dessert is easy to prepare and perfect for warm gatherings or simply indulging yourself. With the chewy texture reminiscent of a playful candy, you can also experiment with various fillings, opening up a world of fruity possibilities. What other flavors will you dare to explore in this delightful treat?
Why is Homemade Mango Mochi a Must-Try?
Chewy Delight: The unique texture of this mochi is both fun and satisfying, delivering a chewy experience that surprises every time.
Vibrant Flavors: Ripe mangoes take center stage, but this recipe encourages you to experiment with other fruits like strawberries or even matcha for a twist!
Quick and Easy: With just a few simple steps, you can create an impressive dessert without spending all day in the kitchen.
Gluten-Free Indulgence: Perfect for those with dietary restrictions, this treat ensures you won’t miss out on delicious desserts.
Crowd-Pleaser: Whether it’s for a summer gathering or a cozy night in, homemade mango mochi is bound to be a hit with everyone. If you love desserts that fuse creativity and flavor, try pairing it with a refreshing Winter Vegetable Quiche for a delightful meal.
Homemade Mango Mochi Ingredients
Get ready to embark on a fun culinary adventure with these simple ingredients for your Homemade Mango Mochi!
For the Filling
• Ripe Mango – Choose fresh or frozen mango for that sweet, vibrant flavor.
• Sugar – Provides the necessary sweetness; you can substitute with honey or maple syrup.
• Lemon Juice – Adds a bright zing that balances the sweetness; lime juice works well too.
• Cornstarch – Essential for thickening the filling, allowing it to stay scoopable.
For the Dough
• Glutinous Rice Flour (Mochiko) – The key to achieving that chewy texture; avoid using regular rice flour.
• Water – Hydrates the dough for the perfect consistency; it’s crucial for the recipe.
• Extra Starch (Corn or Potato Starch) – Prevents sticking while you shape the mochi, ensuring easy handling.
With these ingredients, you’re all set to create your delicious Homemade Mango Mochi! Enjoy experimenting with different fillings along the way!
Step‑by‑Step Instructions for Homemade Mango Mochi
Step 1: Prepare the Filling
Start by peeling and chopping ripe mangoes, then combine them with sugar and lemon juice in a small saucepan. Simmer over low heat for about 10 minutes until the mixture thickens and bubbles gently, stirring occasionally. Once it’s softened, blend it to a smooth puree, stir in cornstarch, and chill the filling in the refrigerator until firm.
Step 2: Make the Dough
In a mixing bowl, combine glutinous rice flour with water, stirring until smooth. Transfer the mixture to a microwave-safe bowl and heat in the microwave for 2-3 minutes, pausing every 30 seconds to stir. The dough should become milky white and glossy, indicating it’s ready—allow it to cool slightly before handling.
Step 3: Shape the Mochi
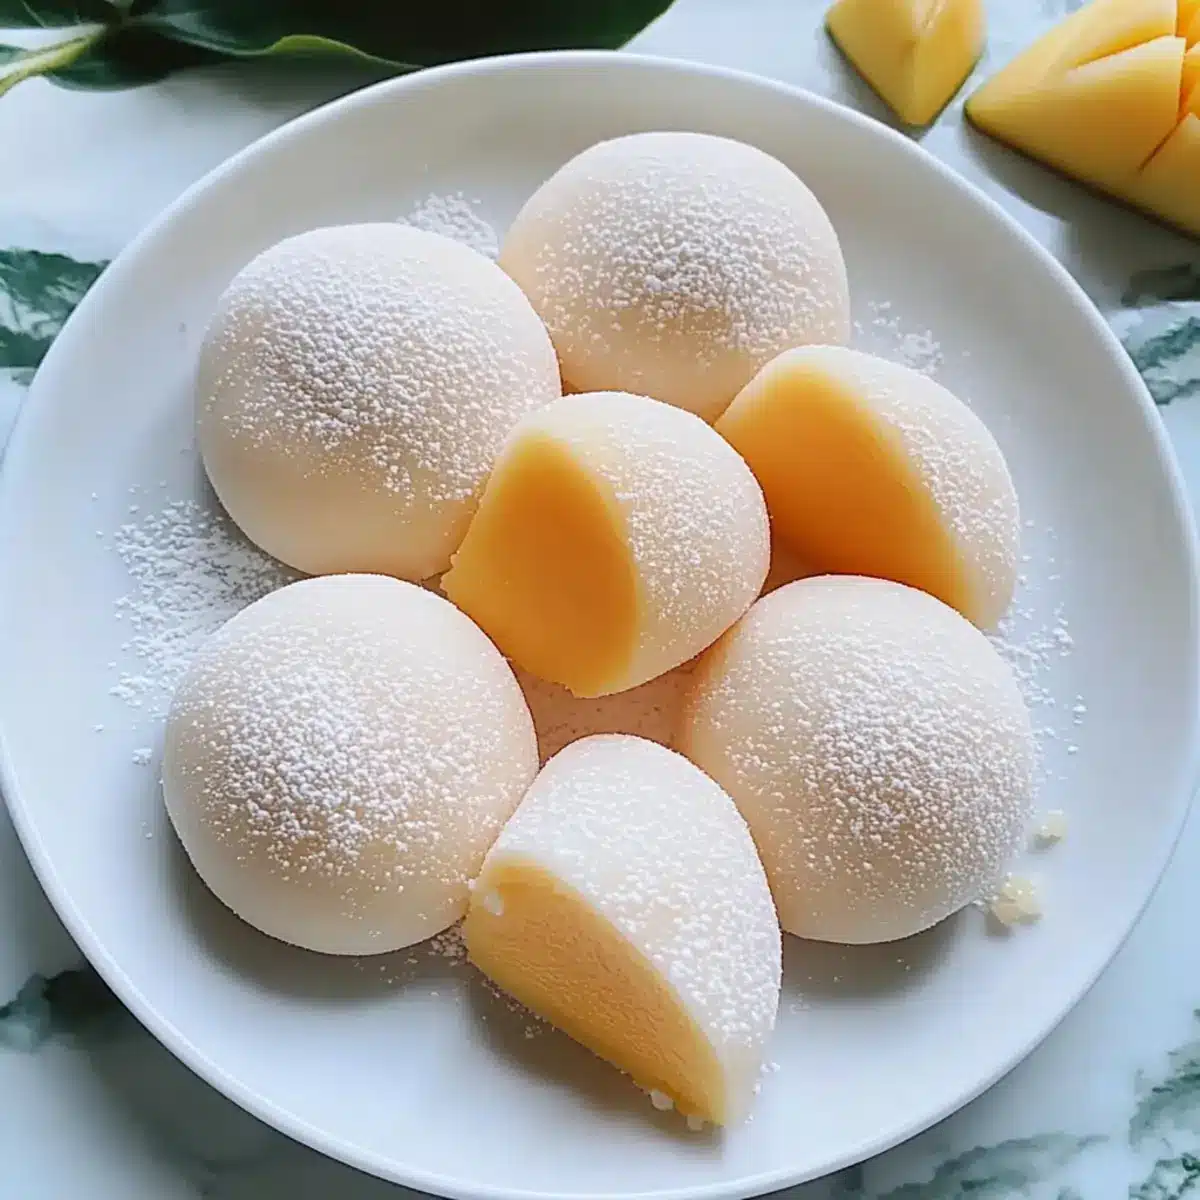
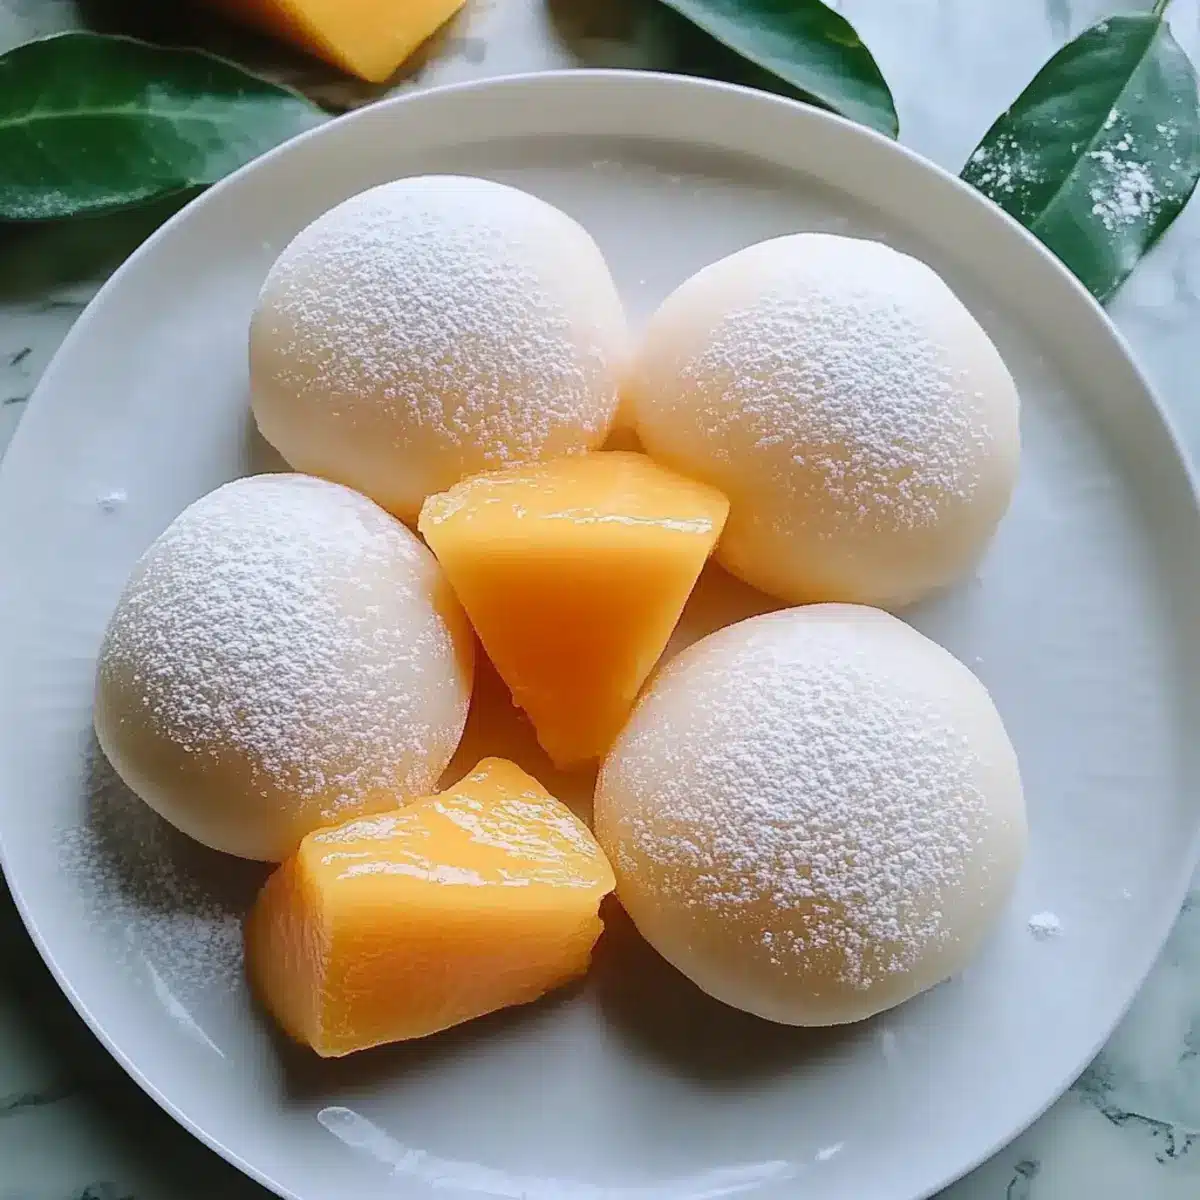
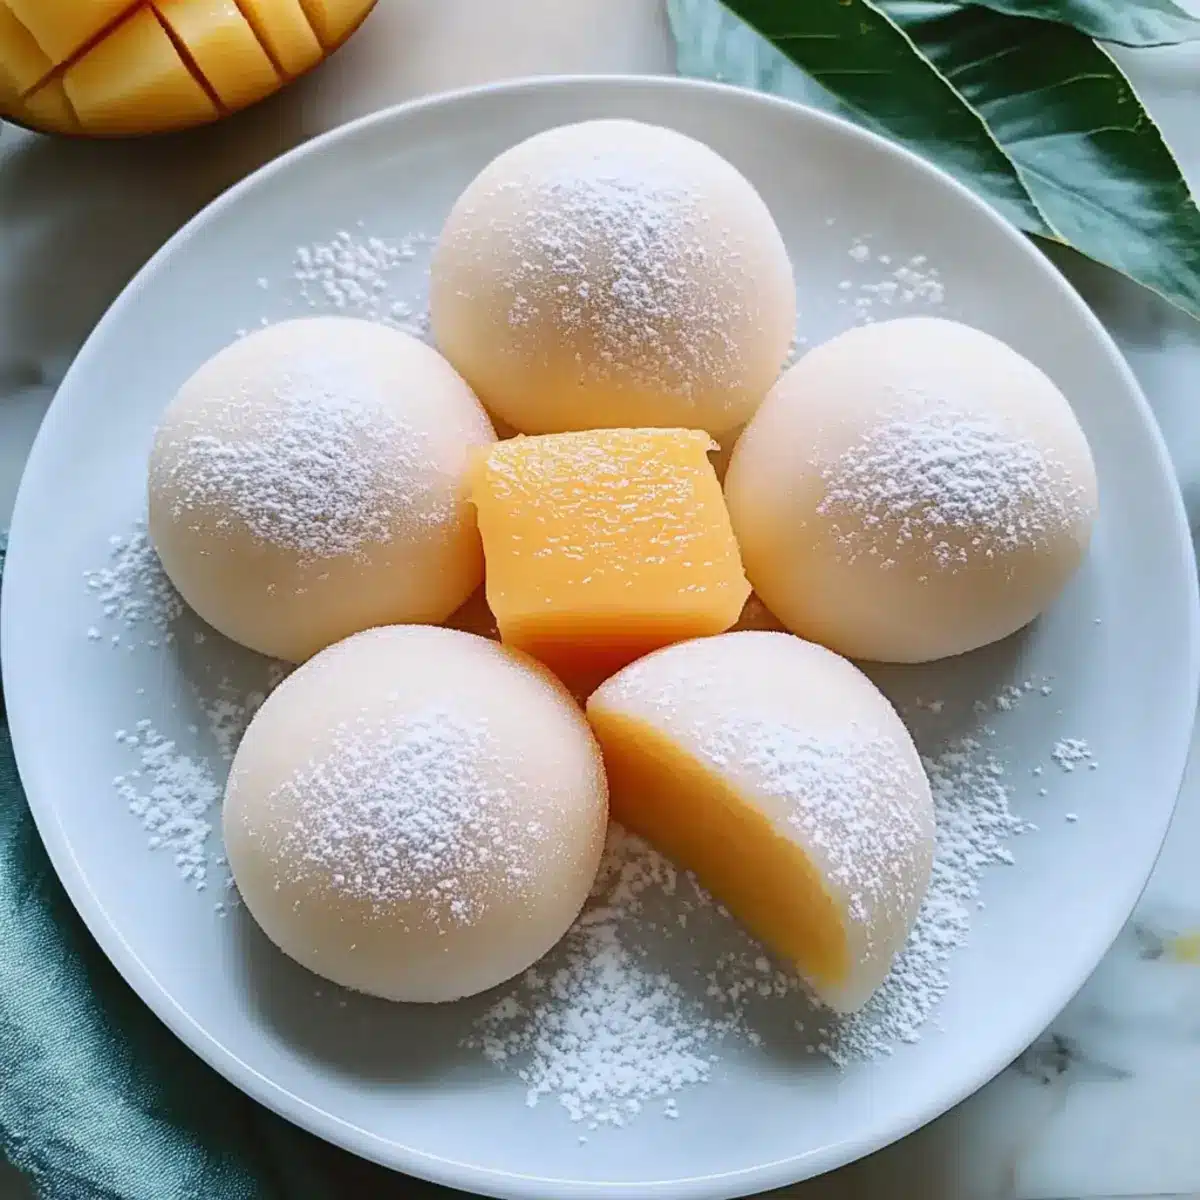
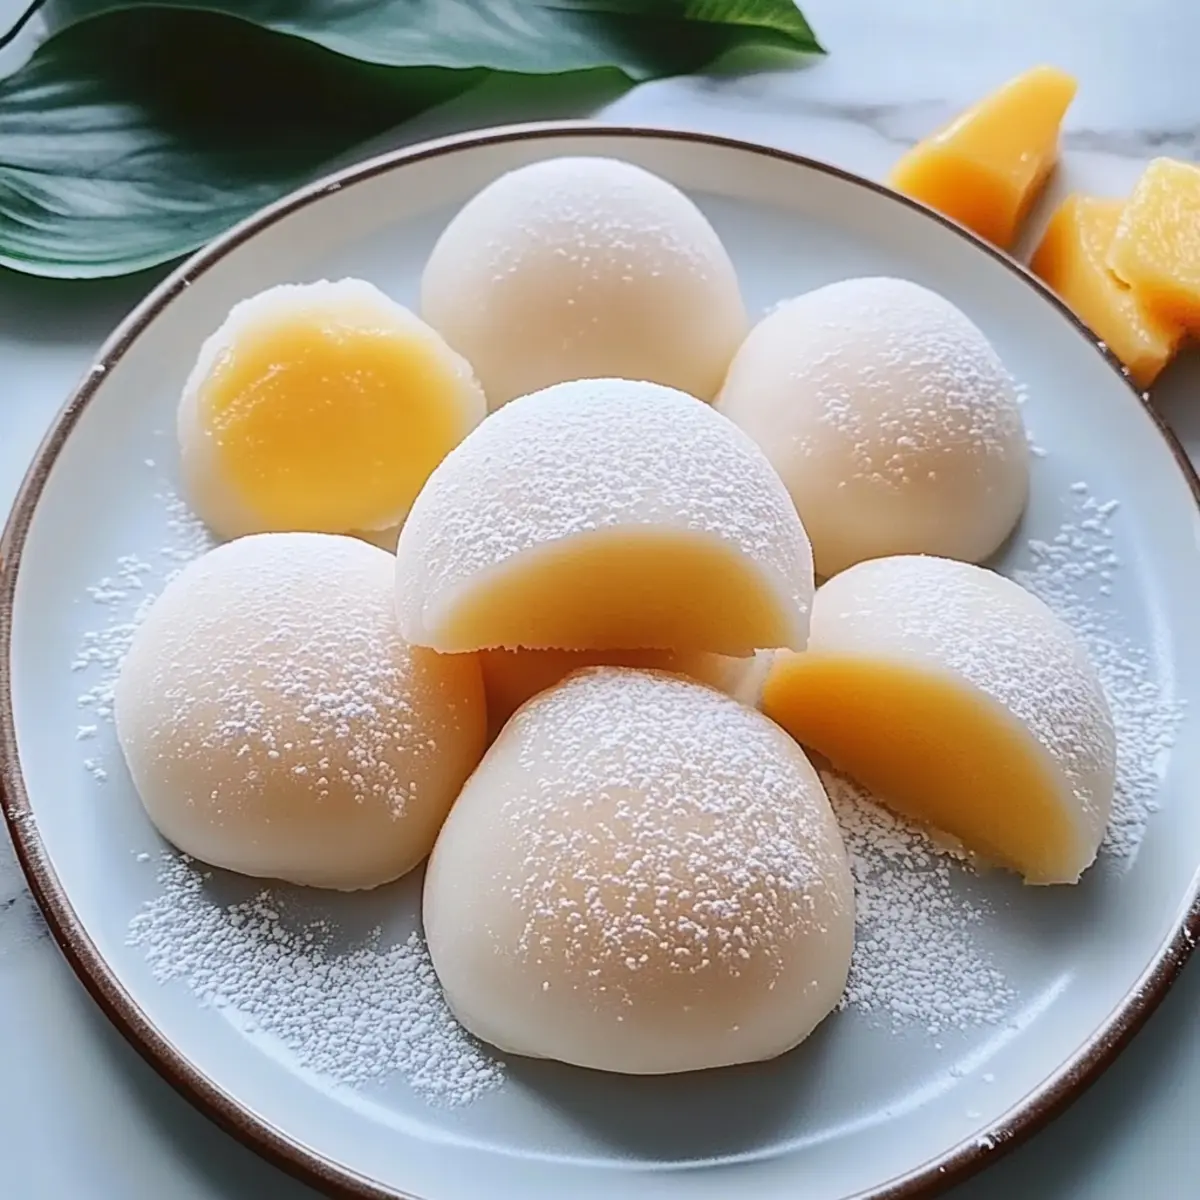
Dust your clean work surface generously with extra starch to prevent sticking. Take a portion of the warm dough and flatten it into a round circle, about 3 inches in diameter. Spoon a bit of the chilled mango filling in the center, gather the edges of the dough, seal them, and gently roll the mochi into a ball shape, making sure the filling is enclosed.
Step 4: Cool the Mochi
Place each shaped mochi on the dusted surface or in a storage container lined with parchment paper to prevent sticking. Allow the mochi to cool completely at room temperature; this step ensures they maintain their softness and delightful texture. Once cooled, you can enjoy your Homemade Mango Mochi or refrigerate them for a firmer bite.
Homemade Mango Mochi Variations
Embrace your creativity and customize the delightful flavors of this chewy treat!
- Fruit Swap: Try strawberries or matcha to create a unique filling that adds your favorite fruitiness or earthiness.
- Sweetener Change: Replace sugar with honey or maple syrup for an alternative sweetness that enhances flavor in a different way.
- Flavor Infusion: Add a splash of coconut milk to the filling for a tropical twist that beautifully complements the mango.
- Textural Twist: Mix in finely chopped nuts or seeds for added crunch and exciting bite, making each mochi a delightful surprise.
- Spice it Up: A pinch of chili powder can introduce a gentle heat; for more zest, add some finely grated ginger to the filling!
- Dusting Variety: Experiment with flavored starches, like cocoa powder or matcha, for dusting that adds extra flavor and richness to the finished product.
- Layered Experience: Consider a double-layer mochi by wrapping the mango filling in a thin layer of strawberry or taro dough for a stunning presentation and taste!
- Beverage Pairing: Serve with a cup of green tea or refreshing jasmine tea to enhance the mochi experience, creating a delightful balance with flavors.
Whether you stick with the classic mango or explore new fillings, this Homemade Mango Mochi is sure to delight! For more inspiration in the kitchen, check out how to make Healthy Homemade Butterfingers or indulge in a comforting Homemade Butter Chicken. Enjoy your culinary adventures!
Expert Tips for Homemade Mango Mochi
• Use Extra Starch: Generously dust your working surface and molds with cornstarch to prevent the dough from sticking; this is crucial for shaping the mochi properly.
• Chill the Filling: Ensure the mango filling is completely chilled before wrapping. This prevents leaks and helps maintain the consistency of your Homemade Mango Mochi.
• Handle with Care: When shaping the mochi, if the dough is too hot, it may melt the filling. Allow it to cool slightly before assembly for better results.
• Mind the Dough: If your dough is too sticky after microwaving, you can add a little more glutinous rice flour to achieve the right consistency and avoid any frustration during shaping.
• Store Properly: For the best texture, refrigerate finished mochi for a few hours before serving; they’ll be delightful and chewy when cold!
Make Ahead Options
These Homemade Mango Mochi are perfect for busy home cooks looking to save time without sacrificing flavor! You can prepare the mango filling up to 3 days in advance by simmering the mango with sugar and lemon juice, blending it into a puree, and chilling it until firm. Additionally, the dough can be made up to 24 hours ahead; simply store it tightly wrapped to maintain its quality. When you’re ready to serve, simply shape the mochi by filling the dough with the chilled mango filling, sealing the edges, and rolling them into balls. This way, you’ll have delightful mango mochi ready in no time, making your dessert experience just as enjoyable with minimal effort!
What to Serve with Homemade Mango Mochi
Elevate your dining experience with complementary dishes that perfectly balance the chewy sweetness of this delightful treat.
-
Coconut Milk Drizzle: A light drizzle adds a tropical creaminess that enhances the mochi’s fruity flavor, creating a cohesive dessert experience.
-
Fresh Berries: Strawberries, blueberries, or raspberries bring brightness and acidity, cutting through the sweetness of the mango and making each bite refreshing.
-
Mango Sorbet: Serve alongside a scoop of mango sorbet for an extra burst of fruit flavor, intensifying that tropical vibe on your plate.
-
Green Tea: A warm cup of green tea serves as a perfect palate cleanser and complements the mochi’s texture, providing a delightful, balanced taste.
-
Lemon Sorbet: This tangy option contrasts beautifully with the sweetness of the mochi, offering a refreshing twist to your dessert spread.
-
Matcha Powder: Dusting some matcha over the mochi adds a stunning visual touch and introduces an earthy flavor that enhances the sweet mango filling.
-
Sesame Cookies: Their crunchy texture provides a delightful contrast to the chewy mochi, making for a fun and varied dessert experience.
-
Lychee Salad: A light, fruity salad with fresh lychee adds a bright and unexpected twist, bringing added layers of sweetness and textures alongside the mochi.
How to Store and Freeze Homemade Mango Mochi
Room Temperature: Store your Homemade Mango Mochi for up to 1 day in a covered container to keep them soft and fresh.
Fridge: Keep mochi in an airtight container for 2-3 days; allow them to come to room temperature before serving for the best texture and flavor.
Freezer: You can freeze mochi for up to 1 month; place them in a single layer on a baking sheet before transferring to a freezer-safe bag. Thaw gradually at room temperature to maintain their delightful chewiness.
Homemade Mango Mochi Recipe FAQs
How do I choose the best ripe mango for this recipe?
Absolutely! When selecting mangoes, look for ones that yield slightly to gentle pressure and have a sweet, fruity aroma. Avoid mangoes with dark spots all over, as those may indicate overripeness. A vibrant color is also a good sign of sweetness. You can use fresh or frozen mango, but fresh will give the best flavor.
What’s the best way to store homemade mango mochi?
Very! To keep your Homemade Mango Mochi fresh, store them in an airtight container in the refrigerator for up to 2-3 days. If you want to enjoy them later, it’s best to allow them to come to room temperature before serving for optimal texture.
Can I freeze homemade mango mochi?
Absolutely! To freeze your mochi, first place them in a single layer on a baking sheet to freeze them individually. Once firm, transfer the mochi to a freezer-safe bag. They can be stored for up to 1 month. Thaw them gradually at room temperature to maintain that delightful chewiness.
What can I do if my dough is too sticky to handle?
If your dough is too sticky after microwaving, don’t worry! Simply sprinkle a little more glutinous rice flour over the dough and knead it lightly until you achieve a workable consistency. Also, ensuring your work surface is dusted generously with extra starch can help prevent sticking during the shaping process.
Are there any dietary considerations for homemade mango mochi?
Very! This recipe is gluten-free when using glutinous rice flour (Mochiko) rather than regular rice flour. However, if you have any specific allergies, it’s best to check all ingredient labels. Additionally, be cautious with sugar levels if you’re watching your intake. If making for pets, please note that mango is safe in small quantities, but it’s always wise to consult your vet for dietary restrictions.
Can I experiment with different fillings in this recipe?
Very! The fun part about Homemade Mango Mochi is the versatility in fillings. Feel free to experiment! You can substitute mango with strawberries, matcha, or even a combination of your favorite fruits. Just ensure that any filling is balanced in sweetness and has a similar consistency to the original mango filling to avoid leaks during assembly.
Craft Easy Homemade Mango Mochi for a Chewy Delight
Ingredients
Equipment
Method
- Prepare the Filling: Peel and chop ripe mangoes, combine with sugar and lemon juice in a saucepan. Simmer for 10 minutes, blend to a puree, stir in cornstarch, and chill.
- Make the Dough: Mix glutinous rice flour with water until smooth. Microwave for 2-3 minutes, stirring every 30 seconds, then allow to cool.
- Shape the Mochi: Dust a surface with starch, flatten a portion of dough, add filling, seal edges, and shape into a ball.
- Cool the Mochi: Place the shaped mochi on a dusted surface or lined container and cool completely. Enjoy or refrigerate.
Leave a Reply