
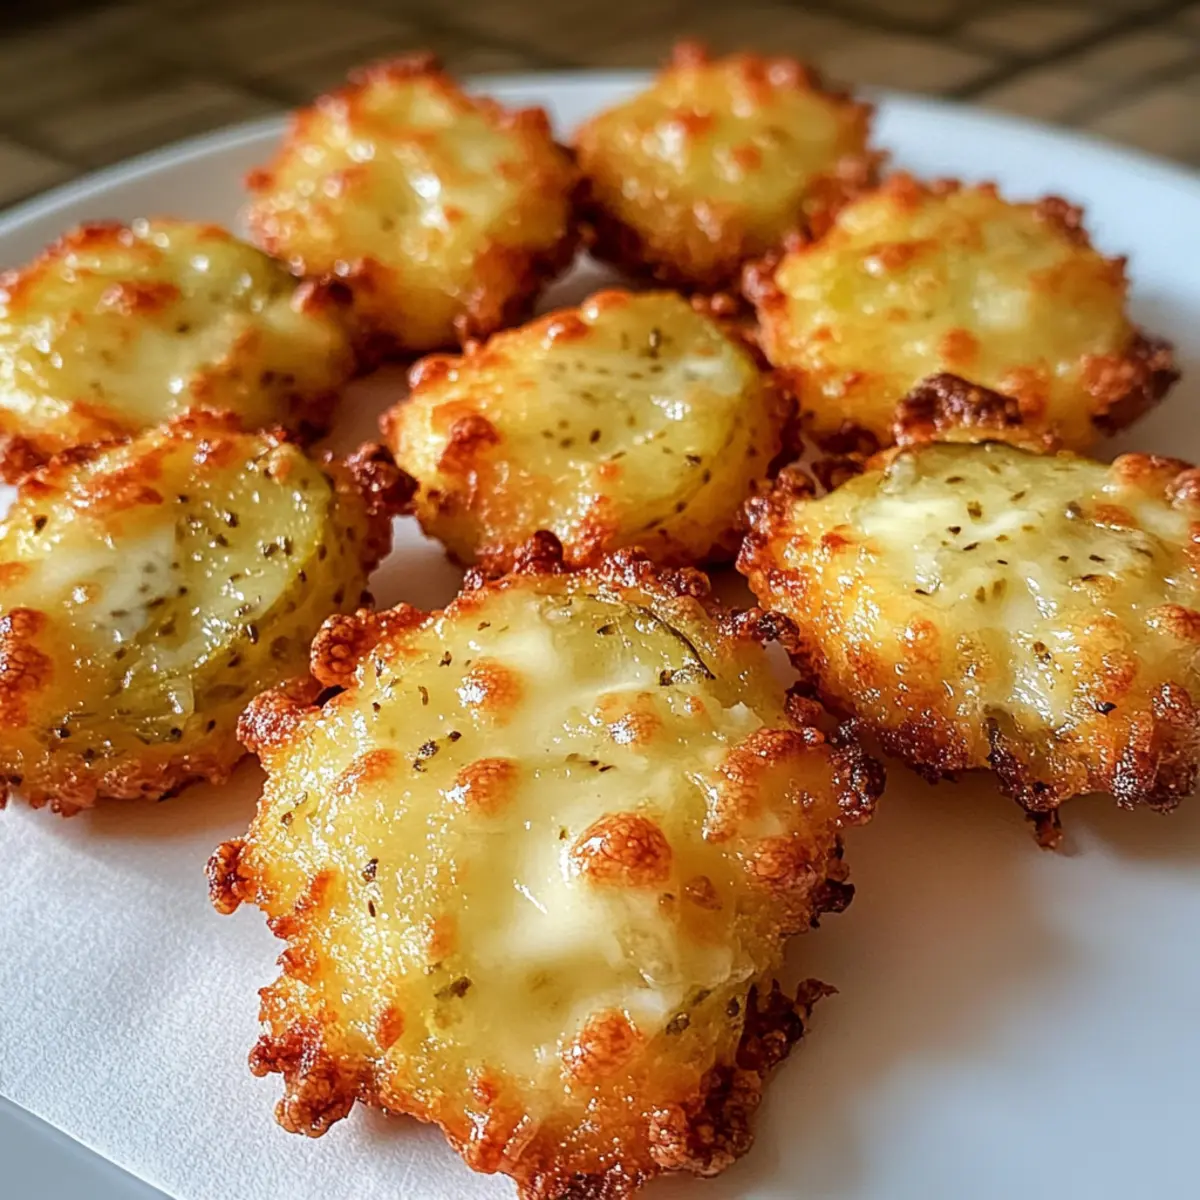
As I rummaged through my pantry one afternoon, I stumbled upon an unexpected treasure: a jar of tangy dill pickles just waiting to be transformed. Thus began my quest for a delightful snack, leading me to create these Crispy Pickle Cheese Bites. They’re the ultimate treat for those moments when you crave something crispy, cheesy, and utterly satisfying. Ready in just 20 minutes, this recipe is perfect for game day gatherings or a comforting midnight snack. Plus, there’s a gluten-free option, making it accessible for everyone to enjoy their crunchy, gooey goodness. Are you ready to elevate your snacking game with these irresistible bites? Let’s dive into the recipe!
Why Are These Pickle Cheese Bites Irresistible?
Quick and Easy: These Crispy Pickle Cheese Bites are ready in just 20 minutes, making them a perfect last-minute snack for unexpected guests or late-night cravings.
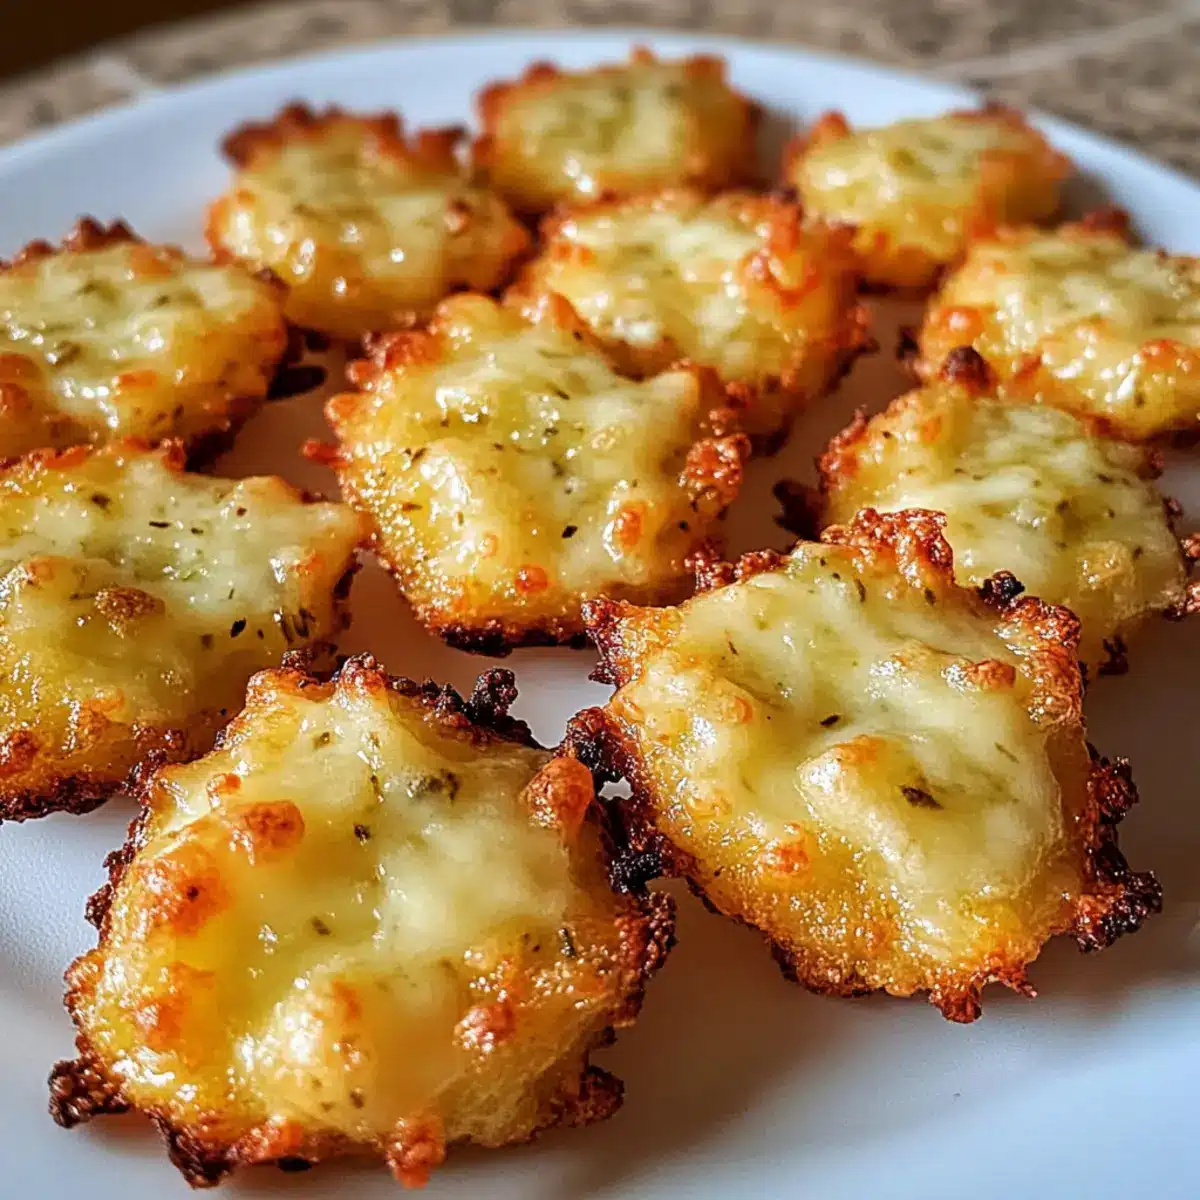
Flavorful Fusion: Experience a delightful combination of tangy pickles and melty cheese that creates a symphony of taste in every bite, making them a crowd-pleaser at any gathering.
Versatile Ingredients: Easily customize them by swapping cheeses or pickles; try adding pepper jack for a spicy twist, or opt for bread-and-butter pickles for a sweeter flavor profile.
Gluten-Free Option: Accommodating everyone is simple—just use gluten-free breadcrumbs or skip them altogether without sacrificing crunchiness.
Perfect for Dipping: Enjoy these bites alongside your favorite sauces like ranch or spicy sriracha mayo to elevate your snacking experience even further!
Pickle Cheese Bites Ingredients
-
For the Cheese Mixture
• Shredded Cheddar Cheese – Adds sharpness and creaminess; substitute Monterey Jack for a spicy flavor.
• Shredded Mozzarella Cheese – Provides stretch and gooiness; can use Provolone or Gouda if needed. -
For the Pickles
• Finely Chopped Dill Pickles – Delivers tangy flavor and crunch; ensure they’re not too watery for the best results. -
For Seasoning
• Garlic Powder – Adds a savory depth; optional if you prefer a simpler taste. -
For Crispiness
• Breadcrumbs (optional) – Enhances crunch; use gluten-free breadcrumbs for a gluten-free option. -
For Baking
• Nonstick Spray or Parchment Paper – Prevents sticking during baking; necessary for easy cleanup and achieving that perfect texture.
Step‑by‑Step Instructions for Crispy Pickle Cheese Bites
Step 1: Preheat the Oven
Begin by preheating your oven to 375°F (190°C). While it heats, prepare a baking sheet by lining it with parchment paper or spraying it with nonstick spray. This will ensure that your Crispy Pickle Cheese Bites don’t stick during their baking journey, allowing for an easy release and perfect texture after cooking.
Step 2: Mix the Ingredients
In a large mixing bowl, combine the shredded cheddar and mozzarella cheeses along with the finely chopped dill pickles and garlic powder, if using. Stir until the ingredients are well incorporated. If you’re opting to include breadcrumbs for extra crunch, fold them into the mixture until you achieve an even consistency. This step is essential to creating those delightful flavors that define your Pickle Cheese Bites.
Step 3: Shape the Mixture
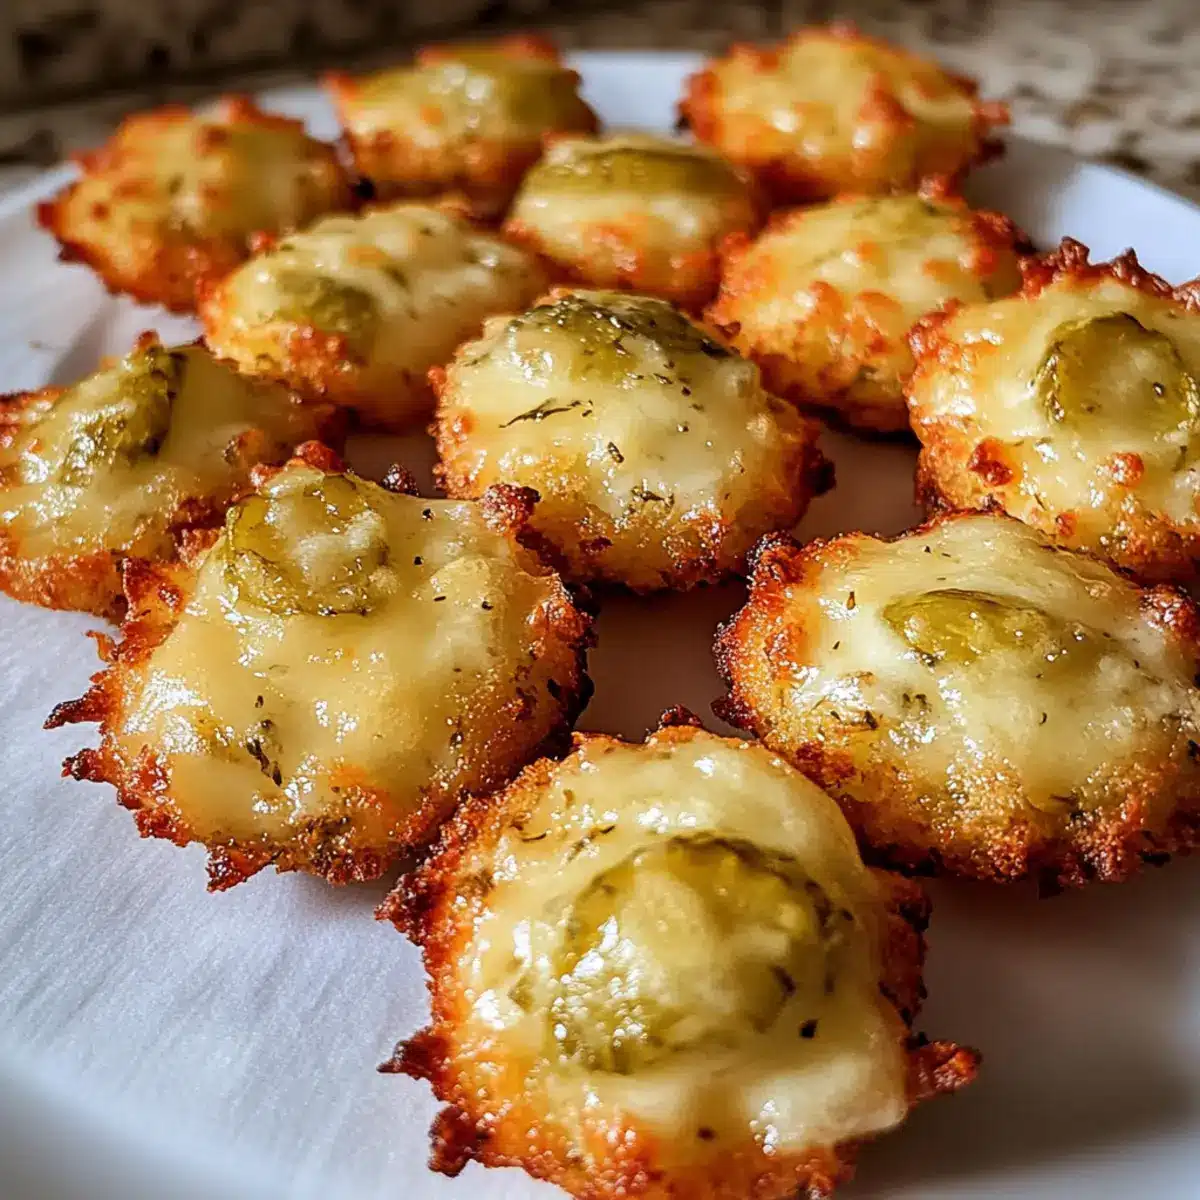
With your hands, take small portions of the cheese and pickle mixture and roll them into bite-sized balls. Aim for about 1 inch in diameter for each bite, ensuring they are uniform in size for even cooking. Place the formed bites on the prepared baking sheet, making sure to leave some space between each one. This will allow the heat to circulate around them, achieving that crispy exterior.
Step 4: Bake the Bites
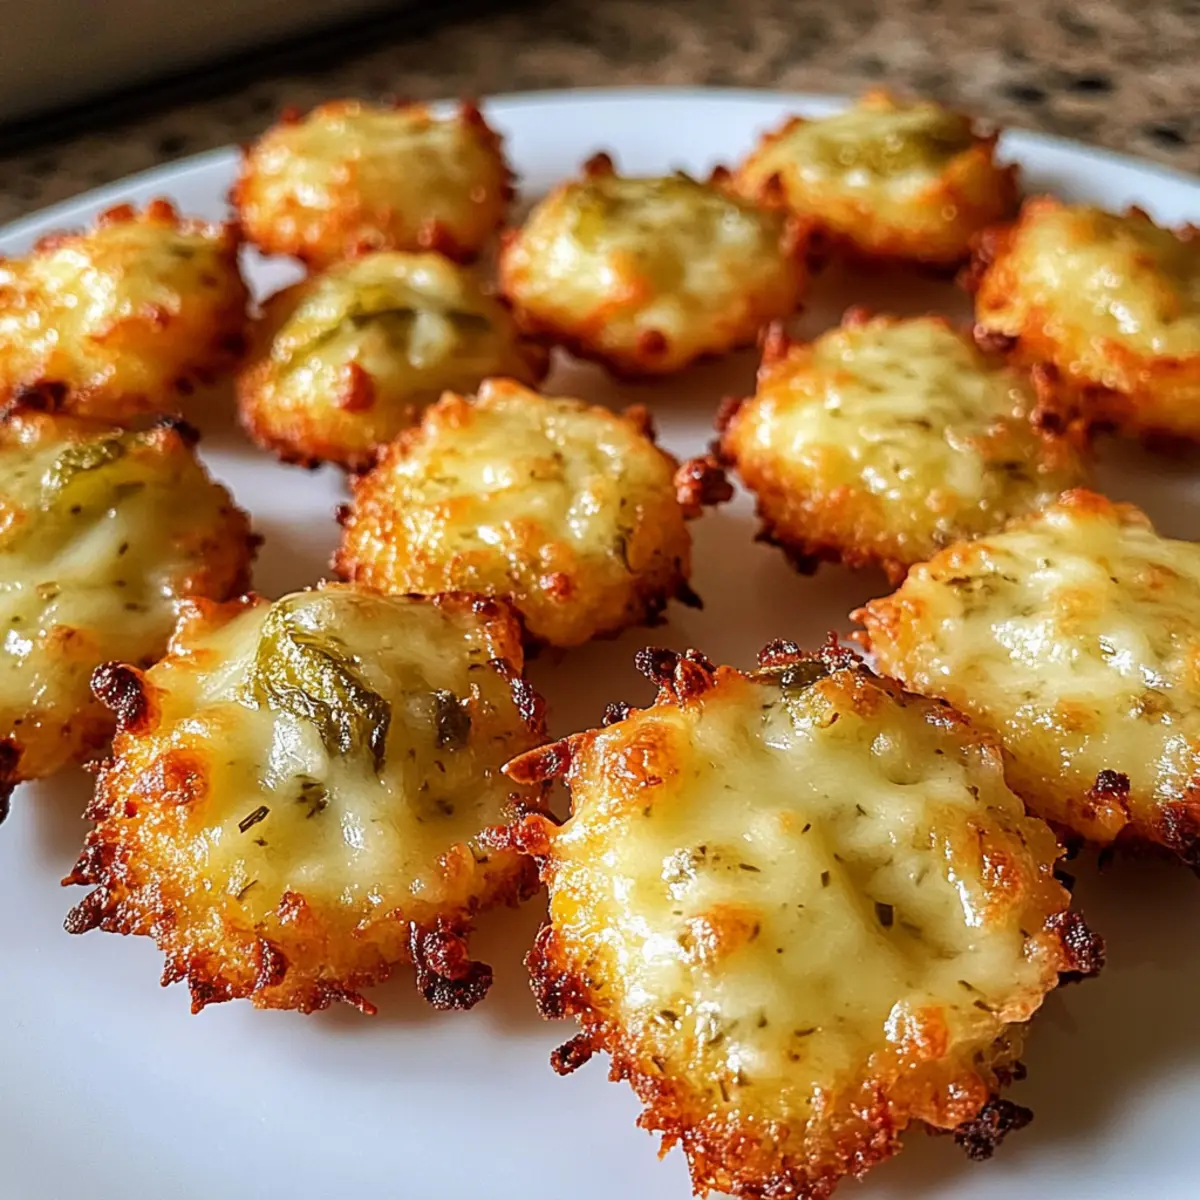
Slide the baking sheet into the preheated oven and bake for approximately 10 minutes. Keep an eye on them as they cook; you’ll know they’re ready when they turn a beautiful golden brown and the cheese is bubbly. The tantalizing aroma of melted cheese and pickles will surely fill your kitchen, signaling that your Crispy Pickle Cheese Bites are nearly ready.
Step 5: Cool Before Serving
Once baked to perfection, take the baking sheet from the oven and allow the bites to cool for a few minutes. This brief cooling period is crucial as it prevents burns and allows the flavors to meld beautifully. Serve warm and watch as these delicious bites become the star of your snack table, inviting everyone to dig in!
What to Serve with Crispy Pickle Cheese Bites
Elevate your snacking experience with delightful pairings that complement the cheesy, crunchy goodness of these bites.
-
Ranch Dressing: A classic dip that provides a creamy contrast to the tangy flavors of the pickle bites, enhancing each bite’s richness.
-
Spicy Sriracha Mayo: For those who crave heat, this zesty mayo adds a fiery kick that pairs beautifully with the coolness of pickles.
-
Cool Dill Yogurt Sauce: A refreshing dip that echoes the dill in your bites, making for a harmonious and flavorful balance with every mouthful.
-
Fresh Garden Salad: Crisp greens and vibrant veggies offer a refreshing crunch that brightens up your plate and contrasts against the richness of the cheesy bites.
-
Sweet Potato Fries: The natural sweetness of fries perfectly contrasts with the savory, tangy bites, providing a delightful textural and flavor combination.
-
Craft Beer or Cider: A cold, bubbly brew enhances the snacking experience, with its effervescence cutting through the richness of the cheese while complementing the pickle’s tang.
-
Fruit Skewers: Fresh fruit adds a burst of sweetness and freshness, creating a delightful palate cleansing between bites of cheese and pickles.
-
Cheese Platter: Incorporate a variety of cheeses for an elegant touch; creamy brie or sharp blue cheese pairs delightfully with crispy pickle bites.
-
Pickled Veggies: Keep the flavor theme going with an assortment of tangy, crunchy pickled vegetables for a fun and bold snacking experience.
Pickle Cheese Bites Variations
Embrace your culinary creativity with these delightful twists on the classic recipe!
-
Cheese Swap: Use Monterey Jack for a creamy melt or pepper jack for a spicy surprise. The creamy texture of Monterey Jack beautifully melds with pickles, enhancing every bite.
-
Pickle Options: Experiment with bread-and-butter pickles for a sweeter flavor that contrasts perfectly with the salty cheese. This twist adds a delightful hint of sweetness that can surprise your taste buds!
-
Spicy Kick: Incorporate pickled jalapeños into the mix for those who crave some heat. They’ll bring a fiery zest that elevates your cheese bites to a whole new level.
-
Gluten-Free Delight: Switch to gluten-free breadcrumbs to make your bites accessible to everyone. This simple substitute ensures that no one misses out on the crunchy goodness.
-
Gouda Goodness: Substitute shredded Gouda for a rich and smoky flavor. It adds depth while maintaining that gooey texture we all love.
-
Herb Infusion: Add fresh dill or chives to the cheese mixture for a fresh, herbal note. These fresh herbs will add a pop of color and freshness to your bites.
-
Smoky Flavor Boost: Sprinkle in some smoked paprika for a hint of smokiness that complements the pickles. It transforms your bites into a savory treat with an intriguing twist.
-
Nuts for Crunch: Toss in a handful of crushed pecans or walnuts to introduce a delightful crunch and added nutty flavor. The added texture will surprise and please your guests!
For more delicious variations and finger food recipes, explore my Chicken Philly Cheese and Wrapped Mozzarella Bites. Dive into flavor adventures today!
Expert Tips for Crispy Pickle Cheese Bites
-
Chill the Mixture: Allow the cheese and pickle mixture to chill in the fridge for about 10 minutes if it feels too sticky; this makes shaping easier.
-
Blot Your Pickles: Before mixing, make sure to blot the chopped dill pickles with a paper towel to soak up excess moisture, ensuring a crunchier bite.
-
Experiment with Flavors: Enhance your Pickle Cheese Bites with spices like smoked paprika or onion powder to elevate the flavor profile and surprise your taste buds.
-
Watch the Bake Time: Keep an eye on your bites while baking; every oven is different, and you’ll want them just golden without overcooking.
-
Avoid Microwave Reheating: For best results when reheating leftovers, bake them at 350°F for 5-7 minutes instead of using the microwave to retain their crispiness.
Storage Tips for Crispy Pickle Cheese Bites
-
Fridge: Store any leftover Crispy Pickle Cheese Bites in an airtight container for up to 2 days to maintain their flavor and freshness.
-
Freezer: While not recommended for freezing due to texture changes, if necessary, freeze in a single layer on a baking sheet, then transfer to an airtight container. Use within 1 month for the best quality.
-
Reheating: To restore crispiness, reheat in the oven at 350°F (175°C) for 5-7 minutes instead of using the microwave, as this helps maintain the delightful crunch.
-
Room Temperature: Avoid leaving the bites at room temperature for more than 2 hours to ensure food safety and prevent spoilage.
Make Ahead Options
These Crispy Pickle Cheese Bites are ideal for meal prep enthusiasts! You can prepare the cheese and pickle mixture up to 24 hours in advance—just mix the ingredients together and store them in an airtight container in the refrigerator. To keep them crispy, you can also shape the bites and place them on a baking sheet lined with parchment paper, then refrigerate them until you’re ready to bake. When it’s time to serve, simply pop them in the oven straight from the fridge, adding an extra couple of minutes to the baking time if needed. With this approach, you’ll enjoy delicious and effortless snacking without the last-minute rush!
Crispy Dill Pickle Cheese Bites Recipe FAQs
What kind of pickles should I use for the best flavor?
It’s best to use finely chopped dill pickles for that perfect tangy flavor in your Crispy Dill Pickle Cheese Bites. Avoid fresh cucumbers, as they can turn watery during baking, which might affect the texture. If you’re feeling adventurous, swapping in bread-and-butter pickles can offer a lovely sweetness that contrasts beautifully with the cheeses!
How can I store leftover Pickle Cheese Bites?
Store any leftovers in an airtight container in the fridge for up to 2 days. Make sure they’re completely cooled before sealing; this helps preserve their freshness. If they’re still warm, condensation can form, making them soggy.
Can I freeze Crispy Pickle Cheese Bites?
While freezing isn’t ideal due to texture changes, you can freeze them if needed. Simply lay them out in a single layer on a baking sheet to freeze individually for about an hour. Then transfer them to an airtight container and use them within 1 month for the best quality. When ready to eat, bake them from frozen at 375°F (190°C) for 12-15 minutes, watching closely for that golden-brown color.
What if my mixture is too sticky to shape?
Absolutely no worries! If the mixture feels too sticky, chill it in the fridge for about 10 minutes. This will help firm up the cheese and pickle mixture, making it easier to shape into those perfect bite-sized balls without a fuss.
Are these Pickle Cheese Bites safe for my gluten-free friends?
Yes! For a gluten-free option, simply omit the breadcrumbs or substitute them with gluten-free breadcrumbs. This way, everyone can join in the fun without worrying about dietary restrictions!
How should I reheat my leftovers?
To restore that delightful crispiness, reheat your leftover Crispy Dill Pickle Cheese Bites in the oven at 350°F (175°C) for about 5-7 minutes. This method helps maintain their delicious crunch. Avoid using the microwave, as it can make them soggy and lose their appeal!
Crispy Pickle Cheese Bites for Irresistible Snacking Fun
Ingredients
Equipment
Method
- Preheat your oven to 375°F (190°C) and prepare a baking sheet with parchment paper or nonstick spray.
- In a large mixing bowl, combine the shredded cheddar and mozzarella cheeses with the finely chopped dill pickles and garlic powder, if using. Stir until well incorporated.
- Take small portions of the mixture and roll them into 1-inch bite-sized balls, placing them on the prepared baking sheet with space between each.
- Bake the bites for about 10 minutes, or until golden brown and bubbly.
- Allow the bites to cool for a few minutes before serving warm.
Leave a Reply