
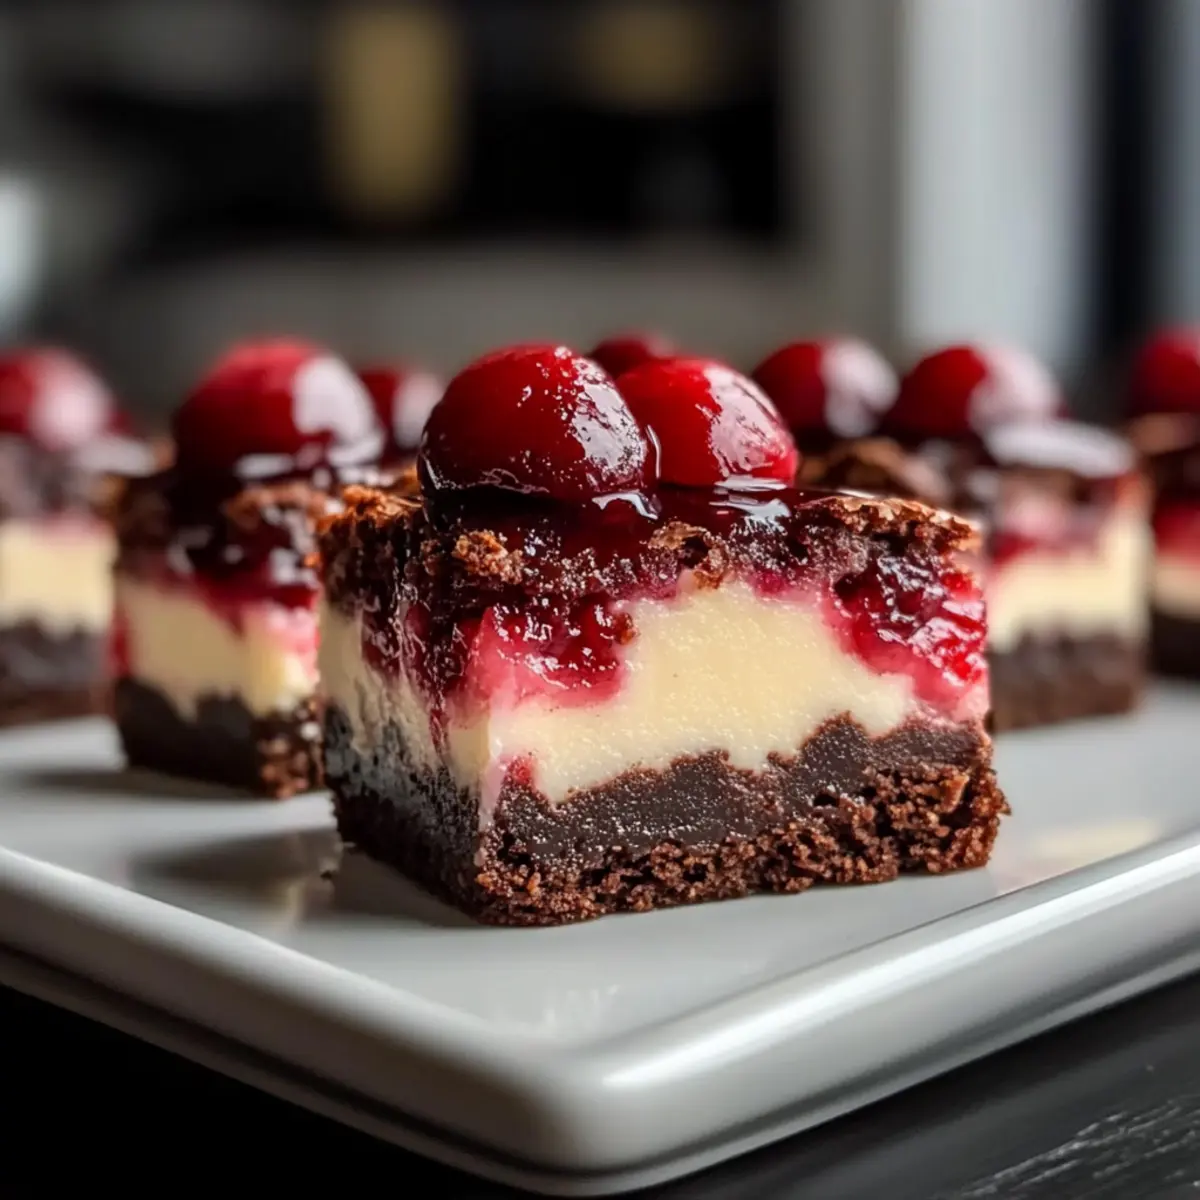
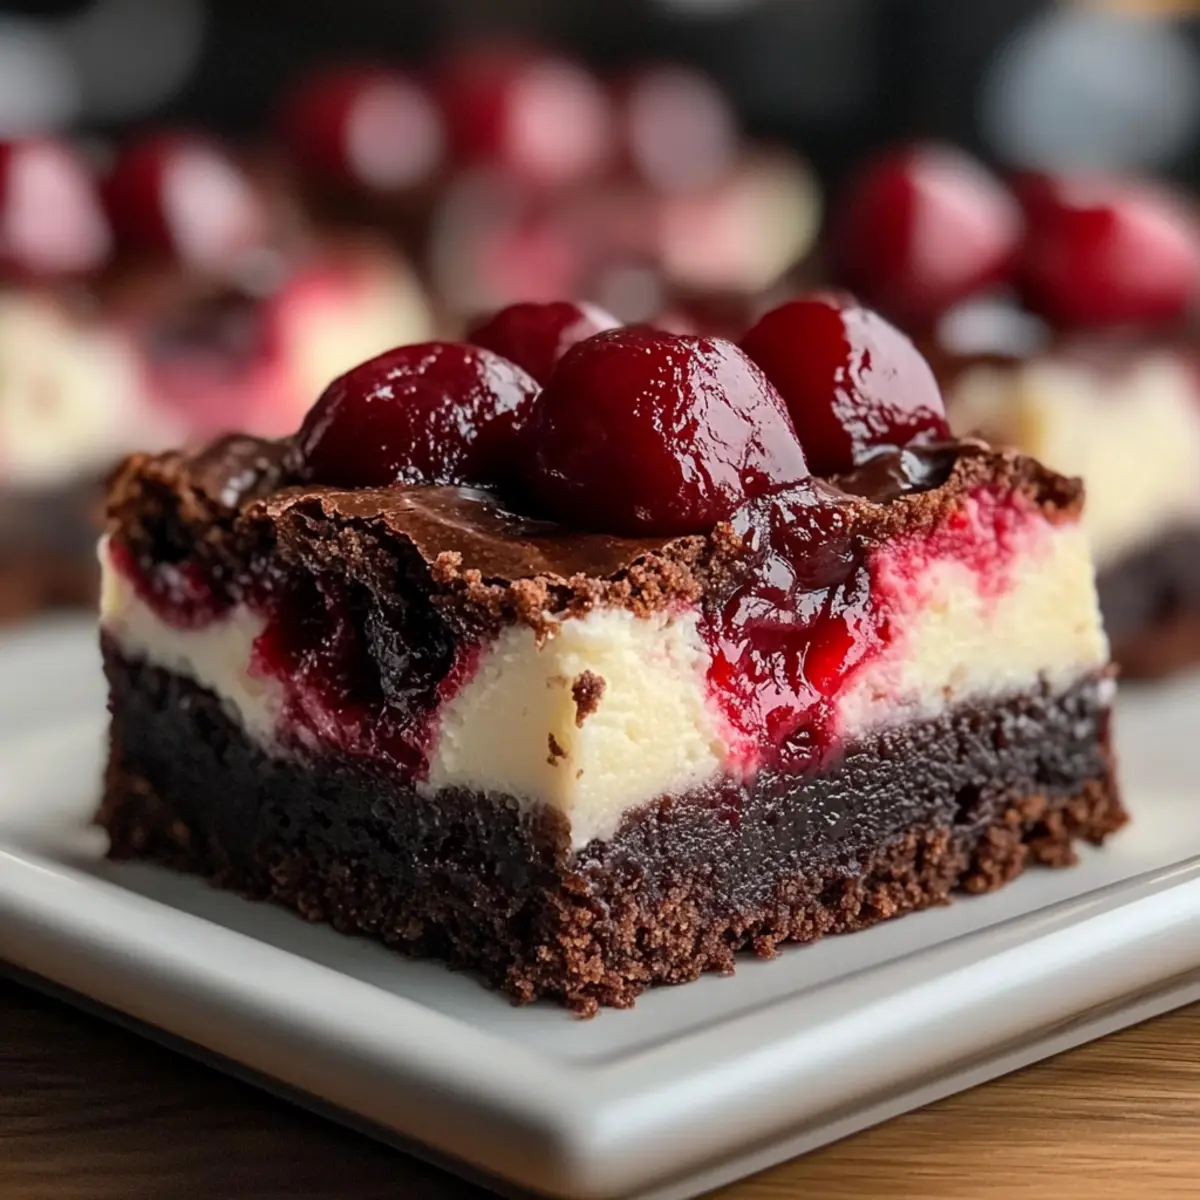
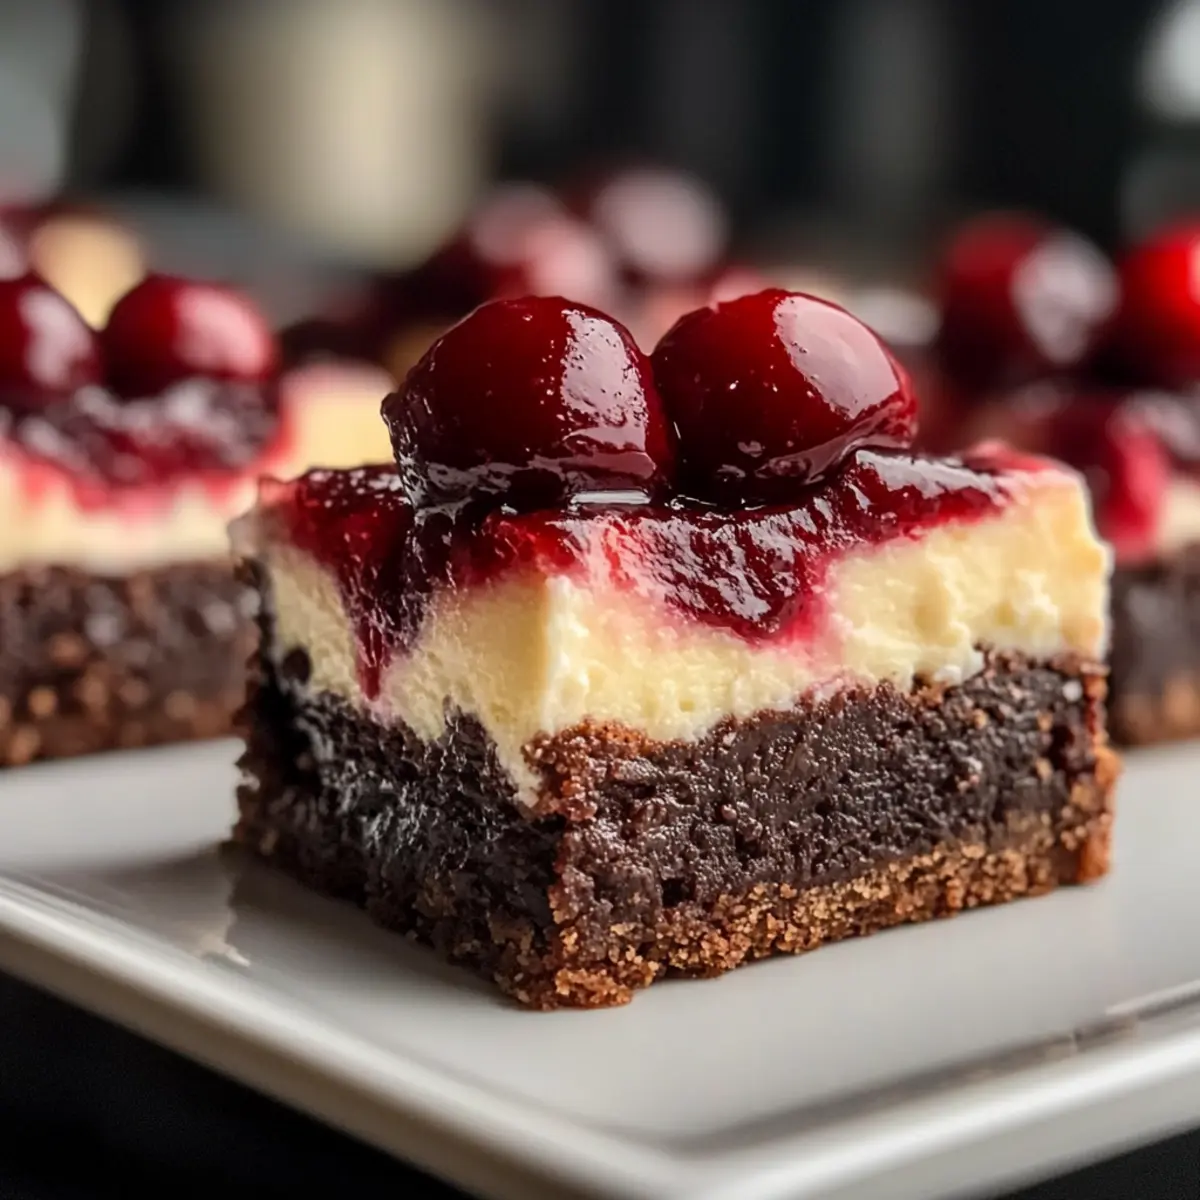
In the heart of my kitchen, a delightful transformation occurs whenever I bake up a batch of these Cherry Cheesecake Brownie Bars. The moment I blend the rich, fudgy brownie base with the silky creaminess of the cheesecake and a pop of tart cherry filling, I know I’m in for a treat. These bars are not only a crowd-pleaser but also a lifesaver for those busy days; they come together in just 30 minutes! Perfect for any occasion, whether it’s a cozy family gathering or a sweet gift for a friend, this recipe is easily adaptable for gluten-free diets, ensuring everyone can indulge. Are you ready to create an unforgettable dessert that will have your loved ones coming back for seconds? Let’s get started!

Why is This Recipe a Must-Try?
Quick Preparation: In just 30 minutes, these bars transform from simple ingredients to a decadent dessert. Perfect for a last-minute treat!
Irresistible Flavor Combination: The blend of creamy cheesecake and tart cherries atop a fudgy brownie base creates a delightful balance that satisfies any sweet tooth.
Versatile Options: Easily adapt the recipe with different fruit fillings or flavor twists to suit any palate or occasion—try substituting cherries with blueberries for a fresh twist!
Crowd-Pleasing Dessert: These bars are sure to impress at gatherings, as they’re perfect for sharing. Whether it’s a family dinner or a picnic, they won’t last long.
Gluten-Free Friendly: Love the flavors but need gluten-free options? You can swap in a gluten-free flour blend without sacrificing taste! For more variations, check out my delicious Red Velvet Cheesecake or Pecan Shortbread Bars.
Cherry Cheesecake Brownie Bars Ingredients
For the Brownie Layer
- Butter – Adds richness and moisture; ensure it’s fully melted for the best texture.
- Sugar – Provides sweetness and structure; granulated sugar is the go-to choice.
- Eggs – Binds the ingredients; using room temperature eggs yields better results.
- Vanilla Extract – Introduces aromatic sweetness; pure extract provides richer flavor.
- All-Purpose Flour – Creates the brownie base structure; can be substituted with a gluten-free 1:1 blend.
- Cocoa Powder – Infuses rich chocolate flavor; opt for high-quality, unsweetened cocoa.
- Salt – Balances sweetness and enhances flavors within the recipe.
For the Cheesecake Layer
- Cream Cheese – Essential for creaminess and tang; always use softened cream cheese for a silky texture.
- Cherry Pie Filling – Provides tartness and fruity goodness; fresh or frozen cherries can be substituted for a homemade filling.
These delicious Cherry Cheesecake Brownie Bars come together beautifully with a careful selection of ingredients, ensuring a sweet treat that will leave everyone craving more!
Step‑by‑Step Instructions for Cherry Cheesecake Brownie Bars
Step 1: Prep and Preheat
Begin by preheating your oven to 350°F (175°C) to ensure it’s hot and ready. While it warms, grease a 9×13-inch baking pan with cooking spray or butter, ensuring that every corner is coated for easy removal later. This prep is essential for achieving perfect Cherry Cheesecake Brownie Bars without sticking.
Step 2: Mix the Brownie Batter
In a large mixing bowl, combine melted butter and granulated sugar, stirring until smooth and glossy. Incorporate two room temperature eggs and a splash of vanilla extract, blending well to create a harmonious mixture. Gently fold in all-purpose flour, unsweetened cocoa powder, and a pinch of salt until just combined; avoid overmixing to keep your brownies fudgy.
Step 3: Spread the Brownie Layer
Pour the rich brownie batter into your prepared pan, using a spatula to spread it evenly across the bottom. Ensure the layer is level so it bakes uniformly; a slightly thick layer will create a decadent base for your Cherry Cheesecake Brownie Bars. Place it aside while you prepare the cheesecake topping.
Step 4: Make the Cheesecake Layer
In another bowl, beat softened cream cheese and sugar until creamy and smooth, ensuring all lumps are gone. Add in another egg and a teaspoon of vanilla extract, mixing until fully blended. This mixture should be light and fluffy, forming a delightful cheesecake layer that perfectly complements the brownie base.
Step 5: Layer and Swirl
Carefully pour the cheesecake mixture over the brownie layer, spreading it evenly with a spatula. Next, dollop spoonfuls of cherry pie filling on top of the cheesecake. Using a knife or skewer, gently swirl the cherry filling into the cream cheese layer, creating a beautiful marbled effect while being careful not to over-swish for distinct layers.
Step 6: Bake and Cool
Place your pan in the preheated oven and bake for approximately 30 minutes. You’ll know it’s done when the edges are set, but the center is still slightly jiggly, indicating a creamy texture. Once baked, remove the dish and let the Cherry Cheesecake Brownie Bars cool completely in the pan; this step is crucial for achieving that perfect slice later on.
Step 7: Slice and Serve
When the bars have cooled, use a sharp knife to slice them into squares, cleaning the knife between cuts for neat edges. The beautiful layers of fudgy brownie, creamy cheesecake, and fruity cherries will be visible. Serve them chilled or at room temperature, and revel in the deliciousness of your homemade Cherry Cheesecake Brownie Bars!
How to Store and Freeze Cherry Cheesecake Brownie Bars
Fridge: Store in an airtight container in the refrigerator for up to 5 days. Ensure they are cooled completely before sealing to maintain their texture.
Freezer: For longer storage, individually wrap the bars in plastic wrap and place them in a freezer-safe bag. They can be frozen for up to 3 months while maintaining their delicious flavors.
Thawing: When ready to enjoy, simply remove from the freezer and let thaw in the fridge overnight. They taste best when served cold or at room temperature.
Reheating: If you prefer a warm treat, microwave each bar for about 10-15 seconds to slightly soften the cheesecake layer without losing freshness.
Expert Tips for Cherry Cheesecake Brownie Bars
- Soften Your Cream Cheese: Always ensure your cream cheese is at room temperature to avoid lumps in the cheesecake layer. This yields a smooth and creamy texture.
- Mix Gently: When combining the brownie ingredients, mix just until incorporated. Overmixing can lead to cakey brownies instead of fudgy ones.
- Perfect Cooling: Allow the bars to cool completely before slicing to achieve clean edges. For an even better result, chill them in the refrigerator for one hour.
- Swirling Technique: Be cautious not to over-swirl the cherry filling to maintain the lovely layered effect of the Cherry Cheesecake Brownie Bars.
- Bake Time Check: Keep an eye on the baking time; the edges should be set while the center remains slightly jiggly for the perfect creamy finish.
Make Ahead Options
These Cherry Cheesecake Brownie Bars are perfect for meal prep enthusiasts! You can prepare the brownie layer up to 24 hours in advance by mixing the ingredients and storing the batter in the refrigerator. The cheesecake mixture can also be made ahead and kept in the fridge for about 3 days. To maintain quality, be sure to cover both layers tightly with plastic wrap to prevent drying out. When ready to serve, simply spread the cheesecake mixture over the brownie layer, add the cherry pie filling, and bake as instructed. This way, you’ll have a delicious dessert with minimal last-minute effort, making it ideal for busy weeknights or gatherings!
Cherry Cheesecake Brownie Bars Variations
Feel free to unleash your creativity and customize these bars, tailoring each bite to your taste!
- Gluten-Free: Swap all-purpose flour with a gluten-free 1:1 blend to enjoy the same fudgy goodness without gluten.
- Dairy-Free: Use dairy-free cream cheese and vegan butter for a delightful dairy-free version that remains scrumptious and creamy.
- Different Fruits: Replace the cherry pie filling with your favorite fruit, such as blueberries or peaches, for a fresh, fruity twist.
- Nutty Addition: Stir in 1/2 cup of chopped walnuts or pecans for a crunchy texture that adds a delightful contrast to the creamy cheesecake.
- Chocolate Chips: Mix in 1 cup of chocolate chips to the brownie layer before spreading it into the pan—double the chocolate means double the joy!
- Citrus Zing: A teaspoon of lemon or orange zest mixed into the cheesecake layer brings a refreshing brightness that perfectly balances the sweetness.
- Spiced Variation: Add a pinch of cinnamon or nutmeg to the brownie batter for a warm, cozy flavor that’s perfect for fall.
- Layered Chocolate Cheesecake: Divide your brownie batter between two bowls; add melted chocolate to one half for an even richer, layered chocolate experience.
With these variations, your Cherry Cheesecake Brownie Bars can be a new treat every time! Whether you’re craving a unique flavor or have specific dietary needs, there’s something here for everyone. And if you’re looking for more delicious desserts, check out my Red Velvet Cheesecake or decadent Pecan Shortbread Bars.
What to Serve with Cherry Cheesecake Brownie Bars
Indulging in these sweet treats invites a world of delightful flavor pairings to complete your meal experience.
-
Vanilla Ice Cream: The creaminess of vanilla ice cream complements the rich brownie and cheesecake layers, enhancing every bite with added sweetness. Plus, the cold temperature creates a delightful contrast to the warm bars.
-
Fresh Berries: A medley of fresh berries like strawberries, raspberries, or blueberries brings a pop of color and tartness, balancing the sweetness of the bars beautifully. Their natural juices can add an extra layer of freshness to each indulgent bite.
-
Whipped Cream: Light and airy, a dollop of whipped cream adds a delightful creaminess that pairs effortlessly with the dense layers of the bars. It’s an easy way to elevate your dessert presentation while adding a touch of elegance.
-
Chocolate Ganache: Drizzling warm chocolate ganache over the bars introduces an extra layer of rich, chocolaty flavor, turning the dessert into an even more indulgent experience. The silky texture of ganache beautifully contrasts with the chewy brownie base.
-
Coffee or Espresso: A cup of freshly brewed coffee or espresso serves as the perfect complement, cutting through the sweetness and bringing out the chocolate and cherry flavors. This drink pairing is ideal for an after-dinner treat or an afternoon pick-me-up.
-
Sweet Red Wine: For an adult twist, consider serving these bars with a glass of sweet red wine. The fruity notes in the wine can harmonize with the cherry filling, enhancing the overall flavor experience.
-
Yogurt Parfait: Layer yogurt with granola and fresh fruit for a refreshing contrast. The tanginess of the yogurt balances the indulgent sweetness of the bars, making it a great complement for brunch or a light dessert.
Cherry Cheesecake Brownie Bars Recipe FAQs
How can I select the best cherries for this recipe?
Absolutely! If you’re using fresh cherries, look for firm, plump ones without any dark spots or blemishes. The cherries should be bright and glossy; avoid any that seem mushy or soft. For canned cherry pie filling, check the label for high-quality ingredients without artificial additives to ensure delicious flavor.
What is the best way to store Cherry Cheesecake Brownie Bars?
For optimal freshness, store your Cherry Cheesecake Brownie Bars in an airtight container in the refrigerator for up to 5 days. Make sure they are completely cooled before sealing to keep their texture intact. If you’re looking to enjoy them later, wrapping them well in plastic wrap will help preserve their moistness.
Can I freeze Cherry Cheesecake Brownie Bars and how?
Absolutely! To freeze, slice your cooled bars into individual pieces, then wrap each slice tightly in plastic wrap, and place them in a freezer-safe bag. They can be stored in the freezer for up to 3 months. When ready to enjoy, just let them thaw in the refrigerator overnight or at room temperature for a couple of hours.
What if my brownie layer is too cakey?
If your brownies turn out too cakey, it’s likely due to overmixing or using cold eggs. Make sure to mix your brownie batter just until combined and use room temperature eggs to retain that fudgy texture. If desired, incorporate a bit more butter to add moisture.
Can my Cherry Cheesecake Brownie Bars be made gluten-free?
Very! Simply substitute the all-purpose flour with a gluten-free 1:1 baking blend, which preserves the texture and flavor of your bars without compromise. It’s a wonderful way to share this indulgent treat with gluten-sensitive friends or family while still keeping it delicious!
Delicious Cherry Cheesecake Brownie Bars in Just 30 Minutes
Ingredients
Equipment
Method
- Preheat your oven to 350°F (175°C) and grease a 9×13-inch baking pan with cooking spray or butter.
- In a large mixing bowl, combine melted butter and sugar until smooth. Then, mix in eggs and vanilla extract. Fold in flour, cocoa powder, and salt until just combined.
- Pour the brownie batter into the prepared pan, spreading it evenly across the bottom.
- In another bowl, beat softened cream cheese and sugar until creamy. Add in an egg and vanilla extract, mixing until smooth.
- Pour the cheesecake mixture over the brownie layer, then dollop cherry pie filling on top and swirl gently.
- Bake in the preheated oven for approximately 30 minutes. Allow to cool completely in the pan.
- Once cooled, slice into squares and serve chilled or at room temperature.
Leave a Reply