
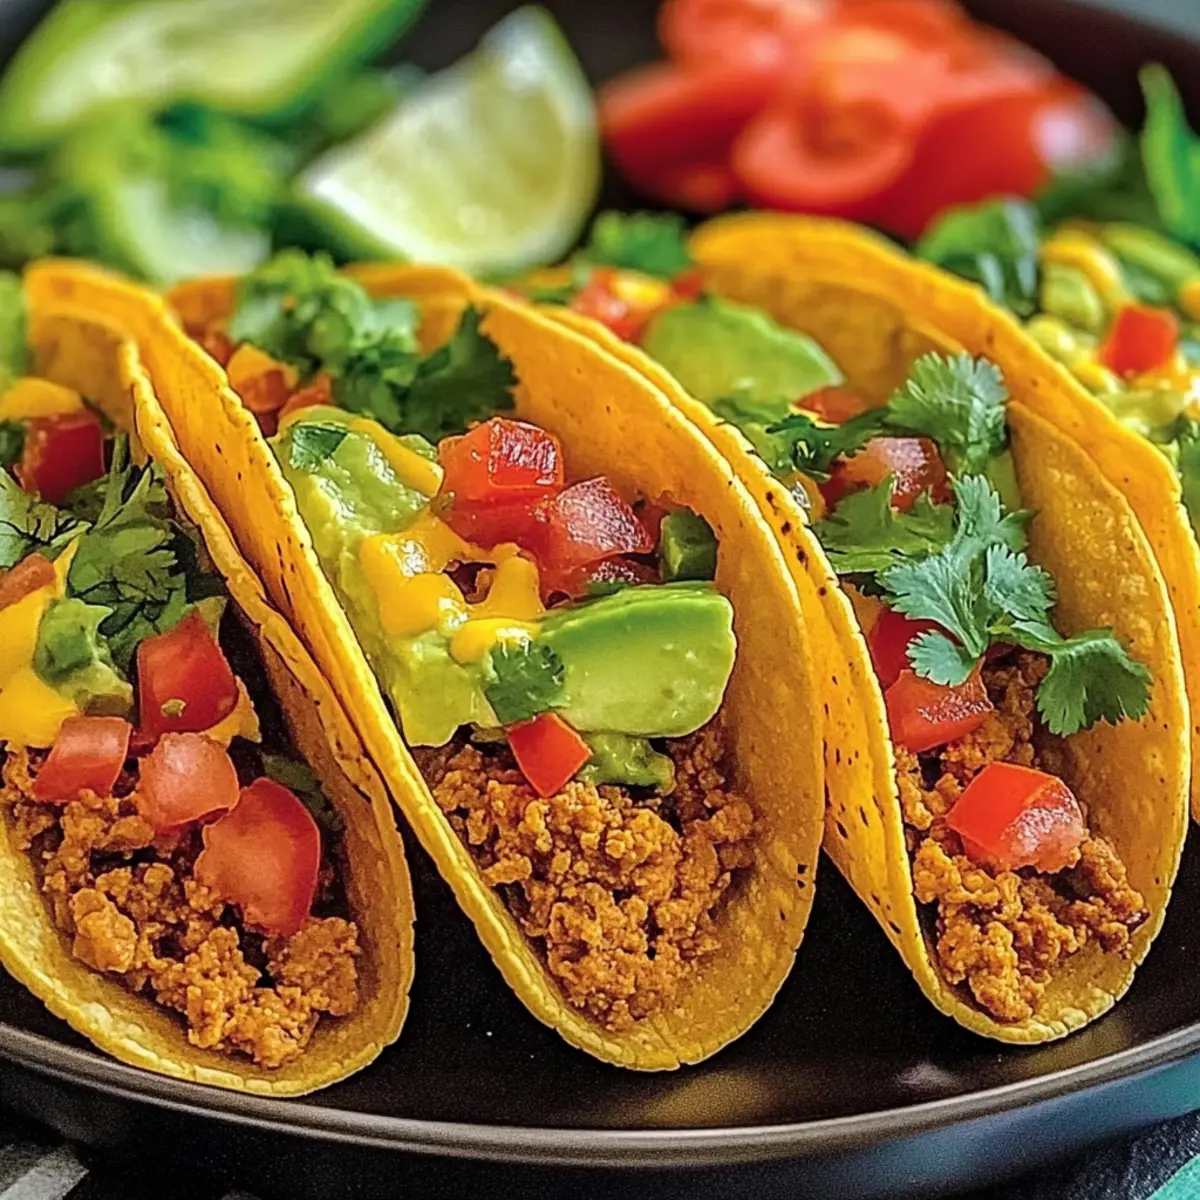
There’s something truly joyous about the sizzling sound of taco shells baking in the oven. When you pull out a tray of Oven-Baked Cheesy Tacos, the anticipation fills the air, inviting everyone to gather around. This dish is not just a meal; it’s a quick dinner solution that can transform hectic weeknights into delightful family feasts. With customizable fillings and a cheesy crown melting atop the crunchy shells, this recipe aces both flavor and convenience. You’ll love that it’s budget-friendly, too! And the best part? Your kitchen will stay tidy while you whip up a delicious alternative to takeout. Ready to dive into a taco night that’ll have your loved ones raving? Let’s create some cheesy magic together!
Why Are These Tacos a Must-Try?
Simplicity at Its Finest: This recipe takes minimal effort, allowing busy home chefs to whip up a satisfying meal within 30 minutes.
Customizable Fun: With endless filling options, such as ground turkey or plant-based crumbles, everyone can enjoy their ideal taco topping.
Budget-Friendly Dinner: Tacos are an economical choice, full of flavor without breaking the bank—perfect for family dinners!
Crowd-Pleasing Delight: Whether for kids or adults, everybody loves the gooey cheese and crispy shell combo, making them your go-to for family gatherings.
Easy Cleanup: These Oven-Baked Cheesy Tacos mean less mess in the kitchen. You’ll love how easy it is to create a delicious alternative to takeout without all the hassle! Interested in more favorite easy recipes? Check out Gordon Ramsays Chicken or get inspired by some Golden Cheesy Mashed creations!
Oven-Baked Cheesy Tacos Ingredients
For the Filling
• Ground Beef – This is your main protein source, but feel free to swap it out for ground turkey or plant-based crumbles for a lighter or vegetarian option.
• Onion (finely diced) – Adds flavor and aroma; shallots are a great alternative if you prefer a milder taste.
• Garlic (minced) – Enhances overall flavor; fresh garlic is recommended, though garlic powder will work in a pinch.
• Taco Seasoning – Provides a delicious spice and flavor; consider making your own mix for a tailored profile and use low-sodium options for a healthier meal.
• Tomato Sauce or Salsa – Brings moisture and acidity to the beef filling; choose your preferred heat level to match your family’s taste.
For the Shells and Cheese
• Hard Taco Shells – They provide a sturdy structure for the filling; if you prefer a softer bite, opt for warmed corn or flour tortillas instead.
• Shredded Cheese (cheddar, Monterey Jack, or Mexican blend) – Adds creaminess and flavor; a mix of cheeses will give you the best melt.
For Customizable Toppings
• Shredded Lettuce, Diced Tomatoes, Red Onion, Chopped Cilantro – Freshness and crunch that can be customized according to personal preferences.
• Sour Cream, Guacamole, Jalapeño slices, Hot Sauce – Enhance richness and spiciness; serve on the side so guests can personalize their tacos.
Enjoy assembling your Oven-Baked Cheesy Tacos and get ready to savor every bite!
Step‑by‑Step Instructions for Oven-Baked Cheesy Tacos
Step 1: Preheat the Oven
Begin by preheating your oven to 400°F (200°C). This temperature is perfect for getting those taco shells nice and crispy during baking. While the oven warms up, take a baking dish and arrange your hard taco shells upright, ensuring they’re stable. This setup will hold all that delicious filling and melted cheese!
Step 2: Cook the Beef and Onion
In a large skillet, heat a drizzle of oil over medium heat. Add your ground beef and finely diced onion, stirring occasionally for about 8-10 minutes until the beef is fully browned and the onion becomes tender and translucent. This fragrant mixture is the base for your Oven-Baked Cheesy Tacos, creating a savory filling everyone will love.
Step 3: Season the Mixture
Once your beef is browned, carefully drain any excess fat before returning the skillet to the heat. Stir in minced garlic and taco seasoning, allowing them to cook together for about 1 minute, until the garlic becomes fragrant. This step infuses your beef filling with rich and zesty flavors that will tantalize your taste buds.
Step 4: Add Tomato Sauce
Next, pour in your choice of tomato sauce or salsa, stirring well to combine. Let this mixture simmer for 4-5 minutes, allowing the flavors to meld beautifully. Taste and adjust the seasoning if needed. This juicy filling will keep the tacos moist and flavorful as they bake in the oven.
Step 5: Fill the Taco Shells
Using a spoon, carefully fill each taco shell with the seasoned beef mixture, packing it generously but not overly full. After filling the shells, sprinkle the shredded cheese across the tops of each taco. The cheese will melt to create a deliciously gooey topping as your Oven-Baked Cheesy Tacos bake.
Step 6: Bake to Perfection
Place the filled taco shells in the preheated oven and bake for about 10-15 minutes. Keep an eye on them, and look for the cheese to be bubbling and the edges of the taco shells to turn a light golden brown. This step will ensure you achieve that sought-after crispy shell paired with melty cheese.
Step 7: Garnish and Serve
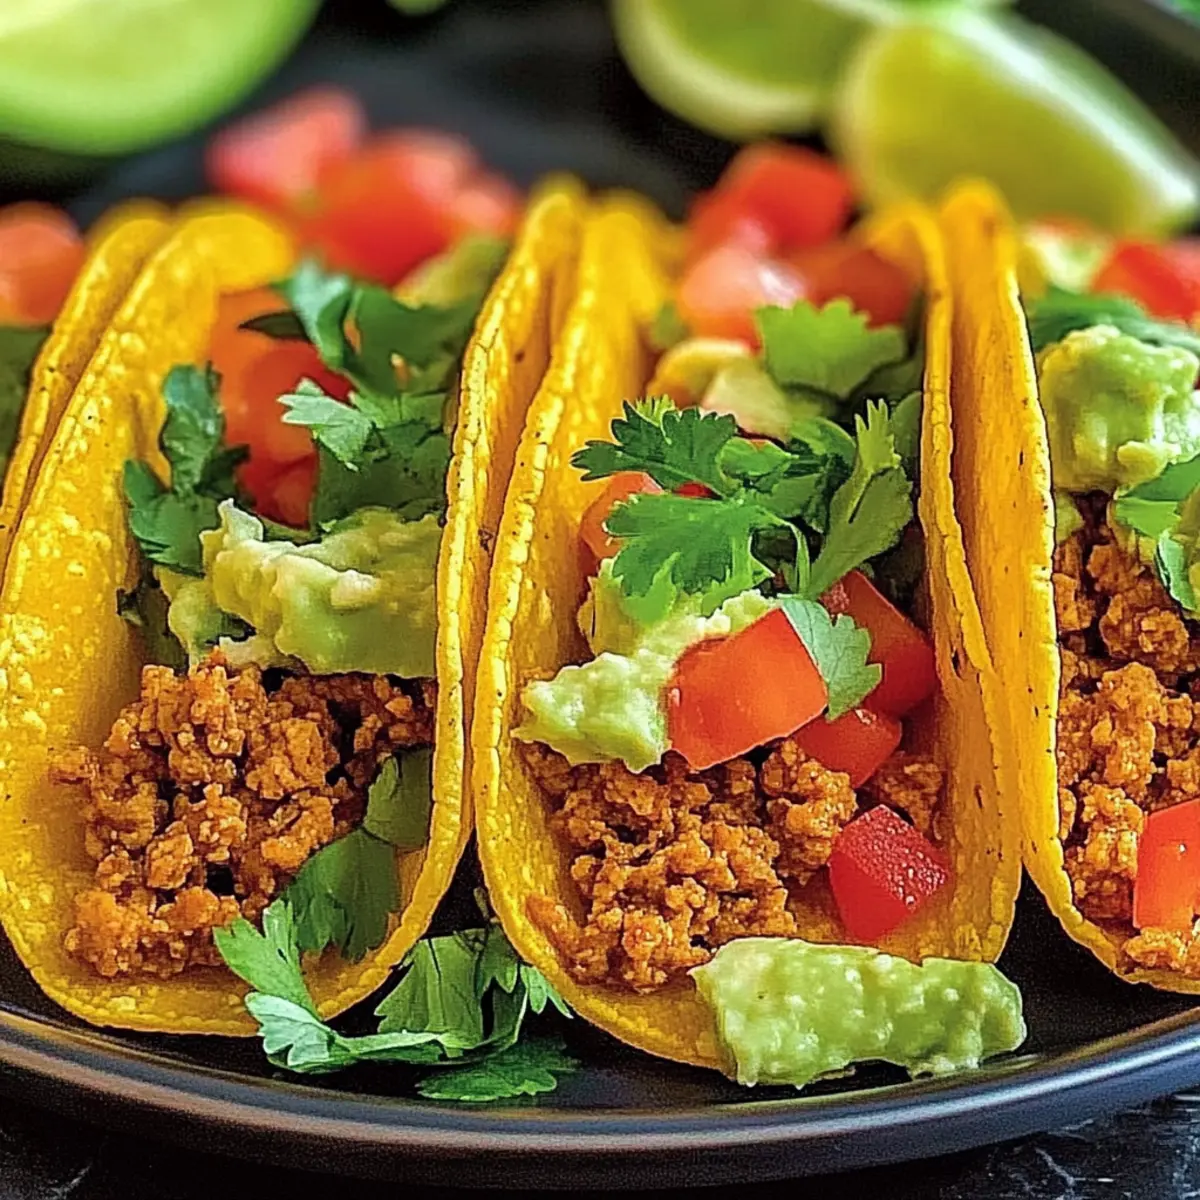
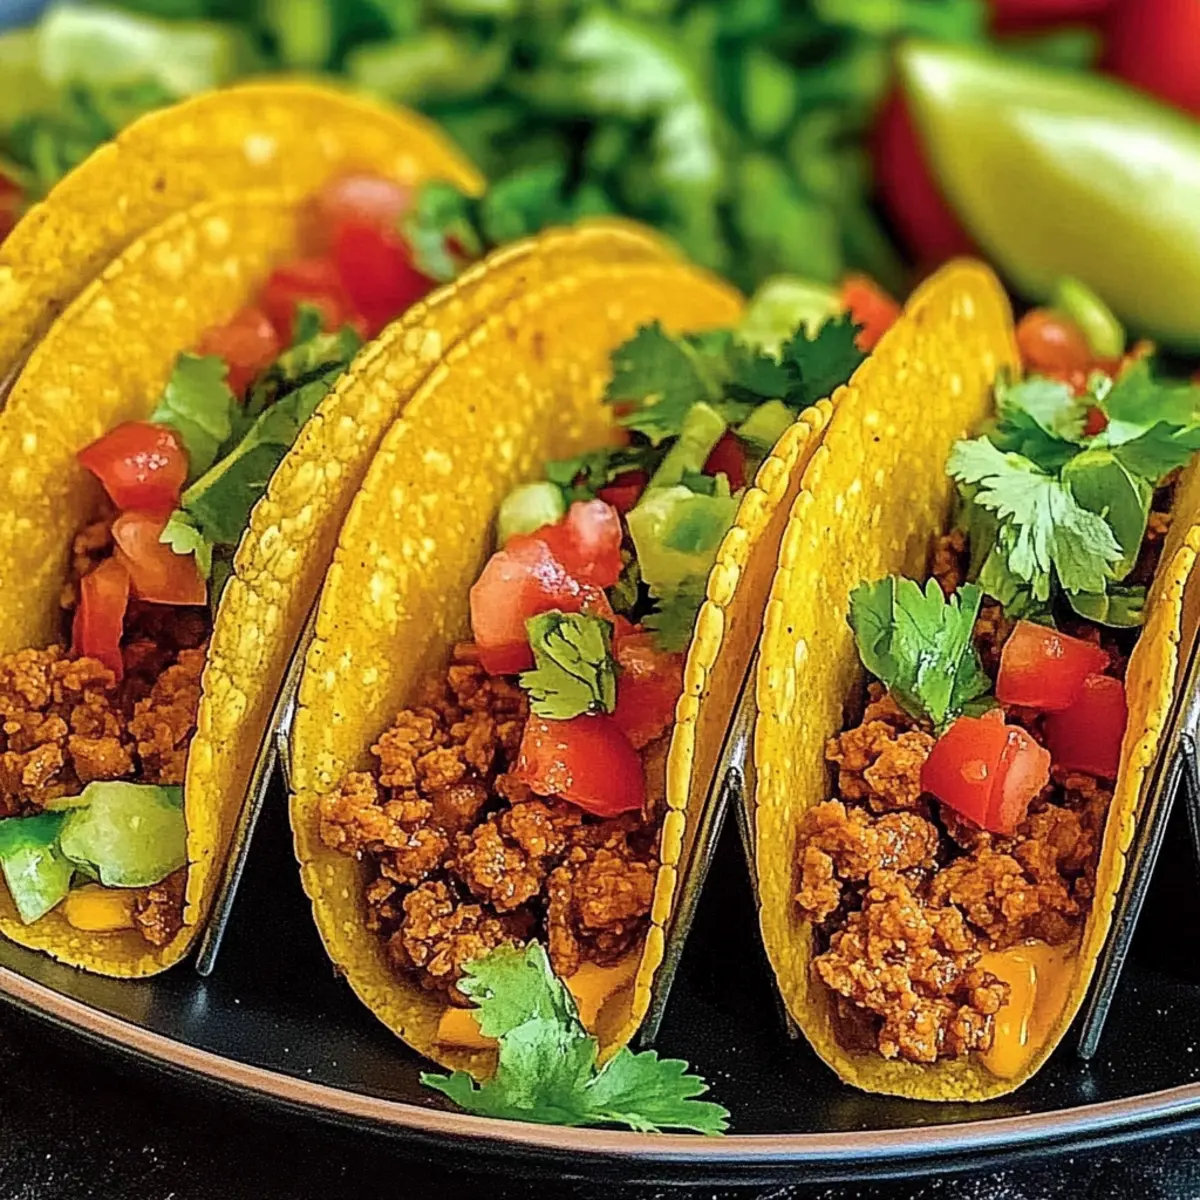
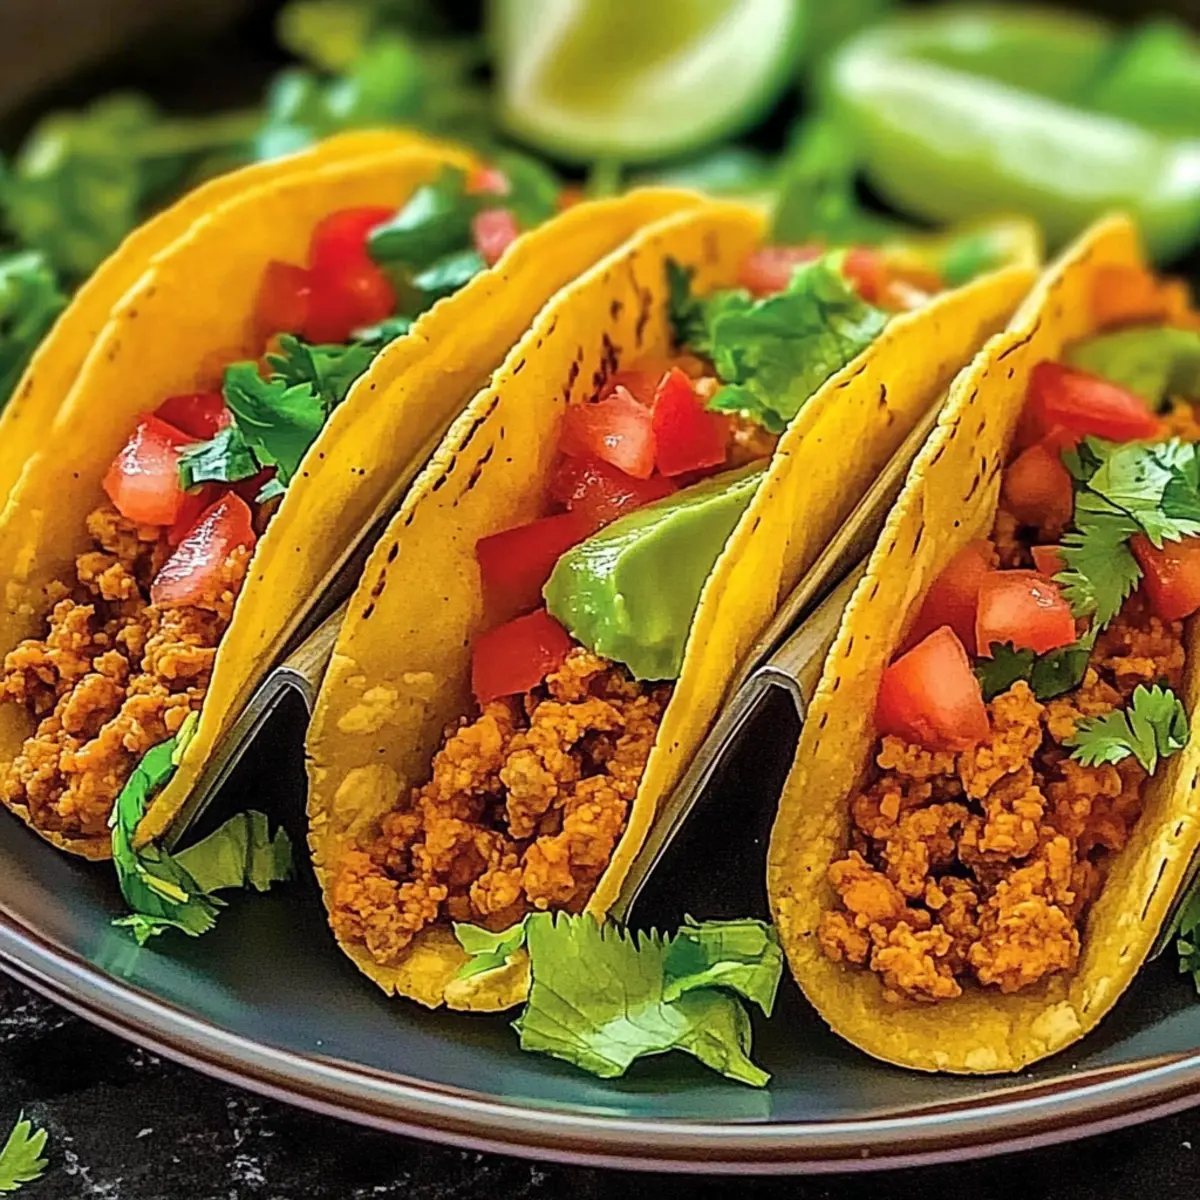
Once out of the oven, let your Oven-Baked Cheesy Tacos cool for a moment. Then, get creative with your toppings! Garnish with shredded lettuce, diced tomatoes, red onion, and fresh cilantro to add a pop of color and crunch. Serve warm, and don’t forget to offer sour cream, guacamole, and hot sauce on the side for that extra layer of flavor!
What to Serve with Oven-Baked Cheesy Tacos
Elevate your taco night by pairing these cheesy delights with complementary sides and beverages that offer both flavor and balance.
- Cilantro-Lime Rice: The zesty rice adds a refreshing touch that perfectly contrasts the richness of the cheesy tacos.
- Black Bean Salad: A protein-packed salad that’s vibrant and wholesome, providing a delightful crunch alongside your crispy tacos.
- Tortilla Chips with Salsa: These classic companions are perfect for scooping up any leftover filling, enhancing the Mexican fiesta vibe.
- Mexican Street Corn: Creamy, sweet, and slightly spicy, this side dish elevates your taco experience while adding a burst of flavor.
- Pico de Gallo: Fresh, tangy, and bright, this salsa combines diced tomatoes, onions, and cilantro, complementing the hearty taco filling.
- Iced Tea with Lime: A chilled, refreshing drink that brings a touch of sweetness and acidity to balance the savory tacos.
- Margaritas: Celebrate taco night with a classic margarita; its tangy flavor pairs beautifully with the cheesy and spicy elements.
- Churros with Chocolate Sauce: For a sweet finish, these crispy pastries offer a delightful cinnamon sugar crunch to round out the meal.
- Guacamole: Creamy and rich, it provides a luscious addition for dipping or topping your tacos, enhancing every bite with smoothness.
- Fruit Salad: A light and refreshing side that can cleanse the palate and add a colorful, sweet note to your meal.
Oven-Baked Cheesy Tacos Variations
Feel free to get creative and make these Oven-Baked Cheesy Tacos your own, with flavors and textures that excite your palate!
-
Turkey Tacos: Swap out ground beef for ground turkey to lighten the dish while retaining flavor. It’s a wonderful way to enjoy a healthier taco night.
-
Vegetarian Delight: Use plant-based crumbles in place of meat for a satisfying vegetarian option that’s packed with protein and flavor.
-
Salsa Varieties: Experiment with different salsas for your filling, like pineapple or mango salsa, bringing a delightful sweetness and zest to each bite.
-
Cheesy Mix: Combine various cheeses like pepper jack and gouda for a more complex flavor profile that elevates the traditional taco experience.
-
Soft Tortilla Option: Replace hard taco shells with warmed flour or corn tortillas for a softer, chewy texture that’s easy to handle and enjoy.
-
Extra Veggies: Add diced bell peppers or zucchini to the beef mixture for a boost of nutrition and color. It’s a perfect way to sneak in some veggies without anyone noticing!
-
Spicy Kick: For the heat lovers, throw in some diced jalapeños into the filling or sprinkle cayenne pepper on top before baking to amp up the spice level!
-
Saucy Surprise: Consider drizzling a spicy chipotle sauce over the tacos before serving for a smoky depth that will have family and friends coming back for seconds.
These suggestions are just the beginning—your creativity can make these tacos a unique masterpiece! And if you’re looking for more family-friendly recipes, don’t miss out on Gordon Ramsays Chicken and get inspired by our tasty Golden Cheesy Mashed dishes!
Make Ahead Options
These Oven-Baked Cheesy Tacos are perfect for meal prep enthusiasts! You can prepare the beef filling up to 3 days in advance by cooking it and then refrigerating it in an airtight container. This keeps the flavor intact and ensures minimal effort on busy nights. Additionally, you can arrange the taco shells in a baking dish ahead of time (just ensure they are stored in a cool, dry place to maintain their crispness). When you’re ready to serve, simply fill the shells with the chilled beef mixture, sprinkle with cheese, and bake for 10-15 minutes until bubbly. This way, you’ll have delicious, homemade tacos with far less time spent in the kitchen!
Storage Tips for Oven-Baked Cheesy Tacos
Fridge: Store any leftover Oven-Baked Cheesy Tacos in an airtight container in the fridge for up to 3 days to keep them fresh and delicious.
Toppings: For best results, store leftover toppings like lettuce and tomatoes separately to maintain their crispness, preventing soggy tacos.
Freezer: You can freeze the beef filling for up to 2 months in a freezer-safe container. Thaw it overnight in the fridge when you’re ready to enjoy it again!
Reheating: Reheat the tacos in a 350°F (175°C) oven for about 10 minutes, or until heated through to restore their texture before serving.
Expert Tips for Oven-Baked Cheesy Tacos
Perfectly Browned Beef: Ensure the ground beef is fully cooked until browned to avoid any raw flavor in the filling, enhancing the overall taste.
Cheese Combinations: Use a mix of cheeses, like cheddar for sharpness and Monterey Jack for creaminess, to elevate the flavor of your Oven-Baked Cheesy Tacos.
Crunchy Shells: Consider storing leftover toppings separately to maintain the crunch of the taco shells, ensuring every bite remains delightful.
Fresh Toppings: Customize your toppings based on personal preferences, and feel free to experiment with different ingredients for a unique twist on your tacos.
Bake Time Awareness: Keep an eye on the baking time; remove the tacos from the oven when the cheese is bubbly and the shells are lightly golden for the best texture.
Oven-Baked Cheesy Tacos Recipe FAQs
What’s the best way to select ripe ingredients for my tacos?
Absolutely! For the best flavor, choose beef that’s bright red with minimal dark spots, indicating freshness. When picking tomatoes, look for firm ones that are slightly soft to the touch—these will be ripe and juicy. Fresh cilantro should be vibrant green, with no wilting or yellowing leaves.
How do I store leftover Oven-Baked Cheesy Tacos?
Very! After cooling, place your leftover tacos in an airtight container to keep them fresh. They can be stored in the fridge for up to 3 days. For the best experience, store any toppings separately in their own containers to maintain crunchiness.
Can I freeze the beef filling for later use?
Certainly! To freeze the beef filling, allow it to cool completely, then transfer it to a freezer-safe container. It can be frozen for up to 2 months. When ready to use, thaw it overnight in the fridge and reheat on the stovetop or in the microwave until hot.
What should I do if my taco shells burn in the oven?
Oh no! If you notice your taco shells starting to burn, make sure to lower the oven temperature to 350°F (175°C) next time and check the tacos more frequently. Additionally, you can place a baking sheet on the rack above the tacos to shield them from direct heat.
Are there any dietary considerations for Oven-Baked Cheesy Tacos?
Yes! If you’re cooking for someone with allergies, always check the labels on your taco seasoning and sauces for potential allergens like gluten or dairy. You can substitute traditional cheese with lactose-free or plant-based cheese alternatives to accommodate dietary needs. Just ensure your ground beef or substitutes are also safe for your guests.
How long can I keep my taco meat before it goes bad?
The beef filling can be refrigerated for up to 2 days before it should be discarded. I often recommend making it ahead of time, storing it properly, and then reheating it for a quick family meal when you’re ready to prepare your Oven-Baked Cheesy Tacos.
Oven-Baked Cheesy Tacos for a Quick, Cozy Family Feast
Ingredients
Equipment
Method
- Preheat your oven to 400°F (200°C) and arrange hard taco shells upright in a baking dish.
- In a large skillet, heat oil over medium heat, add ground beef and onion, and cook for 8-10 minutes until browned and tender.
- Drain excess fat, stir in minced garlic and taco seasoning, cook for 1 minute until fragrant.
- Add tomato sauce or salsa, stir, and let simmer for 4-5 minutes to meld flavors.
- Fill each taco shell with the beef mixture and sprinkle shredded cheese on top.
- Bake in the preheated oven for about 10-15 minutes until cheese is bubbly and shells are golden brown.
- Garnish with shredded lettuce, diced tomatoes, red onion, and cilantro. Serve warm with sour cream, guacamole, and hot sauce on the side.
Leave a Reply