
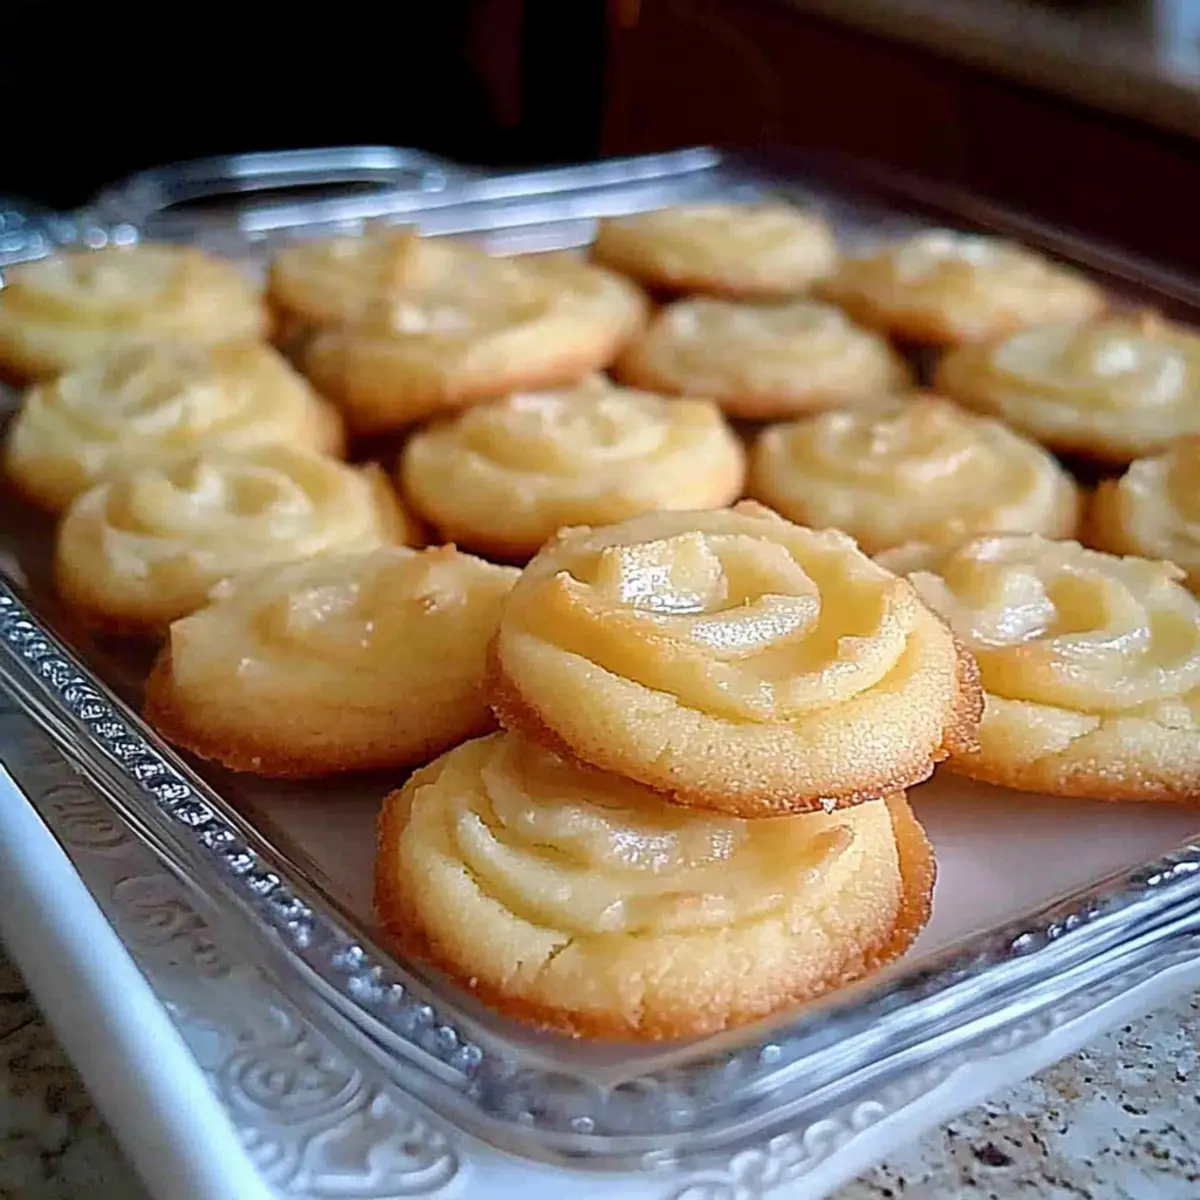
The lingering aroma of freshly baked cookies wafts through my kitchen, transforming the space into a cozy haven. One bite of these Classic Buttery Butter Cookies, crisp and melt-in-your-mouth, takes me straight back to holiday gatherings and warm afternoons spent with family. This recipe is a must-try for anyone who loves a sweet, buttery treat that’s incredibly easy to whip up; it’s perfect for holiday baking or simply indulging on a quiet evening. Using just a handful of pantry staples, these cookies not only promise delightful flavor but also offer a homemade touch that store-bought varieties just can’t replicate. Ready to learn how to create a batch that will impress everyone? Let’s dive in!
Why Choose These Butter Cookies?
Irresistibly Buttery: The rich flavor of these cookies will transport you back to cherished memories of baking with loved ones, making them perfect for special occasions—or just because!
Effortlessly Simple: With minimal ingredients and steps, you’ll find this recipe is perfect for both seasoned bakers and beginners.
Versatile Treats: Whether you enjoy them plain or adorned with chocolate chips or nuts, these cookies adapt to your taste, ensuring endless enjoyment.
Perfect for Gifting: Package them in a festive box to share with friends and family, and they’ll love your thoughtful homemade gesture!
Store-Bought Quality at Home: Say goodbye to bland, store-bought options and treat yourself to cookies that are bursting with flavor—just like the ones from your favorite bakery.
If you’re looking for unique flavor twists, check out my tempting ideas like Biscoff Cookie Butter Truffles or a heartwarming recipe for Garlic Butter Sweet Potatoes.
Butter Cookies Ingredients
• Classic cookies just got better!
For the Dough
- Unsalted Butter – Provides richness and creaminess; use high-quality butter for the best flavor.
- Granulated Sugar – Adds sweetness and contributes to the cookie’s delightful texture.
- Salt – Balances sweetness and enhances flavor; omit if using salted butter.
- Pure Vanilla Extract – Offers aromatic flavor that elevates the overall taste.
- Large Egg Yolk – Adds moisture and richness, helping bind the ingredients together.
- All-Purpose Flour – Provides structure to the cookies; avoid overmixing to keep them tender.
Optional Toppings & Customizations
- Chocolate Chips – Add for a touch of sweetness and texture; makes a delightful variation on classic butter cookies.
- Nuts – Chopped walnuts or pecans can bring a delightful crunch and nuttiness.
- Icing – Drizzle with melted chocolate or a simple glaze after cooling for a visually stunning treat.
Dive into these butter cookies, and you’ll discover why they’re a must-have in your holiday baking repertoire!
Step‑by‑Step Instructions for Butter Cookies
Step 1: Prepare the Dough
In a large mixing bowl, use an electric mixer to beat together 1 cup of unsalted butter, 3/4 cup of granulated sugar, 1/4 teaspoon of salt, and 1 teaspoon of pure vanilla extract on medium speed. Continue mixing until the mixture is smooth and creamy, about 2-3 minutes. The mixture should be light in color and fluffy, indicating it’s ready for the next step.
Step 2: Incorporate Egg Yolk
Add one large egg yolk to the buttery mixture, mixing thoroughly until fully incorporated. Scrape down the sides of the bowl as needed to ensure everything is evenly combined. This addition will add richness and help bind the ingredients, enhancing the flavor and texture of your butter cookies.
Step 3: Mix in the Flour
Gradually sift in 2 cups of all-purpose flour while mixing on low speed. Combine until the dough just comes together and the flour is fully incorporated, making sure not to overmix. The dough should be soft and slightly sticky, perfect for rolling and shaping into cookies later.
Step 4: Chill the Dough
Turn the dough onto a lightly floured surface and knead it gently until smooth, forming a cohesive ball. Shape the dough into a log about 2 inches in diameter. Wrap the log tightly in plastic wrap and refrigerate it for at least 2 hours, allowing it to firm up for easier slicing.
Step 5: Preheat the Oven
Once the dough has chilled, preheat your oven to 325°F (160°C). Line two baking sheets with parchment paper, ensuring they are ready to accommodate your soon-to-be-baked butter cookies. This temperature will help achieve that perfect lightly golden edge while keeping the centers tender.
Step 6: Slice the Cookies
Remove the chilled dough from the refrigerator and unwrap it. Use a sharp knife to slice the log into rounds approximately 1/8-inch thick. Carefully arrange the slices on the prepared baking sheets, leaving about 1 inch of space between each cookie to allow for spreading during baking.
Step 7: Bake the Cookies
Place the baking sheets in the preheated oven and bake for 16-18 minutes. Keep an eye on the cookies; they’re done when the edges turn lightly golden while the centers remain pale. This balance creates that delightful melt-in-your-mouth texture characteristic of perfect butter cookies.
Step 8: Cool and Serve
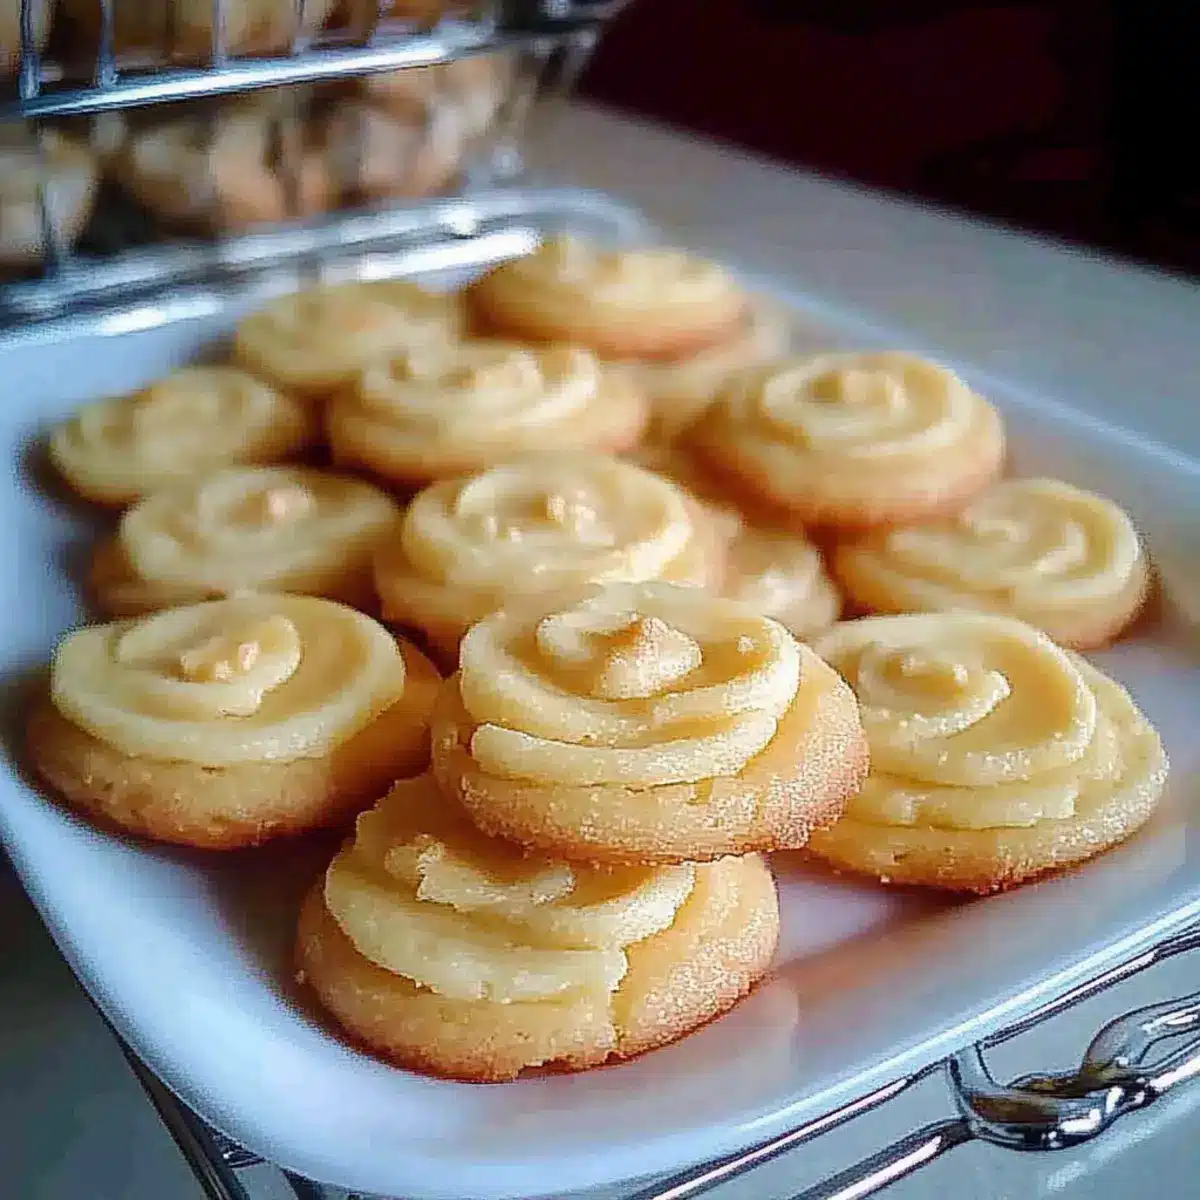
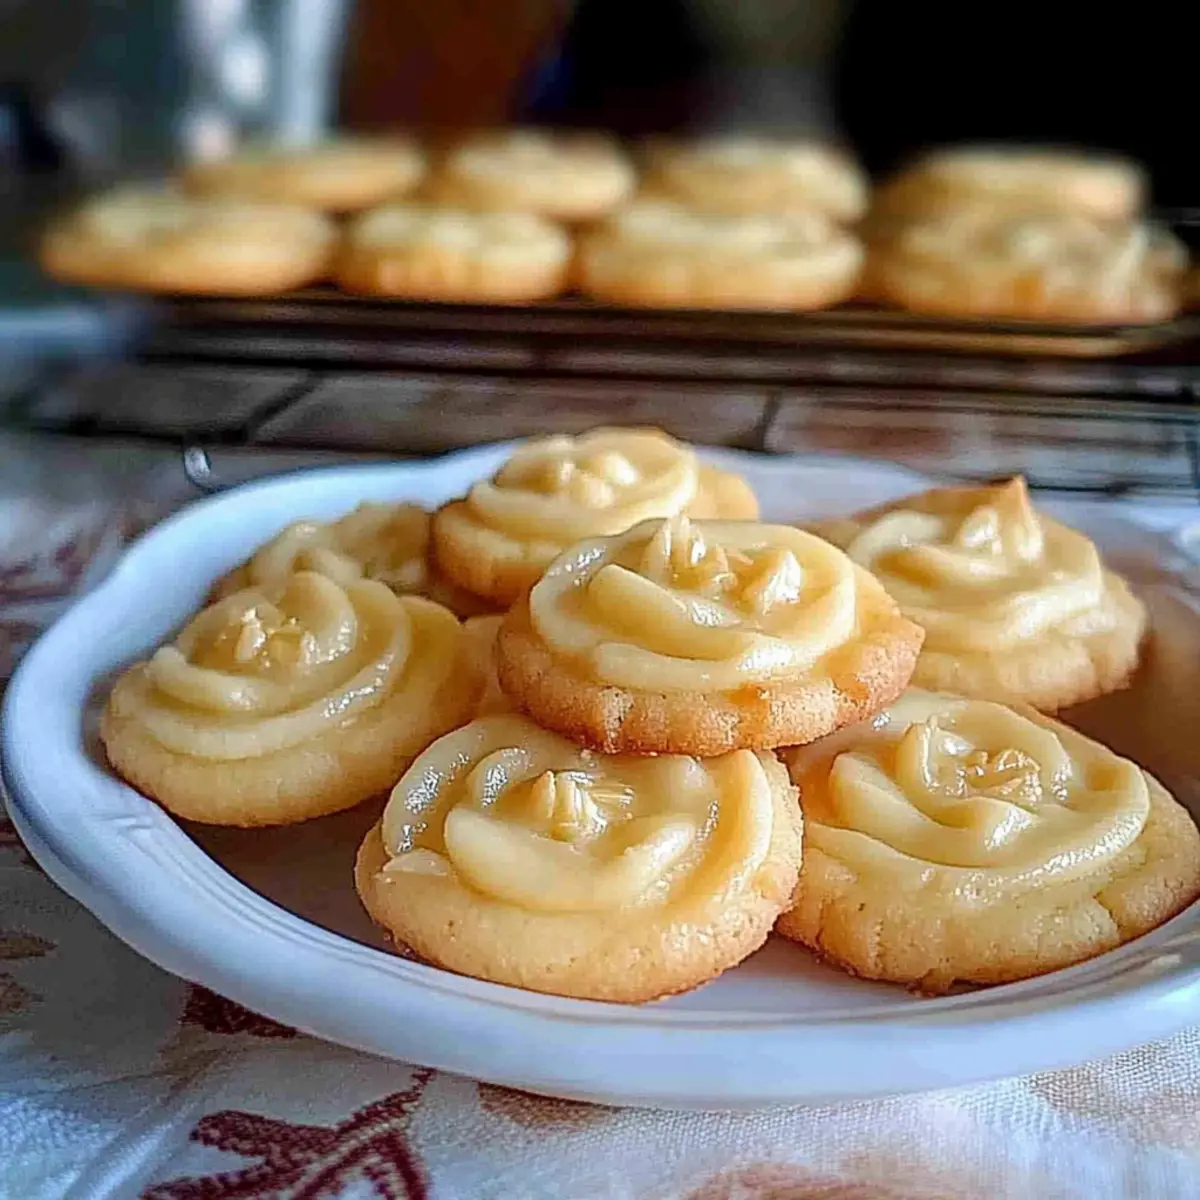
Once baked, remove the cookies from the oven and let them cool on the baking sheets for a few minutes. Then, transfer them to a wire rack to cool completely. This step is essential to achieve the best texture and flavor, preparing your classic buttery butter cookies for serving or gifting.
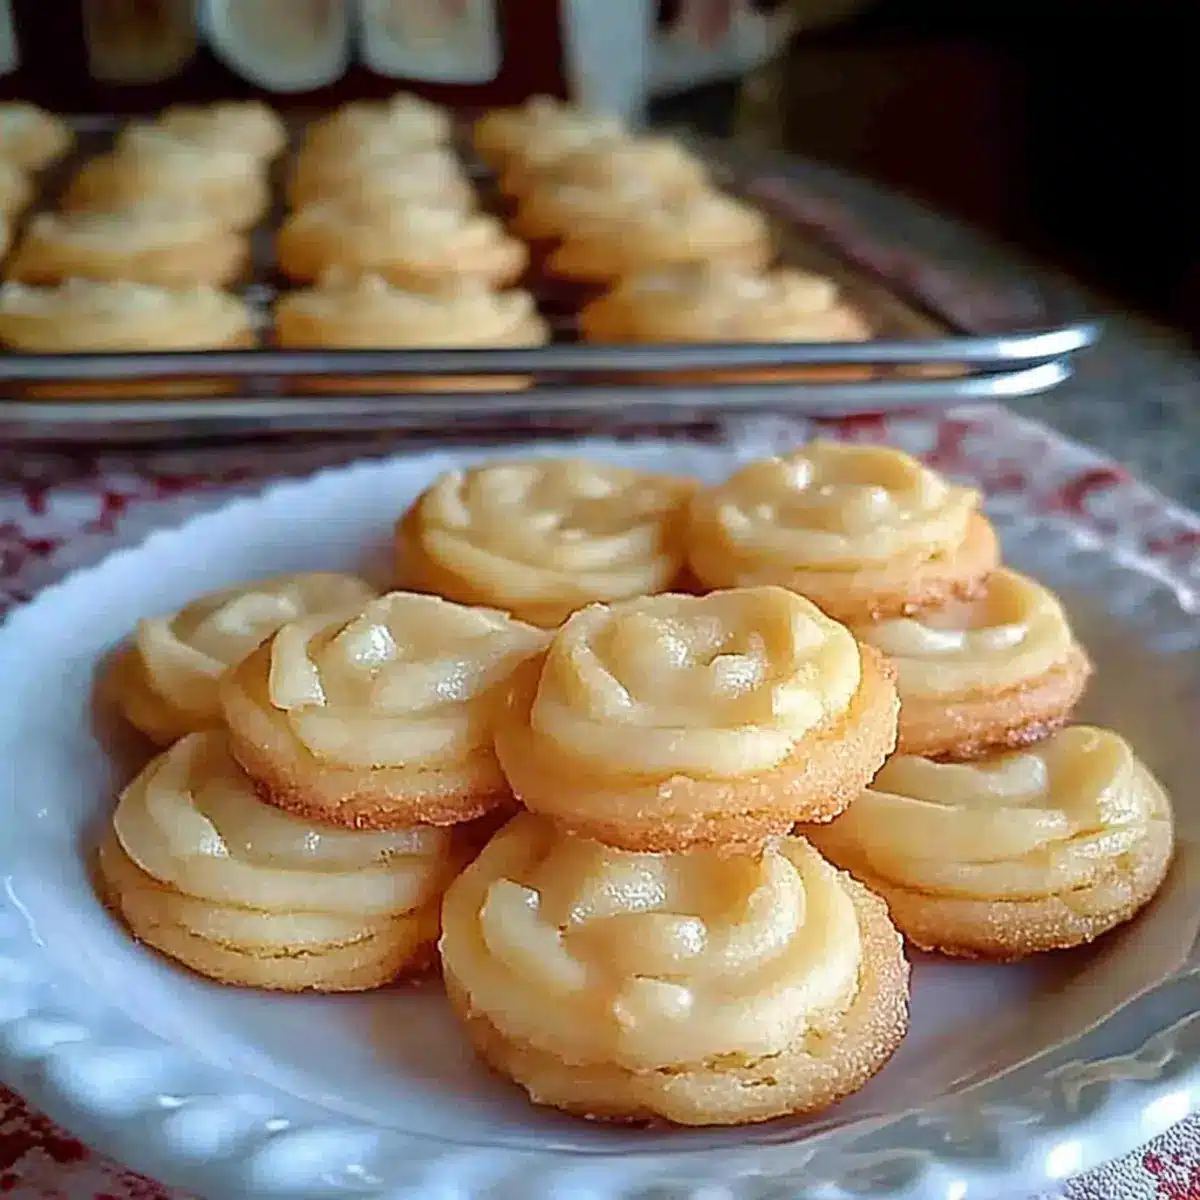
What to Serve with Classic Buttery Butter Cookies?
Indulging in a warm, buttery cookie is always a treat, but pairing it with the right companions makes it even more special.
- Rich Hot Chocolate: The velvety richness of hot chocolate complements the cookies’ buttery texture, creating a cozy pairing, especially during winter evenings.
- Freshly Brewed Coffee: The boldness of coffee acts as a delightful contrast to the sweet, tender cookies, enhancing their flavor with every bite.
- Milk: A classic choice, its creamy consistency balances the cookies’ buttery richness, making it a nostalgic joy for all ages.
- Fruity Jam: Serve these cookies with a dollop of your favorite jam for a burst of fruity flavor that adds a delightful freshness.
- Vanilla Ice Cream: Elevate your treats by serving warm cookies alongside creamy vanilla ice cream; it’s a match made in dessert heaven!
- Nutty Biscotti: Crunchy and full of flavor, biscotti pairs well for those who enjoy varying textures with every nibble of the soft butter cookies.
- Seasonal Fruit Platter: Brighten your table with a selection of seasonal fruits, like strawberries or citrus, for a refreshing and vibrant contrast to the cookies.
- Lemonade or Iced Tea: The zesty acidity of lemonade or the soothing taste of iced tea offers a refreshing counterpart to the sweetness of the cookies.
- Holiday Spiced Tea: Pair your cookies with a warm cup of spiced tea for an aromatic experience that warms the heart and soul during chilly days.
- Simple Whipped Cream: A fluffy, lightly sweetened whipped cream adds an elegant touch, perfect for dolloping on top of or alongside your cookies.
Expert Tips for Butter Cookies
-
Quality Ingredients: Use high-quality European butter for the richest flavor. Store-bought butter often lacks the creamy richness these butter cookies deserve.
-
Chill the Dough: Be sure to chill the dough for at least 2 hours. This prevents spreading during baking, ensuring that your cookies maintain their lovely shape.
-
Don’t Overmix: When adding flour, mix just until combined. Overmixing can lead to tough cookies rather than the tender, melt-in-your-mouth texture you’re aiming for.
-
Perfect Slicing: For uniform cookies, slice the chilled dough into even rounds. This ensures they bake consistently, providing that ideal lightly crisp edge and tender center.
-
Watch the Oven: Keep an eye on the cookies as they bake! The edges should be lightly golden while the centers remain pale, striking the perfect balance for butter cookies.
How to Store and Freeze Butter Cookies
Airtight Container: Store your butter cookies in an airtight container at room temperature for up to 1 week to maintain their crispness and flavor.
Fridge: If the cookies are filled or frosted, keep them in the refrigerator for up to 5 days. Allow them to come to room temperature before serving for the best taste.
Freezer: Freeze the cookies in a single layer on a baking sheet for about 1 hour, then transfer them to a freezer-safe bag. They can be stored for up to 3 months without losing their delightful buttery flavor.
Reheating: To enjoy the cookies warm, reheat in a preheated oven at 300°F (150°C) for about 5–7 minutes, or until warmed through but not browned.
Butter Cookies Variations & Substitutions
Get ready to customize your butter cookies with these delightful variations that will awaken your senses and inspire your baking adventure!
-
Dairy-Free: Substitute with coconut oil or a plant-based butter for a deliciously buttery flavor without dairy.
-
Nutty Delight: Add 1/2 cup of finely chopped nuts like pecans or walnuts into the dough for a delightful crunch and earthy flavor.
-
Chocolate Twist: Mix in 1/2 cup of mini chocolate chips or chunks for a sweet surprise that melts beautifully with each bite.
-
Almond Bliss: Replace vanilla extract with almond extract for an aromatic twist that adds a lovely nutty essence.
-
Festive Shapes: Use holiday-themed cookie cutters to shape the dough; it’s a fun way to celebrate special occasions or brighten up everyday moments.
-
Citrus Zest: Add a tablespoon of lemon or orange zest to the dough for a fresh citrus note that balances the buttery richness perfectly.
-
Iced Finish: Drizzle a simple icing made with powdered sugar and milk on cooled cookies for a sweet and lovely presentation.
-
Spiced Up: Incorporate a pinch of cinnamon or nutmeg into the dough for a warm, fragrant twist that brings comfort to every cookie.
These variations will not only enhance your butter cookies but also keep your baking exciting and fresh. If you have a craving for something more adventurous, you might enjoy trying out recipes like the Cowboy Butter Chicken Pasta or the rich flavors of Texas Roadhouse Butter. Happy baking!
Make Ahead Options
These Classic Buttery Butter Cookies are perfect for meal prep, allowing you to streamline your baking process during busy holiday times. You can prepare the cookie dough up to 3 days in advance; simply shape it into a log and wrap it tightly in plastic wrap before refrigerating. If you want to extend shelf life even further, freeze the log for up to 3 months. When you’re ready to bake, just slice and bake the chilled dough directly from the fridge or freezer—no need to thaw! This method keeps your cookies just as delicious, ensuring that the quality remains high while saving you precious time in the kitchen during hectic weeks.
Butter Cookies Recipe FAQs
How do I choose the right butter for these cookies?
Absolutely! For the best results, I recommend using high-quality unsalted butter, preferably European-style, for richer flavor and creaminess. If you only have salted butter on hand, you can use it, but simply reduce the added salt in the recipe to balance the sweetness.
How should I store my butter cookies after baking?
Store your delicious butter cookies in an airtight container at room temperature for up to 1 week. This will help maintain their crispness and delightful flavor. If you’ve frosted or filled the cookies, it’s best to keep them in the refrigerator for up to 5 days to ensure freshness.
Can I freeze the cookie dough or the finished butter cookies?
Absolutely! To freeze the dough, after forming it into a log, wrap it tightly in plastic wrap and place it in a freezer-safe bag. You can freeze it for up to 3 months. When you’re ready to bake, simply thaw in the refrigerator overnight and slice as directed. As for baked cookies, place them in a single layer on a baking sheet and freeze for about 1 hour before transferring them to a freezer bag. They can also be frozen for up to 3 months without losing their delightful buttery flavor.
What should I do if my cookies spread too much while baking?
Very! If your cookies spread more than expected, it could be due to warm dough. Be sure to chill the dough adequately for at least 2 hours before slicing. Additionally, ensure your baking sheets aren’t over-greased and consider using parchment paper, as it helps prevent spreading. If you notice dark spots on your cookies, it may indicate overbaking or too much sugar caramelizing, so keep an eye on them toward the end of the baking timeframe.
Can pets eat butter cookies?
Oftentimes, even though butter cookies smell fantastic, they aren’t suitable for pets due to their high sugar and fat content. Instead, consider making special treats tailored for your furry friends. For instance, plain pumpkin puree mixed with whole wheat flour can be a tasty and healthy alternative for dogs!
What if I have allergies to some of the ingredients?
If you or someone you’re baking for has allergies, sweat not! You can swap out the all-purpose flour for a gluten-free alternative such as almond flour or a gluten-free flour blend. Just ensure that all substitutions are certified allergen-free and safe for consumption. Also, consider adding ingredients like coconut oil instead of butter for dairy-free options.
Melting Butter Cookies That Will Steal Your Heart
Ingredients
Equipment
Method
- In a mixing bowl, beat together the butter, sugar, salt, and vanilla until smooth and creamy.
- Add the egg yolk to the mixture and mix until fully incorporated.
- Gradually sift in the flour and combine until the dough just comes together.
- Knead the dough gently and shape it into a log, then wrap it in plastic wrap and refrigerate for 2 hours.
- Preheat your oven to 325°F (160°C) and line baking sheets with parchment paper.
- Slice the chilled dough into rounds and arrange them on the baking sheets.
- Bake for 16-18 minutes until the edges are lightly golden.
- Cool the cookies on the baking sheets for a few minutes before transferring them to a wire rack.
Leave a Reply