
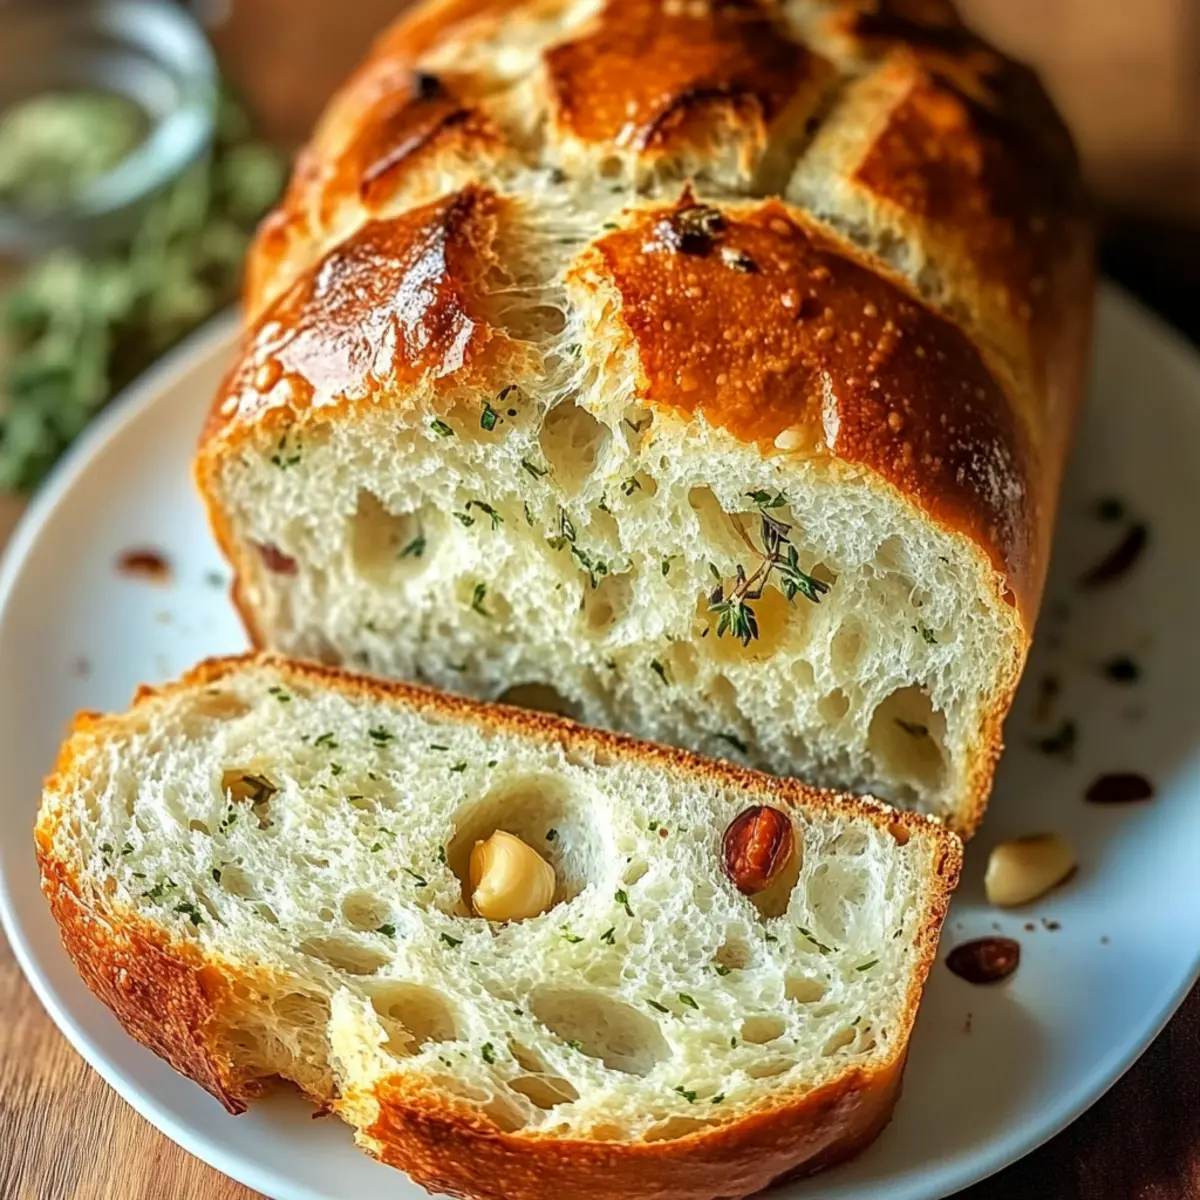
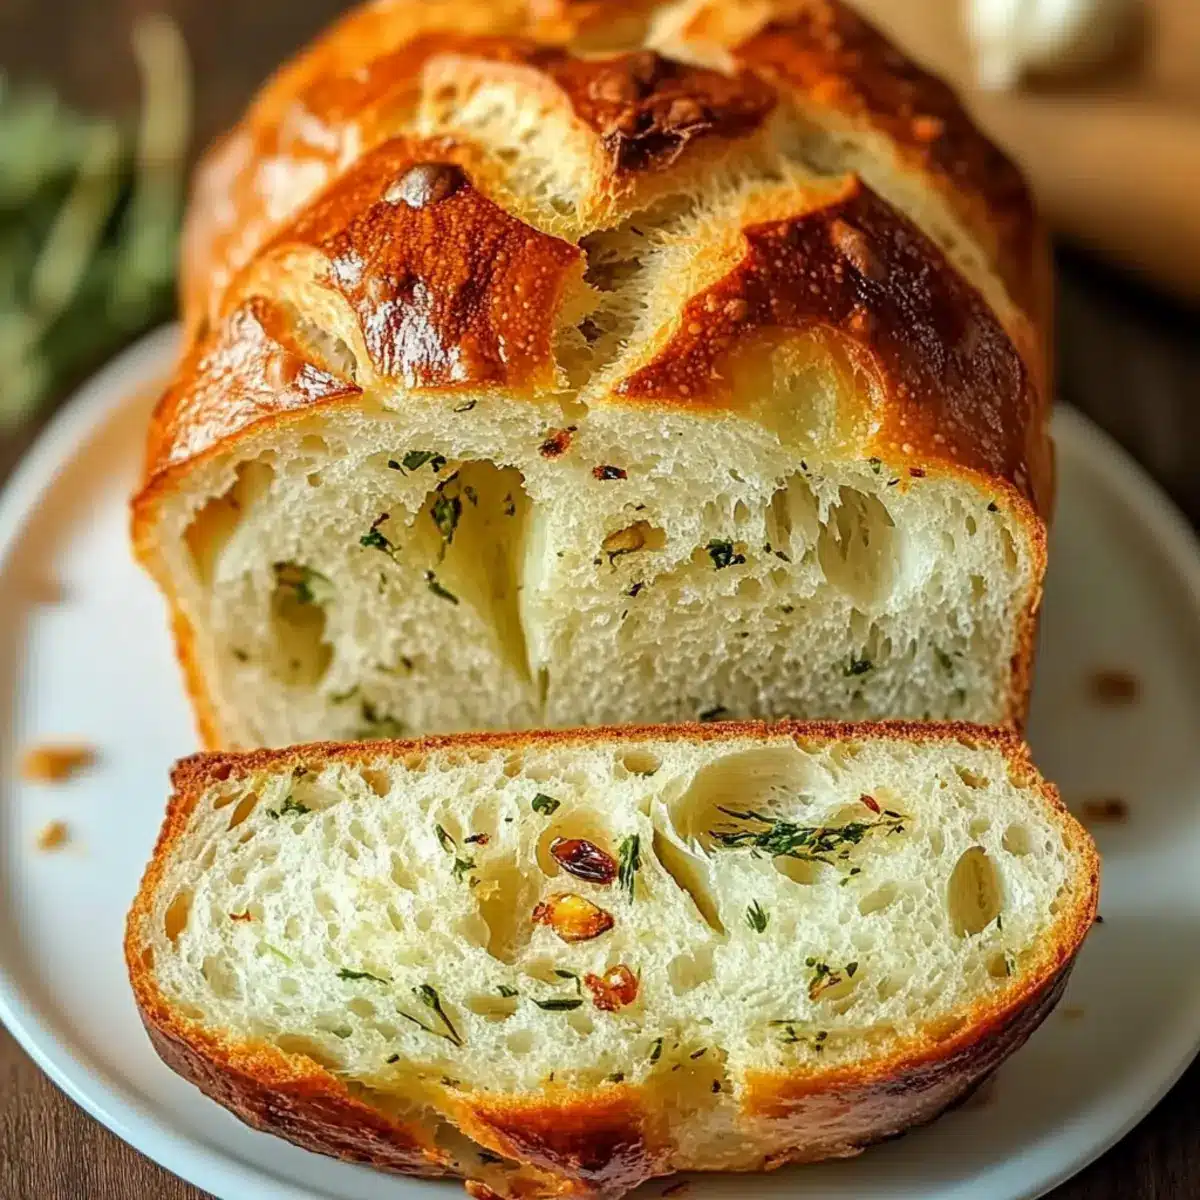
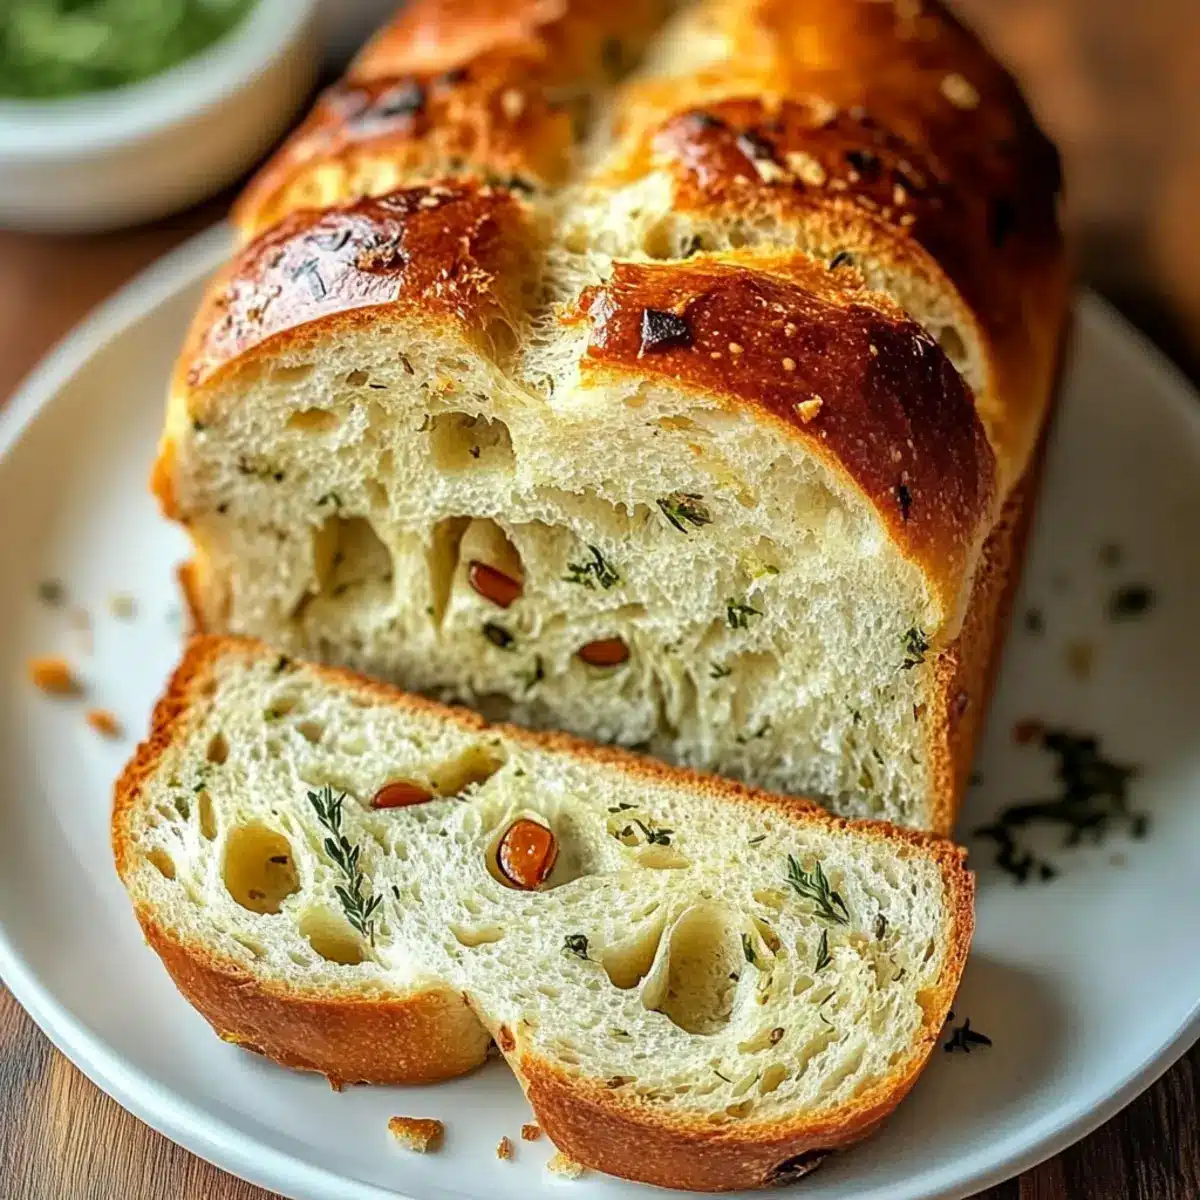
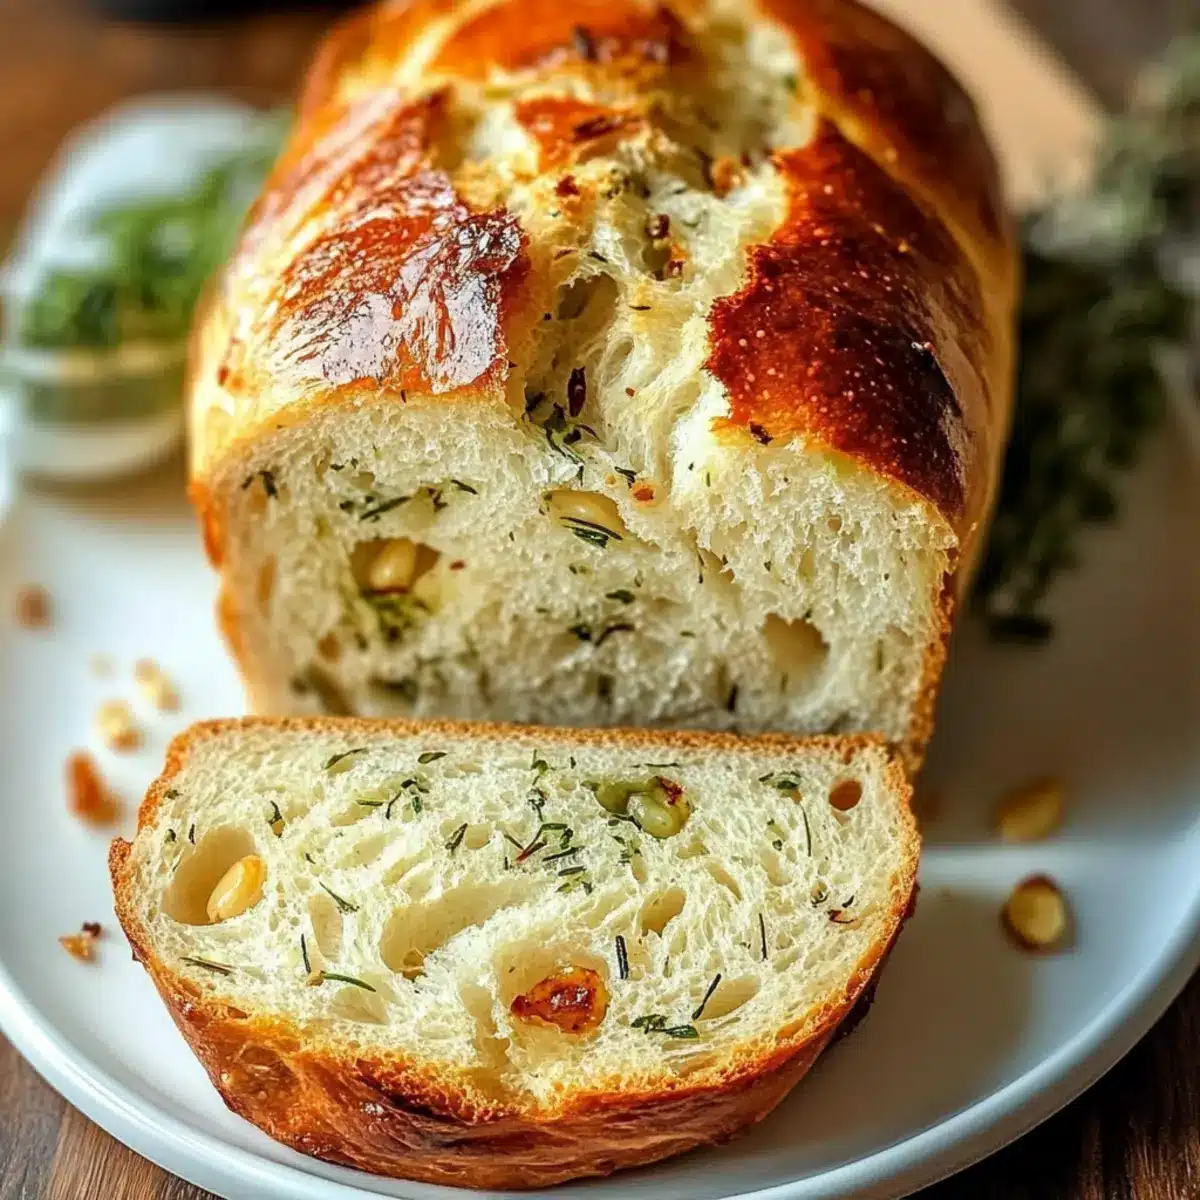
The moment I first pulled a golden loaf out of my bread machine, I knew I had stumbled upon something special. This Garlic Herb Bread is not just any homemade bread; it fills your kitchen with an enticing aroma that’s pure comfort. Perfectly soft, with a delightful hint of garlic and a medley of herbs, this bread is a breeze to make and saves you precious time spent on meal prep. Whether you serve it warm alongside a hearty soup or enjoy it on its own, it’s a true crowd-pleaser. Plus, the beauty of using a bread machine means less mess and more savoring! Are you ready to embark on this fragrant journey of creation?
Why is Garlic Herb Bread a Must-Try?
Aromatic Experience: The moment you start this recipe, your kitchen will be filled with an irresistible aroma that invites everyone to gather around the table.
Effortless Preparation: With just a few simple steps in your bread machine, you can create a delectable loaf without all the fuss.
Versatile Pairing: Enjoy it fresh with soups or as a delightful side to any meal. It’s equally fantastic as a standalone snack!
Customizable Flavor: Feel free to experiment by adding your favorite herbs or even cheese for that extra flavor boost! For another simple yet delicious recipe, check out my Garlic Butter Steak.
Guaranteed Crowd-Pleaser: Whether you’re hosting a dinner party or enjoying a cozy family meal, this bread is sure to impress! Don’t forget to pair it with a fresh Garlic Butter Sweet Potato Bake for a comforting feast!
Garlic Herb Bread Ingredients
For the Dough
• Warm Water – Hydrates the dough and activates the yeast, ensuring it’s around 110°F (43°C) for best results.
• Olive Oil – Adds moisture and richness; can be substituted with melted butter or another vegetable oil for variation.
• Bread Flour – Provides structure and chewiness; avoid all-purpose flour for optimal results.
• Sugar – Enhances browning and balances flavors; either refined or unrefined sugars work well.
• Salt – Elevates flavor and controls yeast activity; be sure to use the specified amount to avoid inhibiting yeast.
• Garlic Powder – Infuses the bread with a savory garlic flavor; fresh garlic can substitute but may change texture.
• Dried Italian Herbs – Adds aromatic notes; consider using other dried herbs like basil or oregano for a different twist.
• Active Dry Yeast – Essential for leavening; ensure it’s fresh, with instant yeast as a viable alternative.
For Extra Flavor
• Grated Cheese – Stir in your favorite cheese to create a cheesy version that adds extra flavor!
• Red Pepper Flakes – Sprinkle in some for a spicy kick and an exciting flavor twist.
Step‑by‑Step Instructions for Garlic Herb Bread
Step 1: Prepare Wet Ingredients
Begin by pouring 1 cup of warm water (around 110°F/43°C) into the bread machine pan. Add 2 tablespoons of olive oil right on top of the water. Mixing the wet ingredients first ensures the yeast activates properly during the baking process, resulting in a delightful Garlic Herb Bread.
Step 2: Add Dry Ingredients
Next, carefully layer 3 ½ cups of bread flour over the liquid, followed by 2 tablespoons of sugar, 1 teaspoon of salt, 1 tablespoon of garlic powder, and 1 tablespoon of dried Italian herbs. This layering technique helps keep the salt and yeast separated until the bread machine starts mixing, preserving the yeast’s effectiveness and ensuring a well-balanced flavor.
Step 3: Incorporate the Yeast
To introduce the powerhouse of leavening, create a small well in the center of the flour mixture. Sprinkle 2 teaspoons of active dry yeast into this well, allowing it to remain dry until the mixing begins. This crucial step is essential for a fluffy Garlic Herb Bread, as it helps control the yeast’s activation.
Step 4: Set the Bread Machine
Close the lid of the bread machine and select the Basic or White Bread setting on your machine. If desired, adjust the crust preference to your liking—choose light, medium, or dark according to your taste. This setting ensures your Garlic Herb Bread is baked to perfection.
Step 5: Start the Process
Press the start button and allow your bread machine to work its magic over the next 2 hours and 30 minutes. Throughout this time, it will mix, knead, rise, and bake your loaf. Resist the urge to open the lid, as doing so may hinder the rising process and affect the final texture.
Step 6: Cool the Bread
Once the baking cycle completes, carefully remove the Garlic Herb Bread from the pan. Let it cool on a wire rack for at least 15 minutes before slicing. This cooling phase is essential to maintain a fluffy texture and prevent the bread from becoming soggy. Enjoy the delightful aroma as it fills your kitchen!
Make Ahead Options
These Garlic Herb Bread creations are perfect for meal prep enthusiasts! You can measure and layer all the dry ingredients—3 ½ cups of bread flour, 2 tablespoons of sugar, 1 teaspoon of salt, 1 tablespoon of garlic powder, and 1 tablespoon of dried herbs—into the bread machine pan up to 24 hours in advance. Just cover it tightly, refrigerate, and this will ensure everything stays fresh until you’re ready to bake. When it’s time to enjoy freshly baked bread, simply add 1 cup of warm water and 2 tablespoons of olive oil to the pan, sprinkle in 2 teaspoons of active dry yeast, select your preferred setting, and let the bread machine do the work. It’s a fantastic way to save time on busy weeknights while still providing delicious, homemade Garlic Herb Bread!
What to Serve with Garlic Herb Bread
There’s something truly special about creating a complete meal around this aromatic loaf that brings warmth and joy to your table.
-
Hearty Tomato Soup: A classic pairing, the tangy flavors of tomato soup complement the richness of garlic herb bread beautifully. It’s comfort food at its finest!
-
Crunchy Caesar Salad: The crisp lettuce and creamy dressing provide a refreshing contrast to the warm, fluffy bread, making every bite delightful.
-
Savory Mushroom Risotto: The earthy mushrooms and creamy texture match perfectly with the fragrant notes of garlic, creating a symphony of flavors.
-
Olive Oil and Balsamic Vinegar Dip: Drizzling some high-quality olive oil mixed with tangy balsamic vinegar creates a simple yet sophisticated appetizer to enjoy with the bread.
A delightful twist is to enhance the experience by adding herbs to the dipping mixture. Sprinkle some fresh herbs like basil or thyme for a burst of flavor!
-
Charcuterie Board: Pair your bread with an assortment of cheeses, cured meats, and olives. The gooey cheese and savory meats contrast wonderfully with the lightness of the garlic herb bread.
-
Red Wine: A glass of smooth red wine elevates the entire meal, ensuring every flavor is savored, making your dining experience even more enjoyable.
-
Dark Chocolate Fondue: If you’re craving something sweet after your meal, consider dipping pieces of bread in a rich dark chocolate fondue for a surprising and delicious dessert!
Each pairing creates an opportunity for taste exploration and cozy togetherness, ensuring that your garlic herb bread shines as a centerpiece of your meal!
Garlic Herb Bread: Creative Twists
Feel free to unleash your creativity and make this Garlic Herb Bread truly your own with these fun variations!
-
Gluten-Free: Use a gluten-free bread flour substitute for a delightful loaf that everyone can enjoy at the table.
-
Cheesy Delight: Stir in shredded mozzarella or cheddar before baking to enjoy a deliciously cheesy twist that oozes with flavor. This version will make your bread the star of the show!
-
Spicy Kick: Add a teaspoon of red pepper flakes for a warm, spicy kick that will elevate each bite. This variation brings an exciting twist to your bread experience.
-
Herbed Variations: Experiment with fresh herbs like rosemary, thyme, or parsley instead of dried. Fresh herbs provide a vibrant flavor that’s perfect for summer gatherings.
-
Savory Addition: Incorporate caramelized onions or sun-dried tomatoes into the dough for an extra layer of savory goodness. These additions create a bread that’s bursting with character.
-
Sweet Twist: Try adding a tablespoon of honey for a hint of sweetness that complements the garlic beautifully. It’s a unique take that balances savory and sweet perfectly.
-
Nutty Crunch: Add a handful of chopped walnuts or pine nuts to the dough for a delightful crunch and added nutty flavor. This adds texture and richness to your bread.
-
Dipping Sauce: Serve your fresh-baked Garlic Herb Bread with a homemade garlic herb oil or balsamic dip for a delightful appetizer that will impress your guests. Pair it with a warm bowl of soup or enjoy it with the rich flavors of Cajun Chicken Garlic for a complete meal!
How to Store and Freeze Garlic Herb Bread
Room Temperature: Store your Garlic Herb Bread in an airtight container at room temperature for up to 3 days to maintain its freshness and flavor.
Fridge: If you need to keep it longer, you can refrigerate slices wrapped well in plastic wrap or aluminum foil for up to 1 week. Just be aware that refrigeration may slightly alter the texture.
Freezer: For longer storage, freeze individual slices by wrapping them tightly in plastic wrap and placing them in a zip-top bag for up to 3 months. This way, you can enjoy your delicious bread whenever the craving hits!
Reheating: To reheat, simply pop the frozen slices in a toaster or oven until warmed through, helping to restore that delightful crustiness and aroma of freshly baked Garlic Herb Bread.
Expert Tips for Garlic Herb Bread
-
Water Temperature: Ensure the water is warm, around 110°F, to activate the yeast properly; too cold won’t allow it to rise.
-
Layer Ingredients: Always layer the dry ingredients on top of the liquid before adding yeast; this keeps the salt from inhibiting your yeast’s action.
-
Avoid the Lid: Resist opening the bread machine during the rising phase to maintain a stable temperature and achieve a perfect texture in your Garlic Herb Bread.
-
Cooling Time: Let the bread cool completely on a wire rack before slicing to avoid sogginess and ensure a fluffy interior.
-
Test Yeast Freshness: Make sure your active dry yeast is fresh before beginning; expired yeast can result in a dense bread that doesn’t rise properly.
Garlic Herb Bread Recipe FAQs
What is the best way to select fresh garlic for this recipe?
Absolutely! When choosing garlic, look for firm bulbs that are free of dark spots. The cloves should be plump and tight, indicating freshness. Avoid any bulbs that feel soft or have started to sprout, as these can give off a bitter taste when cooked.
How should I store leftover Garlic Herb Bread?
To keep your Garlic Herb Bread at its best, store it in an airtight container at room temperature for up to 3 days. You can also refrigerate it for up to a week, but be aware that this might cause a slight change in texture. Just make sure it’s well-wrapped!
Can I freeze Garlic Herb Bread? If so, how?
Very much! To freeze your Garlic Herb Bread, wrap individual slices tightly in plastic wrap. Then, place them in a zip-top bag. You can store them in the freezer for up to 3 months. When you’re ready to enjoy a slice, simply toast or warm it in the oven until heated through. This will help to restore that lovely crustiness.
What should I do if my bread didn’t rise properly?
If your Garlic Herb Bread didn’t rise, don’t worry! First, check the freshness of your yeast; using expired yeast is a common culprit. Additionally, ensure that your water temperature was around 110°F (43°C). If everything checks out, you might want to avoid opening the bread machine during the rising phase, as this can disrupt the process.
Are there any dietary considerations while making this bread?
Certainly! This Garlic Herb Bread recipe can be easily adjusted for dietary needs. If you’re concerned about gluten, look for a gluten-free bread flour alternative. For those with dairy allergies, using olive oil instead of butter works well. Feel free to experiment with herb variations to cater to your family’s preferences!
Garlic Herb Bread: Bake Your Way to Irresistible Flavor
Ingredients
Equipment
Method
- Begin by pouring warm water into the bread machine pan. Add olive oil on top of the water.
- Layer bread flour over the liquid, followed by sugar, salt, garlic powder, and dried herbs.
- Create a small well in the center of the flour mixture and sprinkle active dry yeast into this well.
- Close the lid of the bread machine and select the Basic or White Bread setting.
- Press the start button and allow your bread machine to work for the next 2 hours and 30 minutes.
- Once baking is complete, carefully remove the bread from the pan and cool on a wire rack for at least 15 minutes.
Leave a Reply