
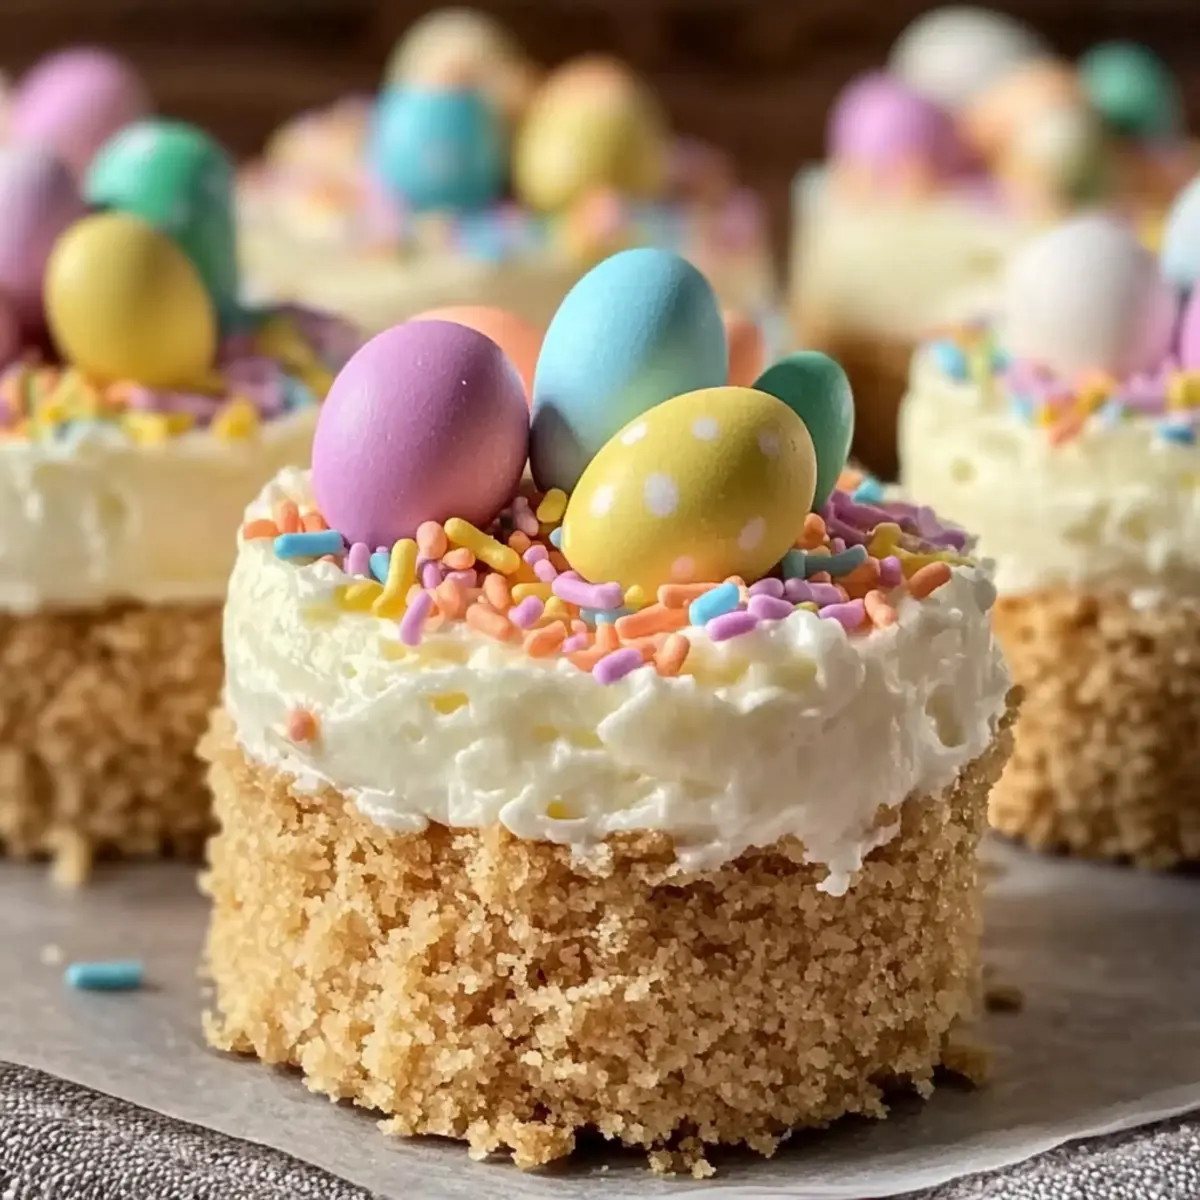
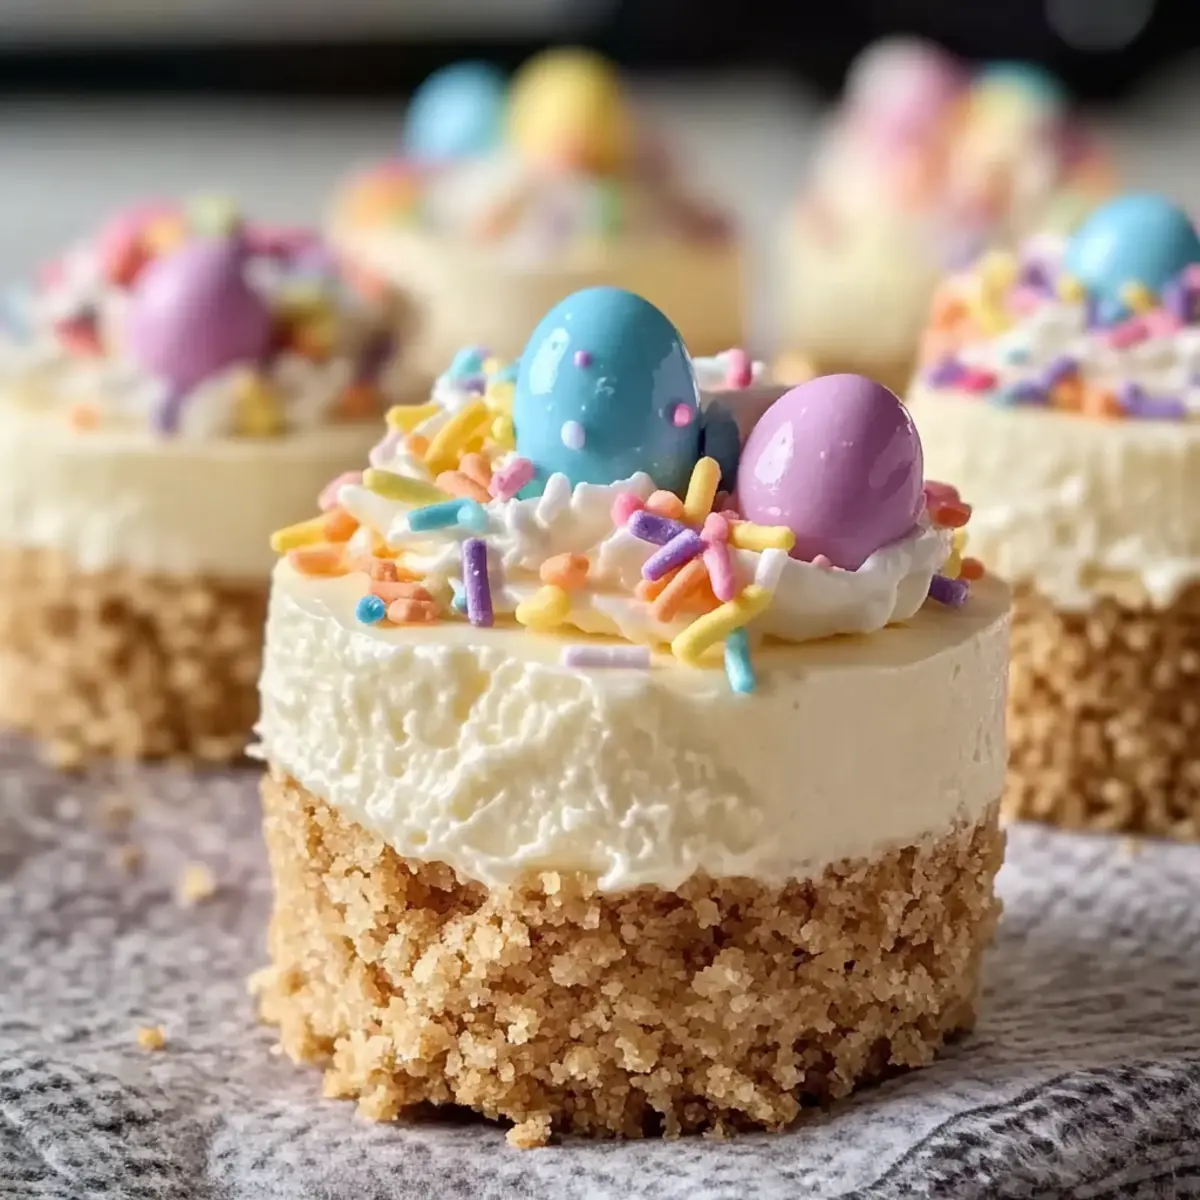
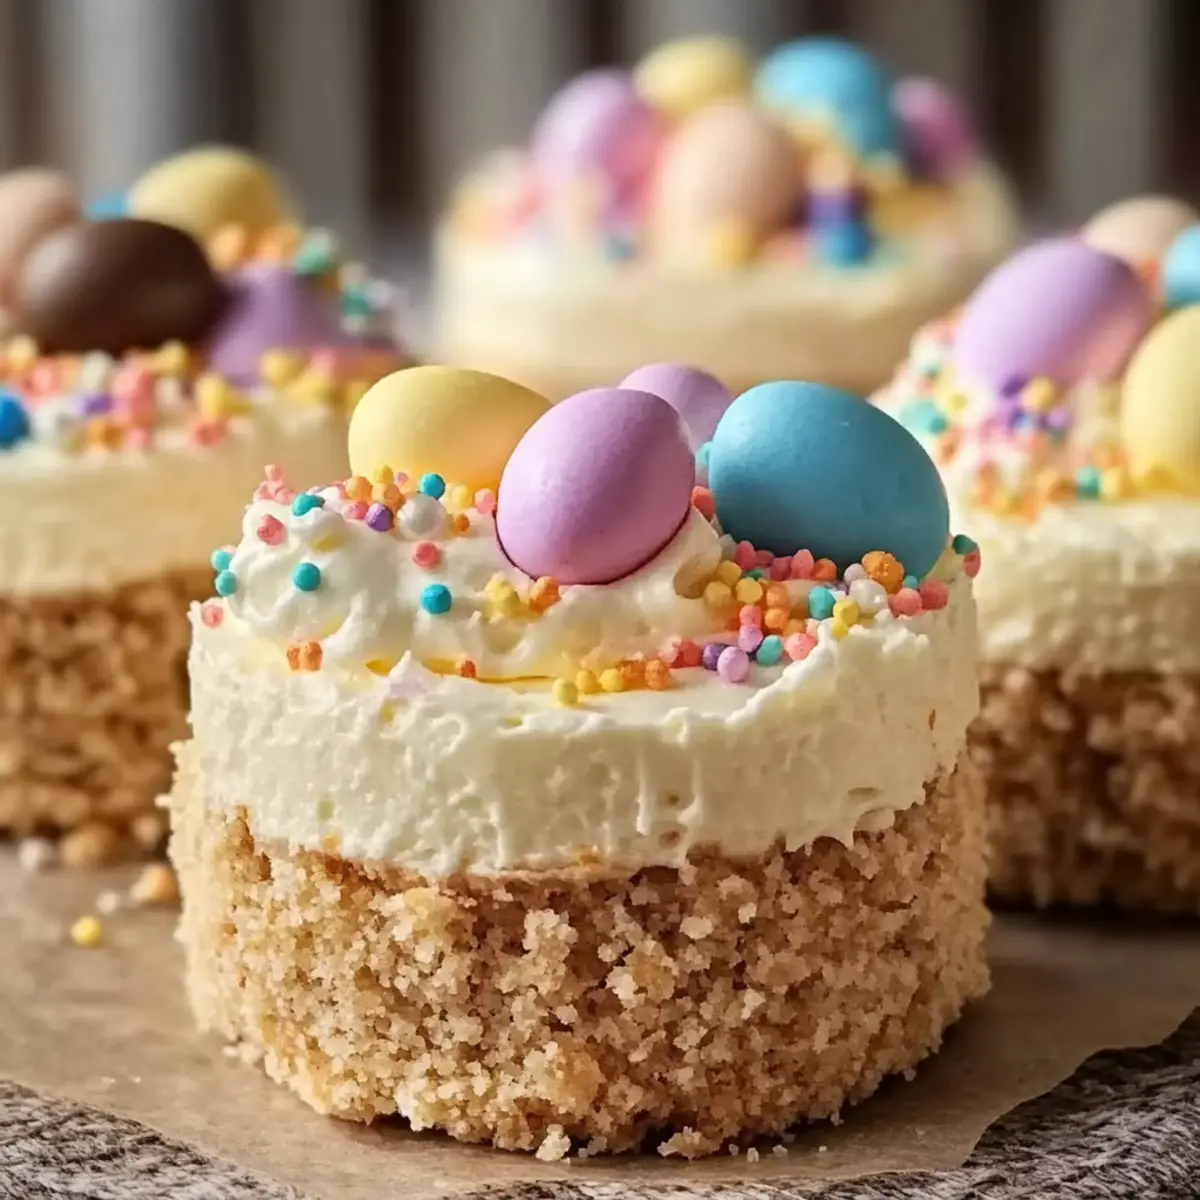
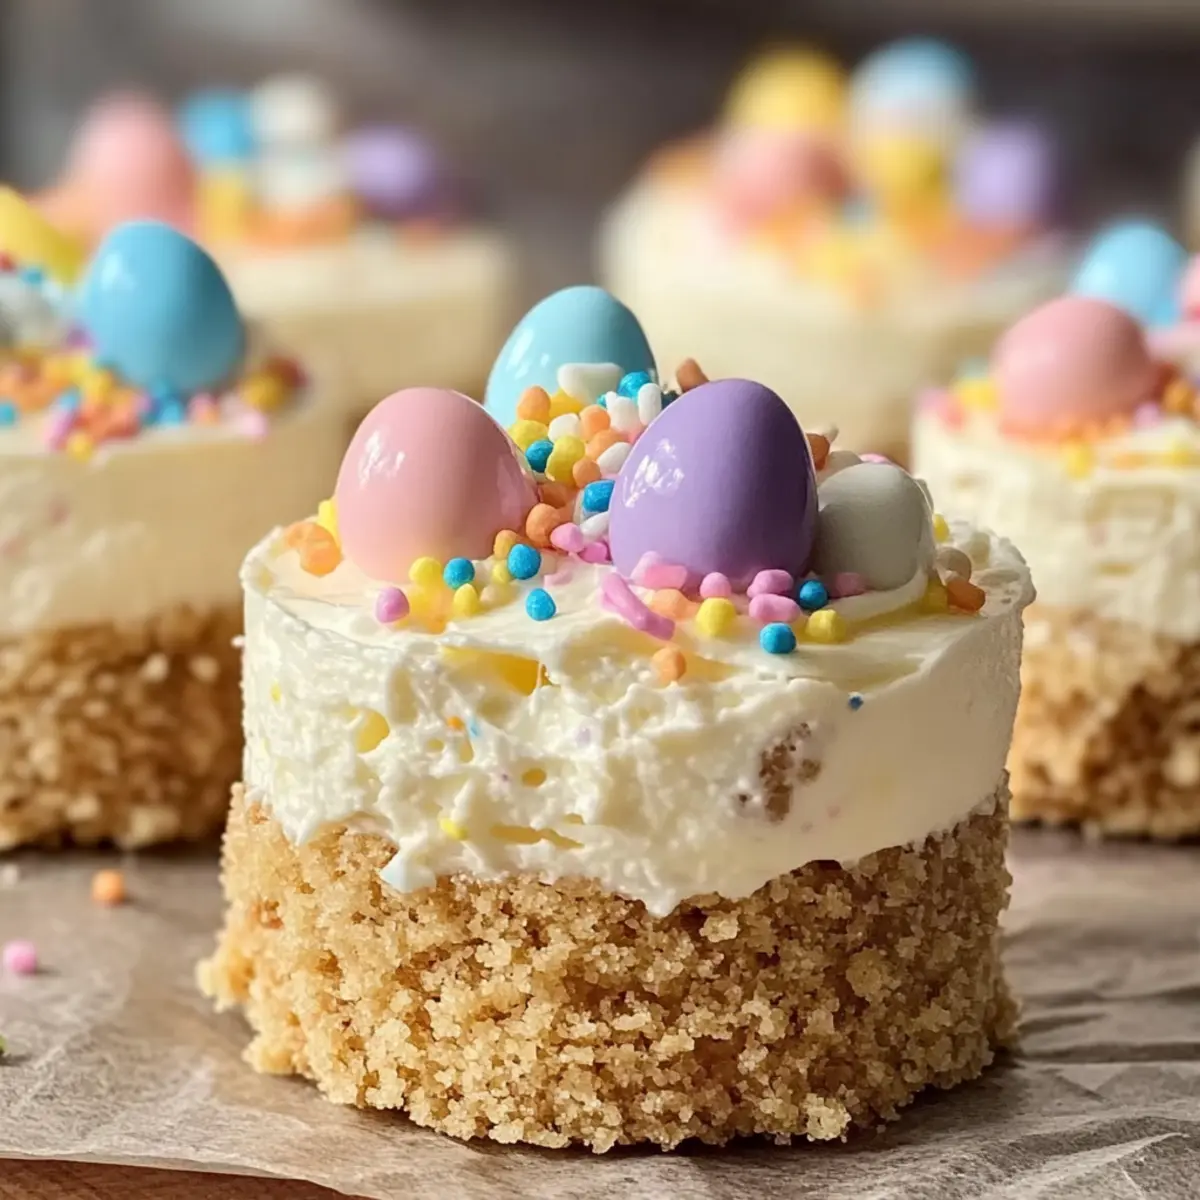
As the daffodils bloom and a warm breeze sweeps in, I find myself drawn to the kitchen, ready to celebrate spring with something special. These Easter No-Bake Mini Cheesecakes are my go-to for festive gatherings, combining creamy goodness with that satisfying crunch of a graham cracker crust. Not only are they quick to whip up, making them perfect for last-minute dessert plans, but their vibrant pastel toppings ensure they make a cheerful centerpiece on any table. Plus, their customizable nature means you can creatively tailor flavors and decorations to suit your taste. Are you ready to make this delightful treat that will have everyone asking for seconds?
Why Choose No-Bake Mini Cheesecakes?
Effortless Preparation: These delightful cheesecakes require no baking, making them a breeze to prepare—even for those short on time!
Customizable Delights: Dress them up with your favorite toppings or flavor extracts, allowing for endless creative variations.
Visually Stunning: With their vibrant pastel colors, they serve as an eye-catching centerpiece for your Easter table.
Perfectly Light and Creamy: Enjoy the smooth and airy filling paired with a crunchy graham cracker crust for a delightful texture contrast.
These mini cheesecakes are not just a treat for Easter; they can also inspire creative variations like Condensed Milk Snowballs or even be paired with Peanut Butter Energy bites as a fun mix of flavors!
Crowd-Pleasing Appeal: Every bite is a hit, ensuring your guests will be coming back for more!
Easter No-Bake Mini Cheesecakes Ingredients
For the Crust
- Graham Cracker Crumbs – Provides the perfect crumbly base; use pre-crushed for convenience.
- Unsalted Butter – Binds the crumbs together and adds richness; substitute coconut oil for a dairy-free option.
- Granulated Sugar – Sweetens the crust for a delightful touch; omit for a less sweet base.
For the Cheesecake Filling
- Cream Cheese – Creates the smooth, creamy filling; make sure it’s softened for easy mixing.
- Powdered Sugar – Adds sweetness and smoothness; adjust to your taste preference.
- Vanilla Extract – Infuses a rich flavor; you can swap with almond extract for a fun twist.
- Heavy Whipping Cream – Gives the filling its light, airy texture; whipped coconut cream is a great lighter alternative.
For the Toppings
- Pastel-Colored Candy Melts – Adds vibrant color and fun decoration; melted chocolate can be a tasty substitute.
- Mini Chocolate Eggs or Jelly Beans – Perfect festive toppings to celebrate Easter; switch out depending on seasonal availability.
- Pastel Sprinkles – Enhances the visual appeal; use edible glitter for an extra sparkle.
These Easter No-Bake Mini Cheesecakes ingredients are crafted to create a delightful and customizable dessert that will wow all your guests!
Step‑by‑Step Instructions for Easter No-Bake Mini Cheesecakes
Step 1: Prepare the Crust
In a mixing bowl, combine the graham cracker crumbs, melted unsalted butter, and granulated sugar until it resembles wet sand. This mixture will hold the crust together. Use your hands or a spatula to blend well. Preheat your refrigerator to chill while you prepare the filling, keeping your crust ingredients ready.
Step 2: Press into Muffin Tin
Line a standard muffin tin with cupcake liners for easy removal. Firmly pack the graham cracker mixture into the bottom of each liner to create a solid base. Use your fingers or the bottom of a glass to press down evenly. Aim for about 1/4 inch thickness, ensuring a sturdy crust for your Easter No-Bake Mini Cheesecakes.
Step 3: Chill the Crust
Place the muffin tin in the refrigerator and let the crust chill for at least 30 minutes. This step will help the crust firm up, making it easier to fill later. Your crust should feel set to the touch and hold its shape when you remove it from the muffin tin.
Step 4: Beat the Cream Cheese
In a large mixing bowl, beat the softened cream cheese using an electric mixer on medium speed until smooth and creamy, about 2-3 minutes. Scrape down the sides of the bowl to ensure no lumps remain. This smooth base is key to achieving a creamy texture for your Easter No-Bake Mini Cheesecakes.
Step 5: Add Sugar and Vanilla
Gradually mix in the powdered sugar and vanilla extract into the beaten cream cheese, continuing to blend until the mixture is smooth and fully combined, about 1-2 minutes. Taste the filling to adjust the sweetness if desired. This mixture will create the luscious filling for your cheesecakes.
Step 6: Whip the Cream
In a separate bowl, use clean beaters to whip the heavy whipping cream on high speed until stiff peaks form, taking approximately 3-5 minutes. The whipped cream adds airiness to the filling, giving your Easter No-Bake Mini Cheesecakes a light texture. Ensure the cream is cold for the best results.
Step 7: Fold in Whipped Cream
Gently fold the whipped cream into the cream cheese mixture using a spatula. Be careful to maintain the lightness of the whipped cream, which should remain fluffy. This step is crucial for achieving a creamy, airy filling that melts in your mouth.
Step 8: Fill the Crusts
Once your crusts have chilled firm, spoon or pipe the cream cheese filling evenly into each muffin cup, over the cooled crust. Smooth the tops with a spatula as you go, ensuring an even filling for all your Easter No-Bake Mini Cheesecakes.
Step 9: Refrigerate to Set
Cover the muffin tin with plastic wrap and refrigerate for at least 2 hours, allowing the filling to firm up properly. The cheesecakes should feel set yet slightly jiggle in the center when ready. This chilling time is essential for a perfect texture and flavor.
Step 10: Melt Candy Melts
Take a microwave-safe bowl and follow the package instructions to melt your pastel-colored candy melts. Heat in short intervals to prevent burning, stirring frequently until smooth. Allow the melted chocolate to cool slightly before using it for dressing your mini cheesecakes.
Step 11: Drizzle over Cheesecakes
Once the cheesecakes have set completely, drizzle the melted candy melts over the tops in whimsical patterns. Use a spoon or a piping bag for more control over your designs. The vibrant colors will add a festive touch to your Easter No-Bake Mini Cheesecakes.
Step 12: Add Toppings
Finish decorating each cheesecake by placing mini chocolate eggs, jelly beans, and colorful sprinkles on top. These festive toppings bring a joyful appearance and delightful crunch to your creation, making each bite of your Easter No-Bake Mini Cheesecakes a delicious treat.
What to Serve with Easter No-Bake Mini Cheesecakes?
Enhance your festive celebration with delightful pairings that complement these vibrant little treats.
-
Fresh Berries: Juicy strawberries or blueberries add a pop of color and a burst of freshness, beautifully contrasting the creaminess of the cheesecakes.
-
Whipped Cream: A dollop of lightly sweetened whipped cream brings a fluffy texture that pairs perfectly with the rich, creamy filling.
-
Chocolate Dipped Strawberries: Decadent, chocolate-covered strawberries are a luxurious touch that echoes traditional chocolate pairings, making every bite more indulgent.
-
Coffee or Espresso: A rich cup of coffee or a smooth espresso balances the sweetness, providing an exquisite contrast to the mini cheesecakes.
-
Festive Fruit Salad: A bright fruit salad with seasonal fruits adds freshness and a lightness, making your dessert spread even more vibrant and inviting.
-
Mini Easter Cookies: Colorful, themed cookies can serve as fun decorative elements while adding a crunchy texture alongside the creamy cheesecakes.
-
Lemonade or Sparkling Water: Refreshing drinks like zesty lemonade or bubbly sparkling water cleanse the palate and enhance the overall dining experience.
-
Chocolate Mousse: For an extra layer of indulgence, serve a rich chocolate mousse on the side for those chocolate lovers at your gathering.
These pairings not only enhance the flavors of your Easter No-Bake Mini Cheesecakes but also create a whimsical and delightful dessert table that your guests will adore!
Easter No-Bake Mini Cheesecakes Variations
Customize your Easter No-Bake Mini Cheesecakes to match your family’s favorite flavors and seasonal delights—let your creativity shine!
- Dairy-Free: Swap cream cheese with dairy-free cream cheese and use whipped coconut cream for a lighter, vegan-friendly option.
- Fruit-Infused: Mix in pureed strawberries or raspberries to the cream cheese filling for a refreshing fruity twist.
- Chocolate Lovers: Replace half of the graham cracker crust with crushed chocolate cookies for a rich, chocolaty crunch.
- Nutty Delight: Add finely chopped nuts like pecans or almonds to the base for extra crunch and flavor—it’s simply delightful!
- Citrus Zing: Incorporate lemon or lime zest into the cream cheese filling for a bright, tangy flavor contrast.
- Fruity Toppings: Use seasonal fruits like fresh berries or diced kiwi on top instead of candy to add a fresh feel.
- Spiced Variation: Try adding a pinch of cinnamon or nutmeg into the filling for a warm, cozy flavor that’s perfect for spring.
- Festival Color Play: Enhance the visual appeal with any edible glitter or colorful edible flowers for a festive touch year-round.
These no-bake cheesecakes are not only a sweet treat but can also inspire creative delights similar to Condensed Milk Snowballs or be enjoyed alongside the fun flavors of Peanut Butter Energy bites!
Tips for the Best Easter No-Bake Mini Cheesecakes
-
Room Temperature Cheese: Ensure your cream cheese is at room temperature before mixing to achieve a smooth, lump-free filling for your Easter No-Bake Mini Cheesecakes.
-
Stiff Peaks Matter: Whip the heavy cream until stiff peaks form; this gives your filling that delightful lightness and airy texture that’s essential for a memorable cheesecake.
-
Don’t Rush the Chill: Allow the crust to chill for at least 30 minutes and the cheesecakes to set for 2 hours in the refrigerator. This ensures they hold their shape and offer the best flavor.
-
Creative Toppings: Get creative with your toppings! Try fresh fruit or unique sprinkles; this customization can elevate the look and taste of your Easter No-Bake Mini Cheesecakes.
-
Mind the Mixing: When folding the whipped cream into the cream cheese, do so gently to maintain the airy texture. This step is key to achieving that melt-in-your-mouth experience.
How to Store and Freeze Easter No-Bake Mini Cheesecakes
Fridge: Store cheesecake leftovers in an airtight container for up to 5 days. Make sure they’re covered to maintain their freshness and creamy texture.
Freezer: For longer storage, wrap individual cheesecakes tightly in plastic wrap, then place them in a freezer-safe container. They can be frozen for up to 1 month.
Thawing: To enjoy frozen cheesecakes, move them to the fridge and allow them to thaw overnight before serving. This ensures they retain the perfect texture.
Reheating: These Easter No-Bake Mini Cheesecakes are best enjoyed chilled; avoid reheating them to maintain their delightful consistency and flavor.
Make Ahead Options
These Easter No-Bake Mini Cheesecakes are perfect for meal prep, making your holiday dessert planning a breeze! You can prepare the graham cracker crust up to 24 hours in advance and store it in the fridge to maintain its crunch. Additionally, the cream cheese filling can be made up to 3 days ahead; simply whip it, fold in the cream, and keep it airtight in the refrigerator. When ready to serve, fill the crusts and allow them to set in the fridge for at least 2 hours. This prep method ensures each cheesecake remains just as delicious, allowing you to enjoy more time with your guests on the big day!
Easter No-Bake Mini Cheesecakes Recipe FAQs
What are the best graham crackers to use for the crust?
I recommend using plain graham crackers for the crust, as they provide just the right sweetness and texture. You can also use pre-crushed graham cracker crumbs for convenience, saving you time in the kitchen. If you are feeling adventurous, consider using gingersnap or chocolate wafers for a unique twist!
How should I store leftovers of the Easter No-Bake Mini Cheesecakes?
Store any leftovers in an airtight container in the refrigerator for up to 5 days. Make sure they are covered to keep their creamy texture intact! If you want to store them for a longer period, you can freeze them (see freezing instructions below).
Can I freeze Easter No-Bake Mini Cheesecakes?
Absolutely! To freeze your mini cheesecakes, wrap each one tightly in plastic wrap, making sure there are no air pockets, and then place them in a freezer-safe container or bag. They can be stored in the freezer for up to 1 month. When you’re ready to enjoy them, simply move them to the refrigerator the night before to thaw!
What if my cream cheese filling is lumpy?
If your cream cheese filling is lumpy, it may be due to the cream cheese being too cold. Ensure that the cream cheese is softened to room temperature before mixing. If lumps persist, try beating the filling on medium speed longer, or you can even pass it through a fine mesh sieve to achieve a perfectly smooth texture.
Are Easter No-Bake Mini Cheesecakes safe for people with lactose intolerance?
If you or your guests are lactose intolerant, you can make these cheesecakes dairy-free by substituting the cream cheese with a dairy-free alternative like cashew cream or a vegan cream cheese option. Additionally, use coconut cream instead of heavy whipping cream. Just ensure to check all ingredient labels for dairy-free status!
How long do the cheesecakes need to set in the fridge?
These Easter No-Bake Mini Cheesecakes require at least 2 hours in the fridge to properly set. This chilling time is essential for ensuring that the filling is firm yet creamy and that they hold their shape when served. If you can, letting them chill longer—up to overnight—is even better for flavor!
Easter No-Bake Mini Cheesecakes That Wow Your Guests
Ingredients
Equipment
Method
- In a mixing bowl, combine the graham cracker crumbs, melted unsalted butter, and granulated sugar until it resembles wet sand.
- Line a standard muffin tin with cupcake liners and firmly pack the mixture into the bottom of each liner.
- Place the muffin tin in the refrigerator and let the crust chill for at least 30 minutes.
- Beat the cream cheese on medium speed until smooth and creamy, about 2-3 minutes.
- Gradually mix in the powdered sugar and vanilla extract until the mixture is smooth.
- Whip the heavy whipping cream in a separate bowl until stiff peaks form.
- Gently fold the whipped cream into the cream cheese mixture using a spatula.
- Spoon or pipe the cream cheese filling into each muffin cup over the cooled crust.
- Cover the muffin tin with plastic wrap and refrigerate for at least 2 hours.
- Melt the pastel-colored candy melts according to package instructions.
- Drizzle the melted candy melts over the tops of the cheesecakes.
- Finish decorating each cheesecake by placing mini chocolate eggs, jelly beans, and colorful sprinkles on top.
Leave a Reply