
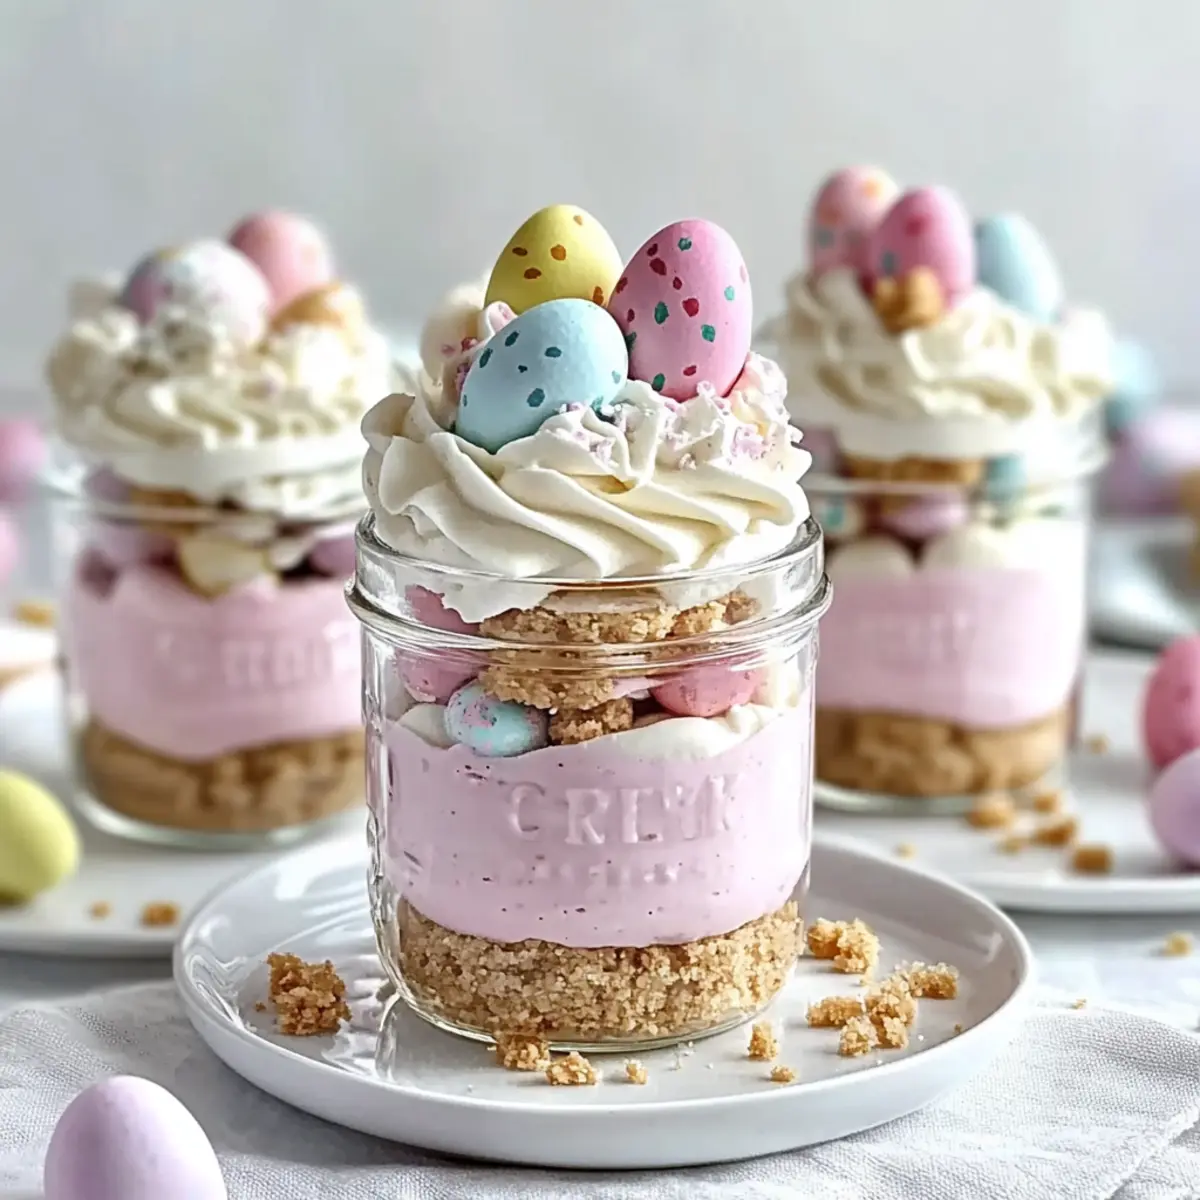
As I opened my kitchen window to let in the sweet spring breeze, inspiration struck me—what better way to celebrate Easter than with cheerful No-Bake Easter Egg Cheesecake Jars? These delightful treats are not only simple to whip up but also add vibrant colors to any festive gathering. Picture creamy, pastel cheesecake layers mingling atop a buttery graham cracker crust, creating an irresistible dessert that looks as good as it tastes. Plus, they can be customized with your favorite toppings, making each jar a personal masterpiece! Whether you’re hosting a brunch or looking for a fun after-dinner delight, these jars promise to brighten your table and satisfy those sweet cravings. Curious to see how to bring this spring-inspired dessert to life? Let’s dive into the recipe!
Why Make Easter Egg Cheesecake Jars?
Irresistible Visual Appeal: These vibrant jars are a feast for the eyes! With colorful layers and fun toppings, they add a cheerful touch to any spring celebration.
No-Bake Convenience: No oven? No problem! This easy recipe eliminates the stress of baking, making it perfect for busy schedules.
Customizable Delight: Tweak the flavors and toppings easily. From different cookie crusts to playful candies, you can create a version that’s uniquely yours.
Crowd-Pleaser: Perfect for sharing! These jars are ideal for gatherings, sparking joy and excitement with every spoonful.
Make-Ahead Friendly: Save time by preparing these delightful desserts a day in advance, then simply garnish before serving. It’s that simple!
If you’re looking for more festive ideas, check out our Mexican Eggs Benedict or try making Eggs in Crispy Hash Brown Baskets for a fun brunch spread!
Easter Egg Cheesecake Jars Ingredients
Get ready to create this festive delight!
For the Crust
• Graham Cracker Crumbs – Provides the base crust; swap with crushed Oreos or shortbread for a different flavor.
• Granulated Sugar – Sweetens the crust; no substitutions needed to keep that perfect balance.
• Unsalted Butter – Binds the crust together; coconut oil can be used for a dairy-free option.
For the Cheesecake Filling
• Cream Cheese – Main component providing creaminess; ensure it’s softened for easy mixing.
• Powdered Sugar – Sweetens and lightens the cheesecake; consider a sugar alternative for lower sugar content.
• Vanilla Extract – Adds rich flavor; use pure vanilla extract for best results.
• Heavy Cream – Whipped to stiff peaks for texture; non-dairy whipped cream works for a vegan option.
• Pink Gel Food Coloring – Optional for a pastel look; substitute with freeze-dried strawberry powder for a natural color.
For the Topping
• Whipped Cream – Adds creaminess on top; feel free to use store-bought or homemade.
• Pastel Candy Eggs – Decorative topping; any candy eggs add a festive touch!
• Rainbow or Pastel Sprinkles – Adds colorful flair; customize according to the season.
These Easter Egg Cheesecake Jars are sure to become a favorite at your spring celebrations!
Step‑by‑Step Instructions for Easter Egg Cheesecake Jars
Step 1: Prepare the Crust
In a medium bowl, combine graham cracker crumbs, granulated sugar, and melted unsalted butter until it resembles damp sand. Using your fingers or the back of a spoon, press this mixture firmly into the bottoms of your jars, creating an even layer. Allow the crust to set at room temperature while you prepare the cheesecake filling, ensuring it holds its shape.
Step 2: Make the Cheesecake Filling
In a mixing bowl, beat the softened cream cheese with an electric mixer until smooth and creamy, approximately 2-3 minutes. Gradually add in the powdered sugar and vanilla extract, mixing until the mixture is light and airy. This step is essential for achieving that perfect velvety texture in your Easter Egg Cheesecake Jars, so make sure there are no lumps.
Step 3: Incorporate the Whipped Cream
In a separate bowl, whip the heavy cream until stiff peaks form, about 3-5 minutes using a hand mixer. Gently fold the whipped cream into the cream cheese mixture in thirds, being careful not to deflate the air in the whipped cream. This folding technique will maintain that lovely lightness in your cheesecake filling, essential for the final jar.
Step 4: Add Color (Optional)
Divide the cheesecake mixture into two separate bowls if you wish to create colorful layers in your Easter Egg Cheesecake Jars. In one bowl, carefully mix in a few drops of pink gel food coloring or the freeze-dried strawberry powder until fully incorporated, achieving the desired pastel shade. This vibrant color will make your jars visually appealing and festive.
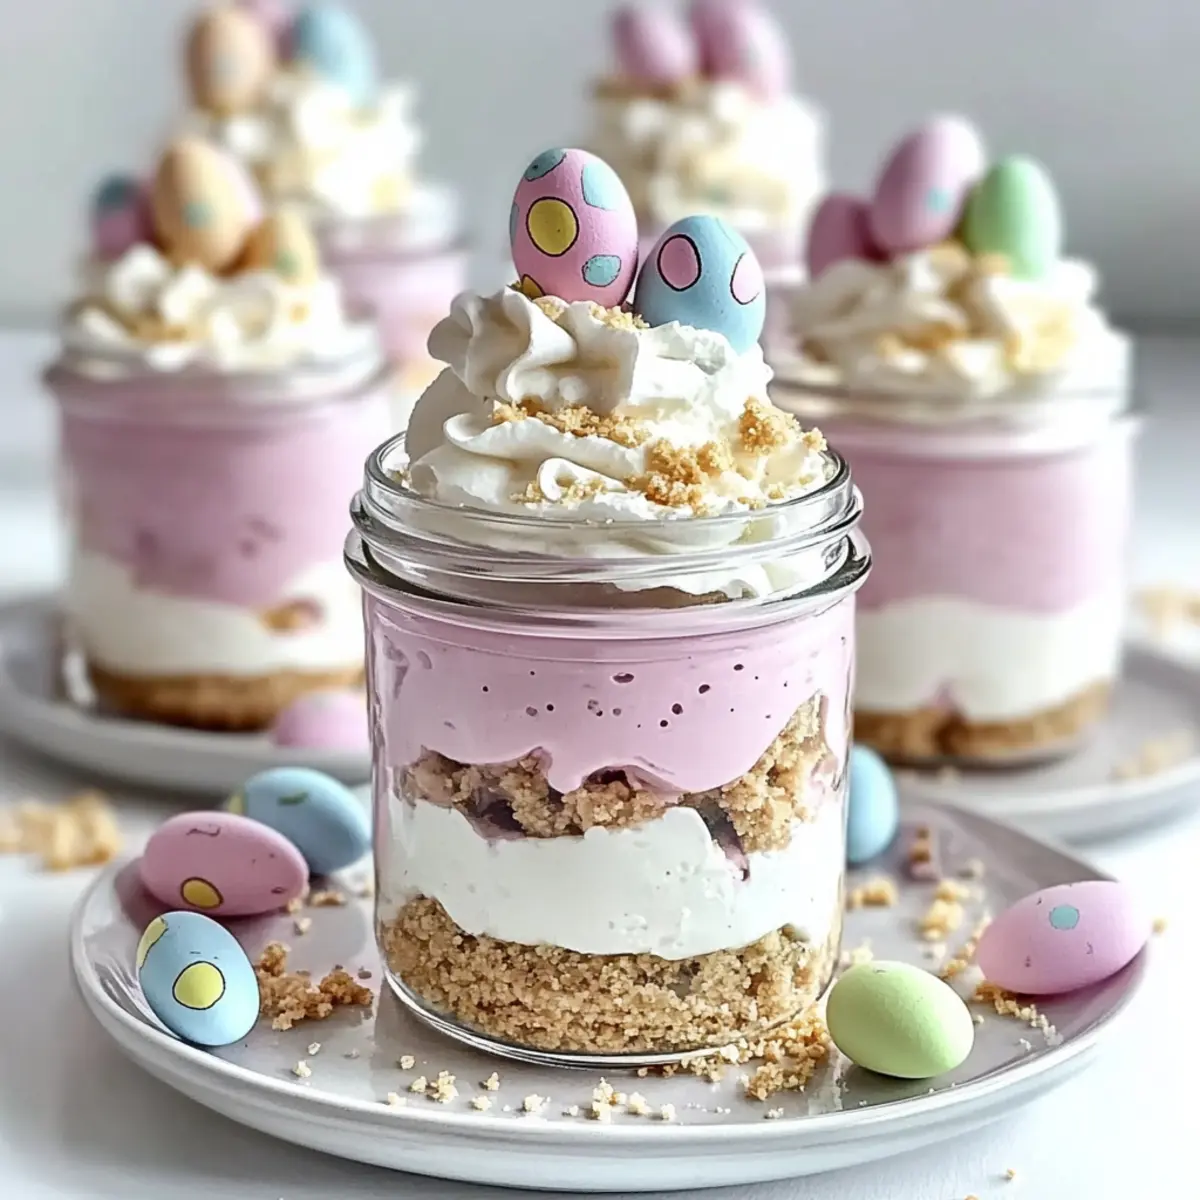
Step 5: Layer the Ingredients
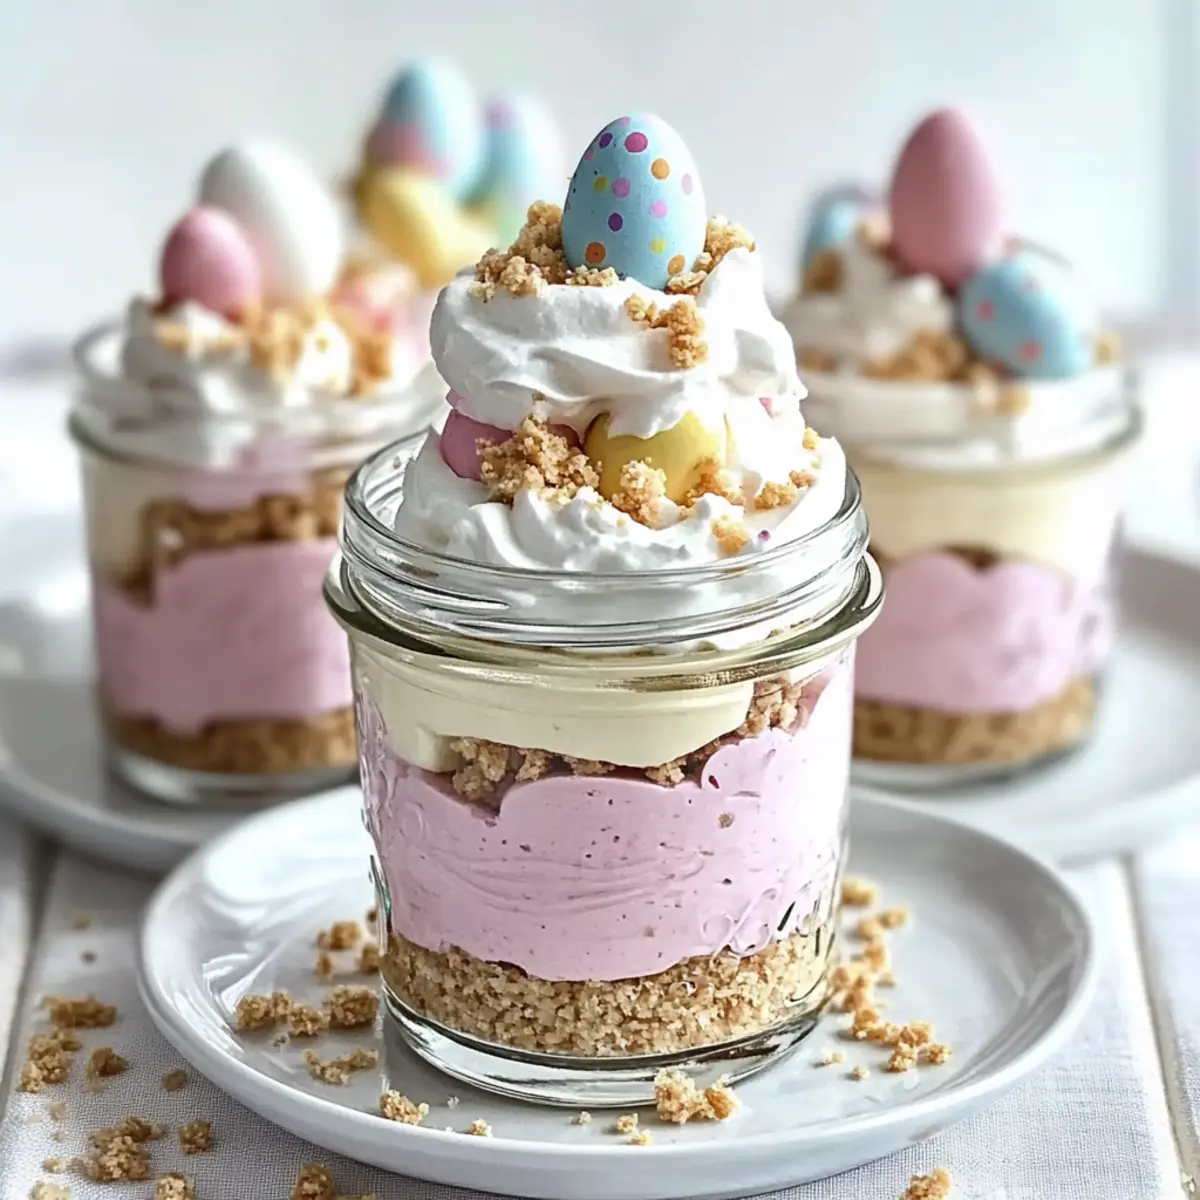
Start layering by spooning or piping the pink cheesecake mixture into the bottom of the jars first, filling them about halfway. Follow this with the plain cheesecake mixture, filling the jars nearly to the top. Use a spatula to smooth the top layer for a polished look. This method allows for beautiful layers that are not only tasty but also eye-catching!
Step 6: Top with Whipped Cream
Using a piping bag fitted with a star tip, pipe a generous swirl of whipped cream on top of each jar. This adds a lovely finish to your Easter Egg Cheesecake Jars and enhances their visual appeal. The whipped cream layer should be fluffy and inviting, creating a perfect canvas for your festive decorations.
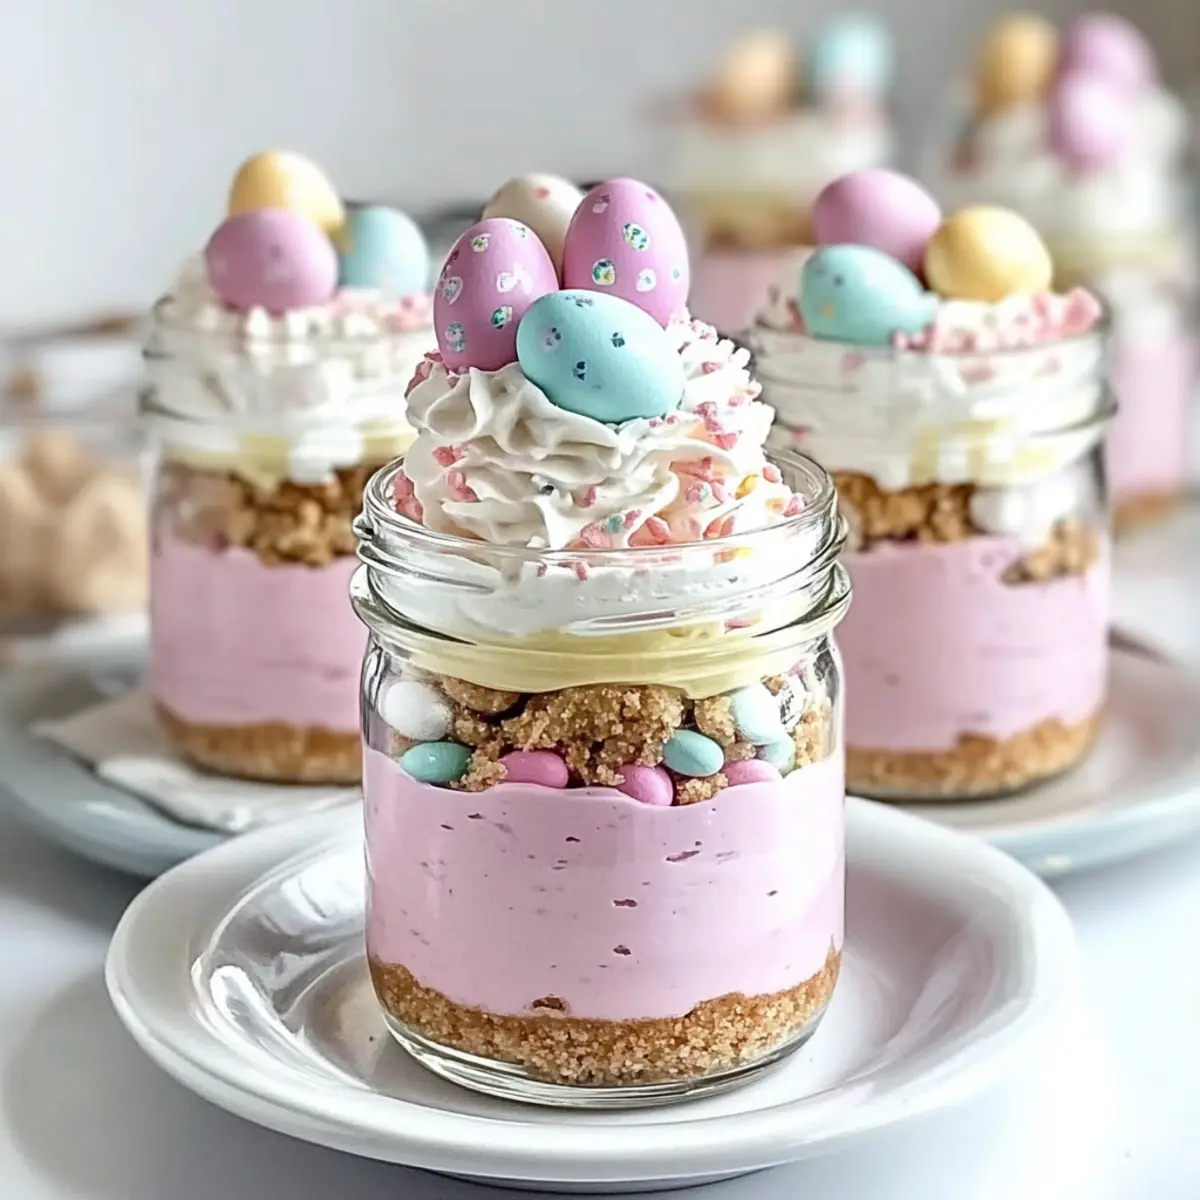
Step 7: Garnish and Serve
Just before serving, sprinkle pastel candy eggs and rainbow sprinkles over the whipped cream to brighten each jar. This fun and colorful garnish adds a playful touch that’s perfect for Easter celebrations. Arrange the jars on a serving platter, and watch as your guests are drawn to the cheerful presentation of these delightful Easter Egg Cheesecake Jars!
Make Ahead Options
These Easter Egg Cheesecake Jars are perfect for busy home cooks looking to save time! You can prepare the graham cracker crust and cheesecake filling up to 24 hours in advance. Simply store the crust in airtight containers to maintain its crunch, and refrigerate the filling in a covered bowl. When you’re ready to serve, layer the fillings in the jars, top with whipped cream, and garnish them with pastel candy eggs and sprinkles just before enjoying. This simple prep ensures that your cheesecake jars remain delicious and visually appealing, giving you a delightful dessert with minimal last-minute effort to wow your guests!
Easter Egg Cheesecake Jars Variations & Substitutions
Feel free to let your creativity shine when making these delightful jars! Customize flavors and textures to suit your palate and occasion.
-
Dairy-Free: Substitute cream cheese with a vegan cream cheese alternative and use coconut whipped cream for lightness. This swap offers a rich flavor while keeping it plant-based.
-
Gluten-Free: Use gluten-free cookie crumbs for the crust, ensuring everyone can enjoy these festive treats. It’s an easy fix that keeps the delicious crunch intact.
-
Sugar-Free: Utilize sugar alternatives like erythritol in place of granulated and powdered sugars for a guilt-free dessert without sacrificing sweetness. These jars can still satisfy those sweet cravings!
-
Flavor Infusion: Add a splash of almond extract instead of vanilla for a nutty twist. It elevates the taste profile with a new dimension of flavor your guests will love.
-
Chocolate Lovers: Mix cocoa powder into the crust for a chocolatey base. Pair with chocolate sprinkles on top for an extra indulgent treat that screams celebration!
-
Seasonal Fruits: Swap out pastel candy eggs for fresh berries or sliced kiwi as a topping to incorporate seasonal flavors. This fresh element can elevate your cheesecakes beautifully.
-
Zesty Kick: Incorporate lemon or orange zest into the cheesecake mix for a citrusy brightness. The addition works wonders in contrast to the sweetness and adds refreshing notes.
If you’re in the mood for more delicious recipes, consider our Red Velvet Cheesecake for a colorfully decadent dessert or try adding a morning twist with Eggs in Crispy Hash Brown Baskets. Each option brings a unique flair that’s certainly worth exploring!
Expert Tips for Making Easter Egg Cheesecake Jars
Chill for Perfection: Ensure you chill the jars for at least 2 hours before serving; this allows the layers to set beautifully.
Whip with Care: When incorporating whipped cream, fold gently in thirds to maintain airiness in your cheesecake filling and avoid a dense texture.
Prepare the Crust Right: Press the crust mixture firmly but not too hard to avoid a tough base; a light hand helps keep it crunchy and crumbly.
Customize Color: While the pink gel food coloring is optional, feel free to experiment with natural alternatives like freeze-dried fruit powder to suit your tastes.
Layer Neatly: Using a piping bag for layering not only enhances presentation but also helps avoid messy edges, ensuring your Easter Egg Cheesecake Jars look as good as they taste!
Alternate Ingredients: Don’t hesitate to swap ingredients like using gluten-free cookies for the crust or flavored cream cheese—your jar, your rules!
What to Serve with Easter Egg Cheesecake Jars?
Elevate your festive gathering with delightful pairings that complement these charming cheesecake jars.
-
Fresh Berries: Bright and juicy, they offer a burst of flavor and a refreshing contrast to the creamy jars.
-
Minty Green Salad: A citrus vinaigrette drizzled over mixed greens provides a zingy palate cleanser between sweet bites, enhancing your meal.
-
Chocolate-Covered Strawberries: Decadent and romantic, these treats pair beautifully with the lightness of the cheesecake, increasing the indulgence factor.
-
Sparkling Lemonade: Bubbly and tart, this drink not only refreshes but also echoes the festive spirit of Easter, making it a cheerful choice.
-
Cute Bunny Cupcakes: Add playful fun to your dessert table! These sweet treats bring whimsy and delight, perfect for entertaining kids and adults alike.
-
Mini Fruit Tartlets: Crisp pastry shells filled with cream and topped with seasonal fruits balance the cheesecake’s richness and add splashes of color to your serving spread.
-
Iced Herbal Tea: Light and aromatic, this drink can be infused with mint or fruit flavors, offering a calming complement to the sweetness of the jars.
These pairings enhance the joy of the Easter Egg Cheesecake Jars, creating a memorable dessert experience for all to enjoy!
How to Store and Freeze Easter Egg Cheesecake Jars
Fridge: Keep your Easter Egg Cheesecake Jars in an airtight container in the refrigerator for up to 3 days to maintain freshness and flavor.
Freezer: If you’d like to make these treats ahead of time, freeze the jars without toppings for up to 2 months. Thaw in the fridge overnight before serving.
Reheating: These jars are best enjoyed chilled; however, if you prefer a softer texture, let them sit at room temperature for about 15 minutes before indulging.
Toppings: Add whipped cream and decorative toppings just before serving to keep everything looking fresh and festive.
Easter Egg Cheesecake Jars Recipe FAQs
How should I select ripe ingredients for these jars?
When choosing your ingredients, especially for the cream cheese and heavy cream, opt for products that are fresh and within their expiration dates. For the cream cheese, ensure it’s at room temperature for easier mixing. If you’re using fruits or natural colorings like freeze-dried strawberry powder, select vibrant options without dark spots or blemishes for the best visual appeal.
How should I store the Easter Egg Cheesecake Jars?
Store your jars in an airtight container in the refrigerator for up to 3 days. This helps maintain the creamy texture and flavor. If you plan to make them ahead, you can freeze the jars without toppings for up to 2 months. Ensure they’re fully sealed to avoid freezer burn. Thaw them overnight in the refrigerator before serving for maximum freshness!
What are the freezing instructions for these jars?
To freeze your Easter Egg Cheesecake Jars, first, prepare them without the whipped cream and decorative toppings. After assembling, place the jars in a freezer-safe container, separated with parchment paper if needed. Seal tightly and freeze for up to 2 months. When ready to enjoy, transfer them to the fridge to thaw overnight. Just add the fresh toppings before serving for a delightful presentation!
What should I do if my cheesecake filling is too thick?
If your cheesecake mixture turns out too thick, you can add a splash of milk or heavy cream to loosen it. Start with just a tablespoon, as a little goes a long way. Mix well until the desired creamy consistency is achieved. This step is vital to ensure your cheesecake remains fluffy and easy to pipe into the jars.
Are there any dietary considerations for making these jars?
Absolutely! If you’re catering to dietary restrictions, consider using gluten-free graham cracker crumbs for the crust if someone is gluten intolerant. For vegan options, replace the cream cheese with a plant-based alternative, and use coconut whipped cream instead of heavy cream. Also, double-check your candy toppings for potential allergens like nuts or dairy. Always keep your guests’ needs in mind to ensure everyone can enjoy these delightful Easter Egg Cheesecake Jars.
Can pets eat any of the ingredients?
Most of the ingredients in these Easter Egg Cheesecake Jars aren’t suitable for pets, especially chocolate and candy toppings that may contain harmful substances for dogs and cats. Avoid giving these jars to pets; instead, create a special pet-friendly treat just for them if you want to include them in the festivities!
Delicious Easter Egg Cheesecake Jars to Delight Your Guests
Ingredients
Equipment
Method
- In a medium bowl, combine graham cracker crumbs, granulated sugar, and melted unsalted butter until it resembles damp sand. Press this mixture firmly into the bottoms of your jars.
- Beat the softened cream cheese with an electric mixer until smooth and creamy, approximately 2-3 minutes. Gradually add in the powdered sugar and vanilla extract, mixing until light and airy.
- Whip the heavy cream until stiff peaks form, about 3-5 minutes. Gently fold the whipped cream into the cream cheese mixture in thirds.
- Divide the cheesecake mixture into two bowls if creating colorful layers. Mix in pink gel food coloring or freeze-dried strawberry powder until fully incorporated.
- Start layering with the pink cheesecake mixture at the bottom of the jars, then follow with the plain cheesecake mixture, filling nearly to the top.
- Pipe a generous swirl of whipped cream on top of each jar to enhance their visual appeal.
- Sprinkle pastel candy eggs and rainbow sprinkles over the whipped cream just before serving. Arrange the jars on a serving platter.
Leave a Reply