
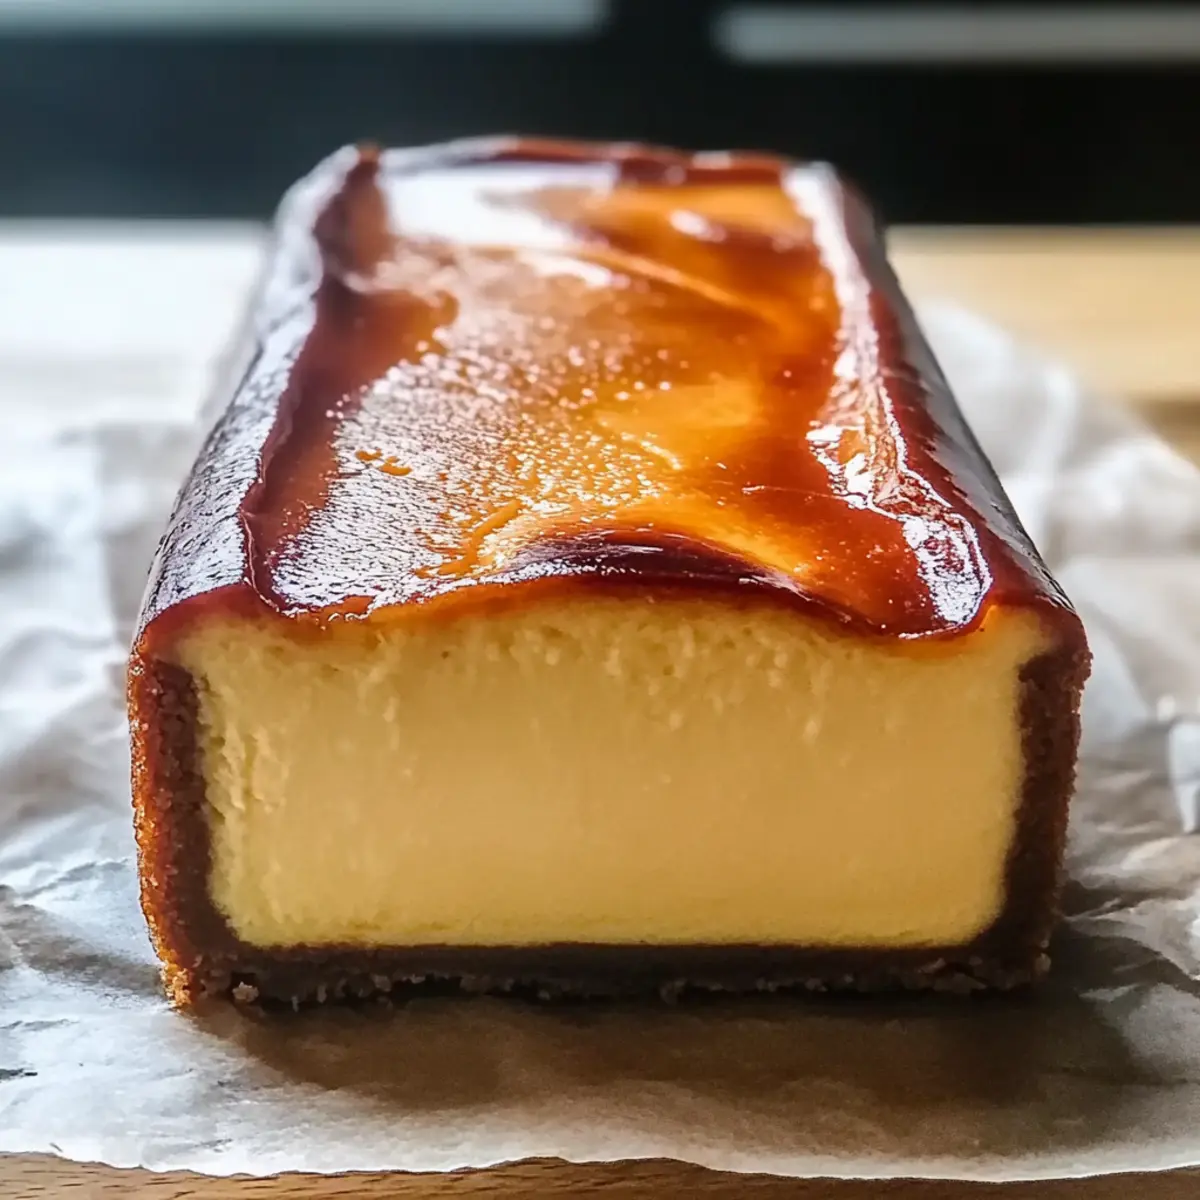
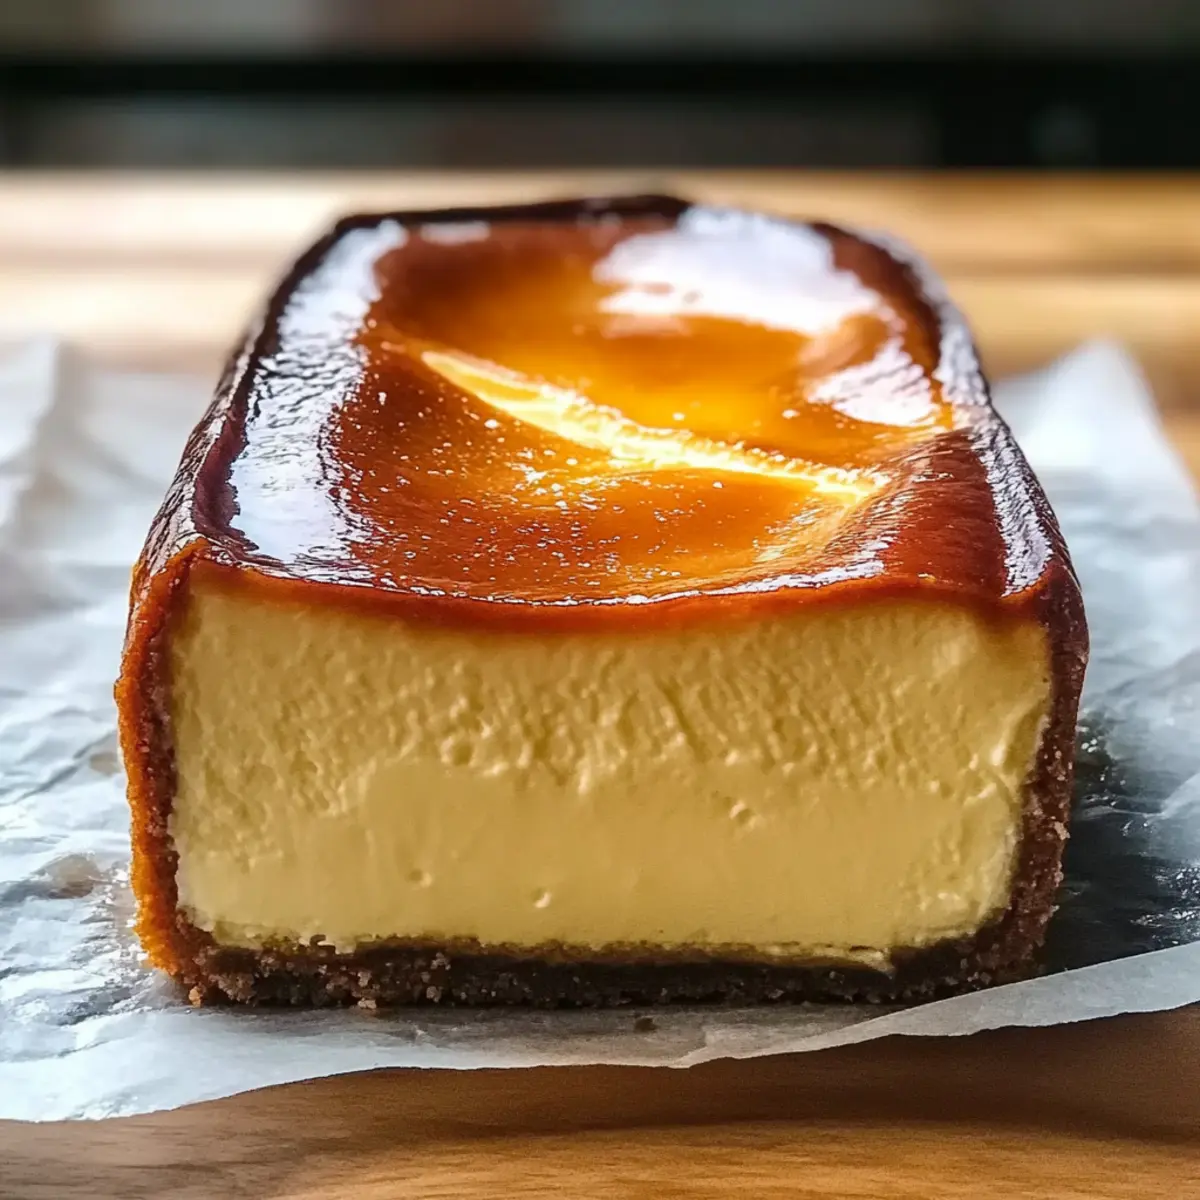
The moment I took my first bite of Burnt Basque Cheesecake, it felt like a cozy hug on a chilly evening. This easy dessert doesn’t require any fancy equipment or skills, making it the perfect treat for anyone who craves homemade goodness without the fuss. Baking it in a loaf pan means you can create a beautiful small-batch cheesecake that’s just right for weeknight indulgences or special occasions. The creamy, custard-like center contrasts perfectly with the beautifully caramelized top, leaving your guests eagerly asking for seconds. Plus, with customizable flavors, you can make each dessert uniquely yours. So, what delightful twist will you add to your loaf pan masterpiece?
Why Is This Cheesecake So Irresistible?
Creamy Texture: The Burnt Basque Cheesecake delivers a stunning velvety richness that melts in your mouth, making it impossible to resist.
No Complicated Techniques: This recipe is refreshingly straightforward. You’ll need just a few key ingredients and minimal skill to achieve gourmet results.
Small-Batch Perfection: Ideal for intimate gatherings or cozy nights in, the loaf pan version ensures you won’t have excess leftovers while still satisfying your cravings.
Customizable Flavors: Whether you prefer a hint of citrus or a bold chocolate infusion, this cheesecake invites creativity. Add your favorite flavors to make every bite special!
Crowd-Pleasing Delight: Its unique taste and stunning appearance make it a hit at any gathering. Surprise your friends and family with this delightful dessert that looks as fabulous as it tastes! For more cheesecake inspirations, explore the delectable Red Velvet Cheesecake option.
Burnt Basque Cheesecake Ingredients
For the Cheesecake
• Cream Cheese – The star of your dessert; be sure it’s softened to create a smooth texture.
• Granulated Sugar – Sweetens the cheesecake while helping to achieve that creamy consistency.
• Eggs – Provide structure and richness; beat them in one at a time to keep the batter smooth.
• Heavy Cream – Adds a luxurious richness; stick with regular cream for the best results.
• Vanilla Extract – Enhances flavor depth; you can customize with different extracts if desired.
• Salt – Just a pinch balances out sweetness and elevates the overall flavor.
• All-Purpose Flour – Slightly thickens the batter; be cautious with substitutions to maintain texture.
For Optional Flavor Variations
• Citrus Zest – Try lemon or orange to brighten your cheesecake; it adds a delightful twist to the classic flavor.
• Chocolate Chips – Fold them in for an indulgent chocolate version; they’ll melt into creamy pockets of goodness.
• Swirls of Caramel – Drizzle in during mixing for a sweet surprise throughout your cheesecake.
• Dairy-Free Cream Cheese – Perfect for vegan adaptations; ensure it’s softened for easier blending.
Step‑by‑Step Instructions for Burnt Basque Cheesecake
Step 1: Preheat the Oven
Begin your journey to a delightful Burnt Basque Cheesecake by preheating your oven to 400°F (200°C). This high temperature is essential for achieving that signature caramelized top while maintaining a creamy, custard-like center. Set a timer for a few minutes to ensure the oven reaches the proper heat before baking.
Step 2: Prepare the Loaf Pan
While the oven is heating, line a loaf pan with parchment paper, allowing it to overhang on the sides. This will help you effortlessly remove the cheesecake later. Ensure the paper is well-fitted in the corners to create a smooth surface for your delicious dessert that will soon delight your taste buds.
Step 3: Mix Cream Cheese and Sugar
In a large mixing bowl, combine softened cream cheese with granulated sugar. Using an electric mixer, beat the mixture on medium speed until it transforms into a smooth and fluffy consistency, about 2-3 minutes. This step lays the foundation for a rich, velvety texture in your Burnt Basque Cheesecake.
Step 4: Add Eggs Gradually
Introduce the eggs one at a time to the creamy mixture you’ve created. Ensure you beat well after each addition to achieve a perfectly blended batter. This gradual incorporation is key to creating the structure and richness that makes your cheesecake irresistibly creamy, ensuring a smooth finish.
Step 5: Blend in the Cream and Flavorings
Next, pour in the heavy cream, followed by the vanilla extract and a pinch of salt. Mix on low speed until everything is well combined and smooth, which will take about 1-2 minutes. This step adds depth and enhances the overall flavor profile, elevating your Burnt Basque Cheesecake to new heights.
Step 6: Incorporate Flour with Care
Sift in the all-purpose flour to the creamy batter. Gently fold it in using a spatula to avoid overmixing, ensuring the flour is just incorporated. This will slightly thicken the batter, giving your cheesecake the perfect texture without compromising its luscious quality.
Step 7: Pour and Tap the Batter
Now, pour the cheesecake batter into the prepared loaf pan, ensuring an even layer. Carefully tap the pan on the counter to release any air bubbles trapped within. This step is crucial for achieving a smooth and creamy texture throughout your Burnt Basque Cheesecake while adding to its overall appeal.
Step 8: Bake to Perfection
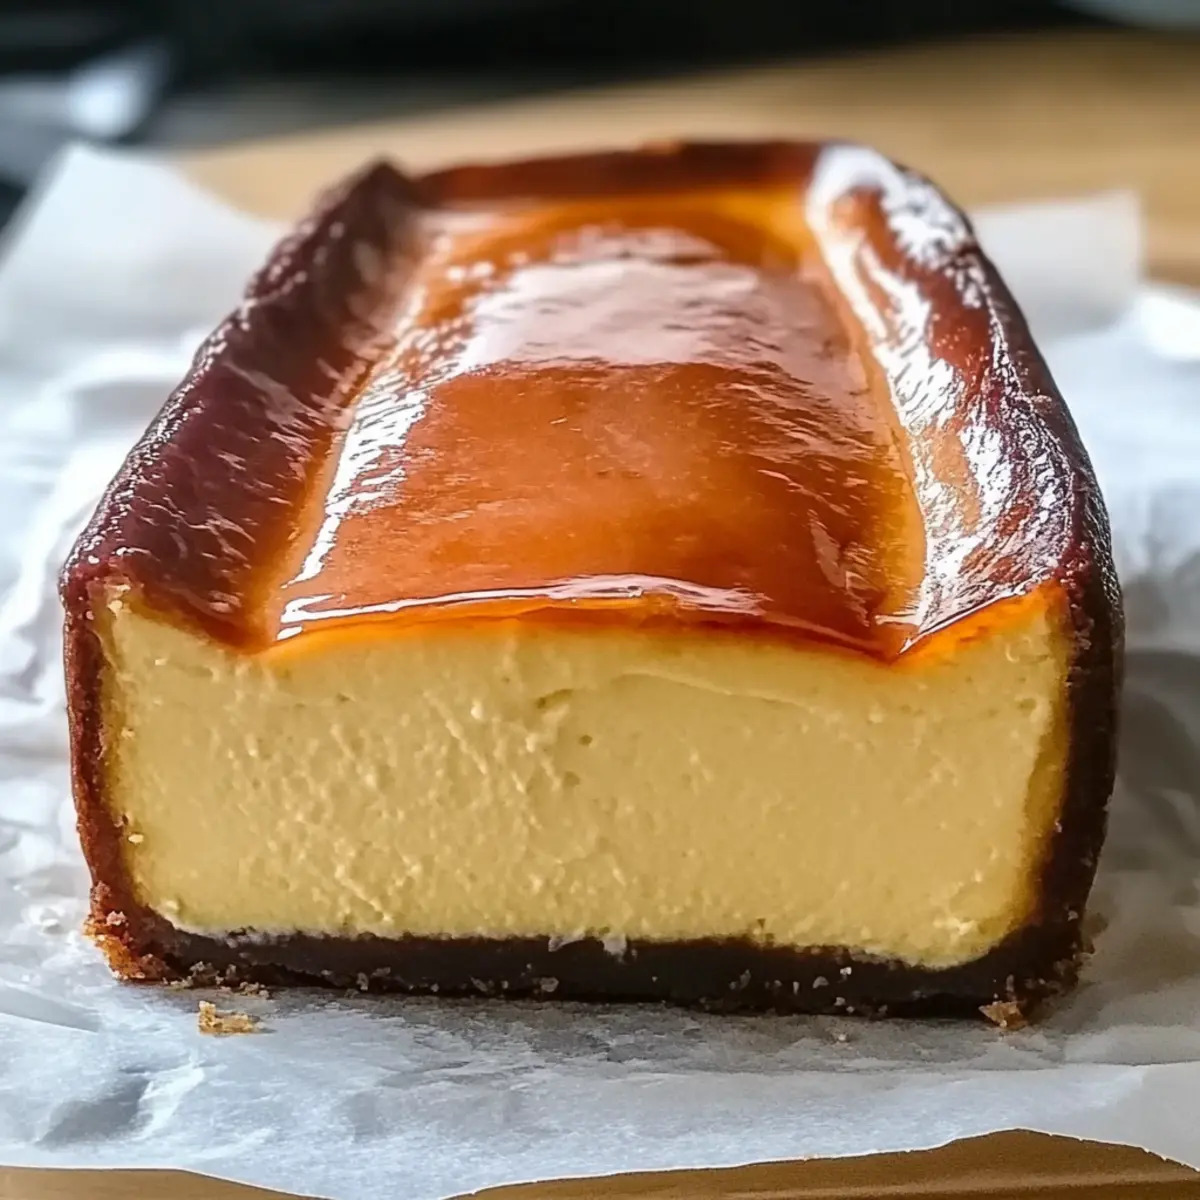
Slide the loaf pan into the preheated oven and bake for 40-45 minutes. Keep an eye on it; you’re aiming for a deeply golden top while the center should still jiggle slightly when gently shaken. This balancing act is what gives the cheesecake its unique custard-like consistency.
Step 9: Cool and Chill
Once the baking time is complete, remove your Burnt Basque Cheesecake from the oven and let it cool at room temperature for about an hour. After it’s cooled, cover it with plastic wrap and refrigerate for at least 4 hours or overnight. This step is vital for developing flavor and achieving that perfect sliceable texture.
Step 10: Slice and Serve
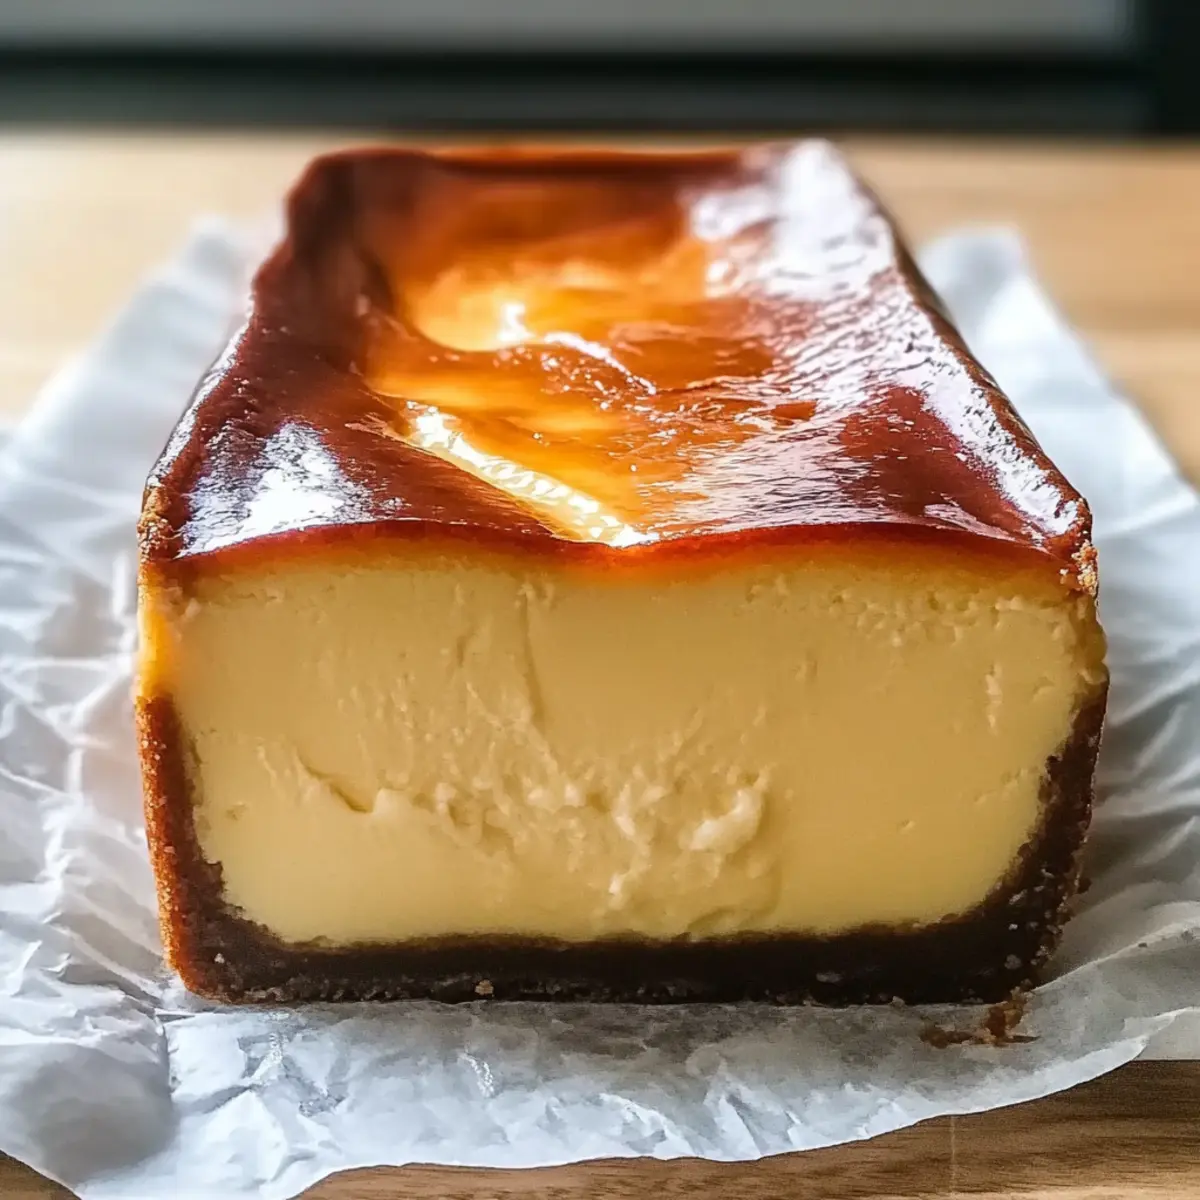
With your cheesecake chilled and set, carefully lift it out of the loaf pan using the parchment overhang. Slice it into generous pieces, revealing the creamy interior and beautifully caramelized top. Serve each slice chilled, perhaps with a dollop of whipped cream or a drizzle of fruit compote for a delightful finish.
Burnt Basque Cheesecake Variations
Let your creativity shine as you explore delightful twists to this cheesecake recipe!
-
Citrus Zest: Add a tablespoon of lemon or orange zest for a refreshing, bright flavor that enhances the dessert.
-
Chocolate Chips: Fold in semi-sweet chocolate chips for decadent little pockets of melty goodness throughout your cheesecake.
-
Caramel Swirls: Drizzle in some caramel sauce before baking for a sweet surprise that blends beautifully into the creamy layer.
-
Dairy-Free: Substitute with dairy-free cream cheese for a vegan dessert that doesn’t compromise on flavor or creaminess.
-
Nutty Crunch: Top with crushed nuts like pistachios or almonds for an added texture; they create a delightful contrast to the creamy interior.
-
Spicy Kick: Add a pinch of cayenne or chili powder for an unexpected heat that complements the sweet flavors perfectly.
-
Maple Sweetness: Replace granulated sugar with maple syrup for a deeper, richer sweetness that brings a whole new dimension to your cheesecake.
-
Fruit Compote: Serve each slice with a homemade fruit compote, like raspberry or blueberry, for a tart balance that brightens the rich flavors.
For more cheesecake inspirations, don’t miss the delicious Red Velvet Cheesecake option that’s sure to impress! Feel free to mix and match these variations to create your ideal dessert masterpiece!
Make Ahead Options
These Burnt Basque Cheesecake delights are perfect for busy home cooks who love to meal prep! You can prepare the cheesecake batter up to 24 hours in advance and store it in the refrigerator before baking. Simply mix all the ingredients, pour the batter into the prepared loaf pan, cover it tightly with plastic wrap, and refrigerate. When you’re ready to enjoy your cheesecake, just take it out, bake it according to the recipe, and let it cool as directed. The flavors will develop beautifully, and it’ll be just as delicious as when made fresh! This way, you can impress your friends and family with minimal last-minute effort.
Expert Tips for Burnt Basque Cheesecake
-
Soften Cream Cheese: Start with room temperature cream cheese for a lump-free batter; cold cream cheese will lead to an uneven texture.
-
Watch Baking Time: Keep a close eye on your cheesecake; the jiggly center is essential for that custard-like consistency.
-
Chill Thoroughly: Refrigerate the cheesecake for at least four hours before slicing; this step allows flavors to meld and improves texture.
-
Prevent Sticking: Line your loaf pan with parchment paper, ensuring it overhangs for easy removal; this helps maintain the beautiful top of your cheesecake.
-
Experiment with Flavors: Don’t hesitate to customize! Add citrus zest or chocolate chips to your Burnt Basque Cheesecake to make it uniquely yours.
-
Store Wisely: Keep any leftovers in the refrigerator for up to five days; the cheesecake’s flavors improve with a little time.
What to Serve with Easy Burnt Basque Cheesecake in a Loaf Pan
Elevate your dessert experience with delightful accompaniments that bring out the rich flavors of this heavenly cheesecake.
- Whipped Coconut Cream: A light and fluffy topping that adds a tropical twist, pairing beautifully with the cheesecake’s richness.
- Fresh Berries: Platter up an assortment of strawberries, raspberries, and blueberries; their tartness enhances the creamy dessert perfectly.
- Chocolate Espresso Martinis: The bold flavors of a coffee-infused cocktail contrast delightfully with the sweetness of the cheesecake, creating a fun after-dinner treat.
- Honey Drizzle: A simple drizzle of honey over each slice enhances the sweetness and adds a touch of elegance to your presentation.
- Citrus Sorbet: This refreshing palate cleanser balances the creamy density, providing a bright burst of flavor to round out the meal.
- Crisp Shortbread Cookies: These buttery cookies add a crunch and a delightful texture, making each bite even more enjoyable.
- Almond or Hazelnut Brittle: For a touch of gourmet flair, the nutty crunch complements the cheesecake nicely, bringing a satisfying contrast.
- Cardamom-Spiced Coffee: Enjoy a warm cup of spiced coffee to awaken your senses and highlight the warm flavors in the cheesecake.
Storage Tips for Burnt Basque Cheesecake
Fridge: Store the cheesecake covered in the refrigerator for up to 5 days. Make sure it’s wrapped tightly to preserve its creamy texture and unique flavor.
Freezer: If you want to keep it longer, wrap individual slices in plastic wrap and then place them in an airtight container. This allows for storage in the freezer for up to 2 months.
Thawing: To enjoy, simply transfer a slice from the freezer to the fridge and let it thaw overnight. This keeps the cheesecake as delicious as when it was first baked.
Serving: Serve chilled for the best experience, savoring that perfect creamy texture of your Burnt Basque Cheesecake!
Burnt Basque Cheesecake Recipe FAQs
How do I choose the right cream cheese?
Absolutely! When selecting cream cheese for your Burnt Basque Cheesecake, look for a high-quality, full-fat version, as this will ensure a rich and creamy texture. Softened cream cheese is essential for achieving a lump-free batter, so take it out of the fridge at least 30 minutes before starting to make your cheesecake.
What is the best way to store leftovers?
Very good question! To store your Burnt Basque Cheesecake, cover it tightly with plastic wrap or place it in an airtight container. It keeps well in the refrigerator for up to 5 days. This way, you can enjoy each slice while retaining its creamy texture and delightful flavor.
Can I freeze Burnt Basque Cheesecake?
Yes, you can! To freeze your cheesecake, beautifully wrap individual slices in plastic wrap, then place them in an airtight container or a freezer bag. This helps maintain the quality and can keep them fresh for up to 2 months. When you’re ready to indulge, transfer a slice from the freezer to the fridge the night before and let it thaw slowly.
What if my cheesecake cracks during baking?
No need to fret! Cracking can happen even to the best of us. To help prevent cracks, avoid overmixing the batter, and ensure you’re not baking it too long. The top should be beautifully golden while the center remains slightly jiggly; this balance is key to maintaining that custard-like interior. If a crack does occur, you can always cover it up with a delicious fruit compote when serving!
Are there dietary considerations for this cheesecake?
Absolutely! For those with dietary restrictions, you can make your Burnt Basque Cheesecake dairy-free by using a high-quality dairy-free cream cheese alternative. Additionally, always check for allergies related to eggs or gluten if using alternative flours. This cheesecake is incredibly adaptable, allowing you to cater to various dietary needs while still satisfying your sweet tooth.
How long should I refrigerate the cheesecake before serving?
I recommend chilling your Burnt Basque Cheesecake for at least 4 hours, but letting it sit overnight enhances the flavors and improves the texture even more. This step is essential for allowing the cheesecake to set properly, resulting in perfect slices that melt in your mouth.
Decadent Burnt Basque Cheesecake You'll Crave Again and Again
Ingredients
Equipment
Method
- Preheat your oven to 400°F (200°C).
- Line a loaf pan with parchment paper, allowing it to overhang on the sides.
- In a large mixing bowl, combine softened cream cheese with granulated sugar. Beat on medium speed until smooth and fluffy, about 2-3 minutes.
- Add eggs one at a time, mixing well after each addition.
- Pour in the heavy cream, followed by vanilla extract and salt. Mix on low speed until smooth, about 1-2 minutes.
- Sift in the all-purpose flour and gently fold it into the batter.
- Pour the batter into the prepared loaf pan and tap gently to release air bubbles.
- Bake for 40-45 minutes until the top is golden and the center jiggles slightly.
- Let the cheesecake cool at room temperature for about an hour, then refrigerate for at least 4 hours or overnight.
- Lift the cheesecake out of the pan using the parchment overhang, slice, and serve chilled.
Leave a Reply