
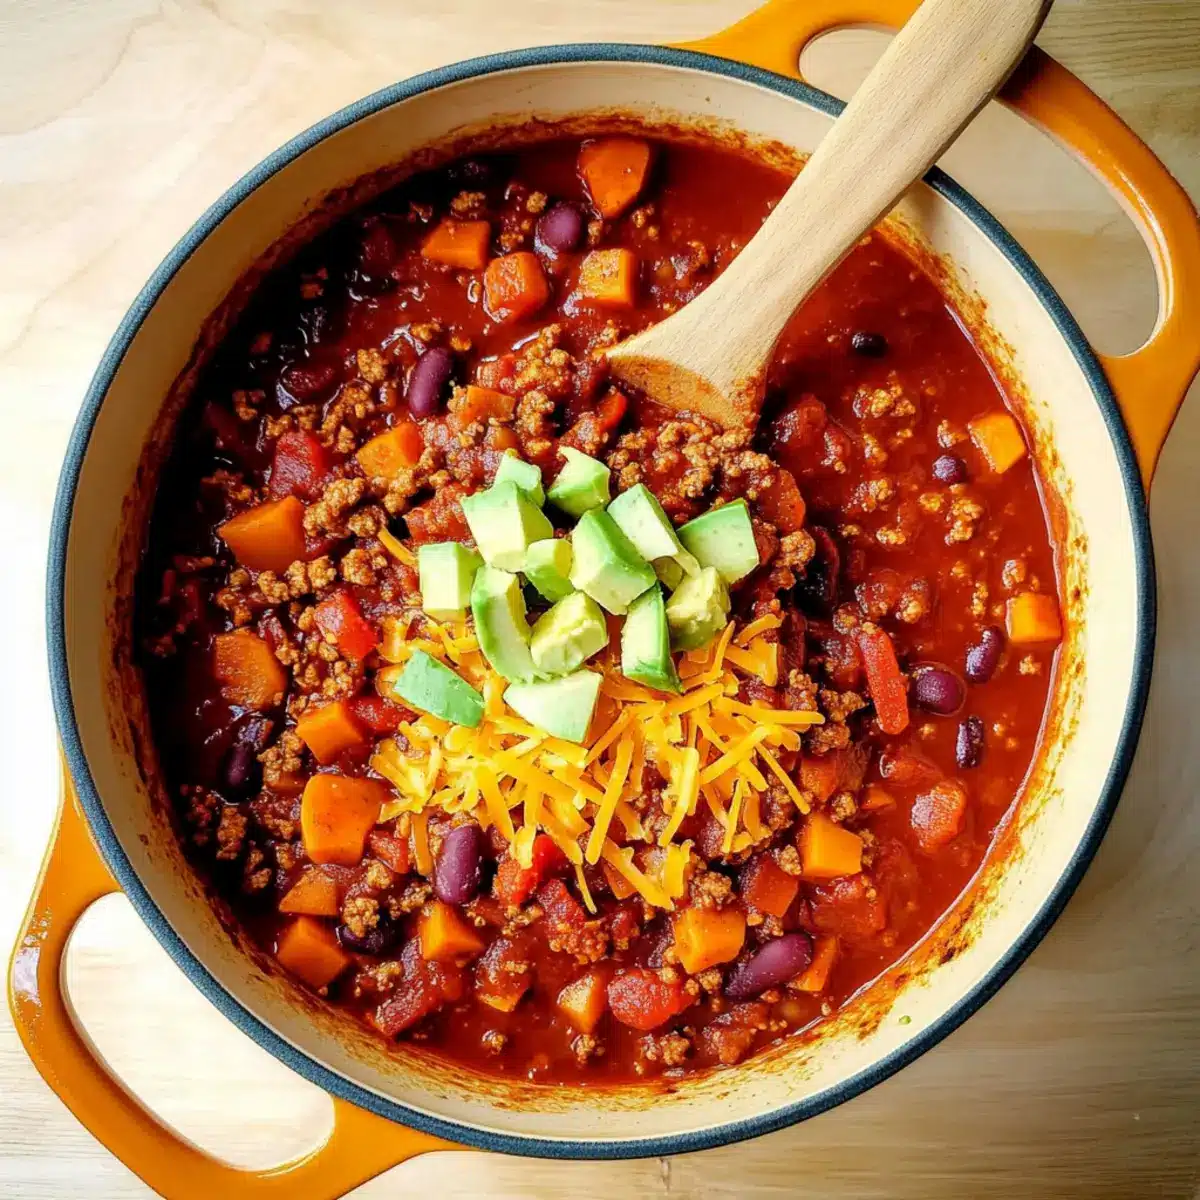
As the warm, savory aroma of simmering spices wafted through my kitchen, I couldn’t help but feel a surge of excitement. There’s something truly magical about a hearty Dutch Oven Chili that not only fills your belly but also warms the soul. This recipe is a go-to for me, especially on busy weeknights when I crave a comforting, gluten-free meal ready in just 45 minutes. Packed with ground beef, vibrant veggies, and a medley of beans, each spoonful delivers a satisfying blend of textures and tastes. Whether you’re feeding a hungry family or entertaining friends, this chili is sure to please even the most discerning of palates. Curious about how to create this delightful dish that’s perfect for chilly evenings? Let’s dive in!
Why Will You Love This Chili?
Hearty Comfort: This Dutch Oven Chili is a deliciously filling option, perfect for cozy family dinners or gatherings with friends.
Nutrient-Rich: Packed with lean ground beef, nutritious sweet potatoes, and lively veggies, it’s a meal that’s as wholesome as it is flavorful.
Quick and Easy: Ready in just 45 minutes, it’s an ideal solution for busy weeknights, ensuring you spend less time in the kitchen and more time enjoying your meal.
Versatile Options: Feel free to substitute ground beef with turkey or make it vegetarian by swapping in plant-based protein. You can even experiment with different beans for a tailor-made taste!
Crowd-Pleaser: Serve with cheesy garlic bread or a refreshing salad for a well-rounded feast that will delight everyone at the table. If you love this chili, try pairing it with a scrumptious Cheddar Bacon Dutch for an unforgettable meal!
Dutch Oven Chili Ingredients
For the Base
• Olive Oil – Adds richness and helps sauté vegetables; substitute with any neutral oil.
• Onions (2, diced) – Provide sweetness and depth of flavor; can substitute with shallots or leeks.
• Lean Ground Beef (1 lb) – The main protein source that brings heartiness; use ground turkey or plant-based ground meat for a lighter option.
• Garlic (2 cloves, minced) – Enhances the flavor profile; use garlic powder if fresh is unavailable.
• Jalapeño (1, minced) – Adds heat; can be omitted or replaced with bell pepper for less spiciness.
For the Spices
• Chili Powder (1 tbsp) – Gives the chili its signature taste; adjust for spice preference or use a Southwestern spice blend.
• Montreal Steak Spice (1 tbsp) – Enhances savory flavor; use any steak seasoning or omit if unavailable.
• Cumin (1 tbsp) – Provides warmth and earthiness.
• Coriander (1 tsp) – Adds citrus notes; can be omitted or substituted with additional cumin.
• Salt (½ tsp) – Essential for flavor enhancement; adjust to taste.
For the Chili Mixture
• Crushed Tomatoes (28 oz can) – Forms the base for the chili; can substitute with tomato passata or fresh chopped tomatoes.
• Diced Tomatoes (28 oz can) – Adds texture; can also use fresh tomatoes.
• Red Bell Pepper (1, chopped) – Provides sweetness and color; can substitute with green bell pepper.
• Sweet Potato (1 medium, cut into ½” cubes) – Adds natural sweetness and fiber; can swap for regular potatoes or butternut squash.
• Kidney Beans (19 oz can, drained and rinsed) – Adds protein and bulk; can replace with black beans or chickpeas.
• Corn (12 oz can, drained) – Adds sweetness and texture; frozen corn can be an excellent substitute.
Optional Toppings
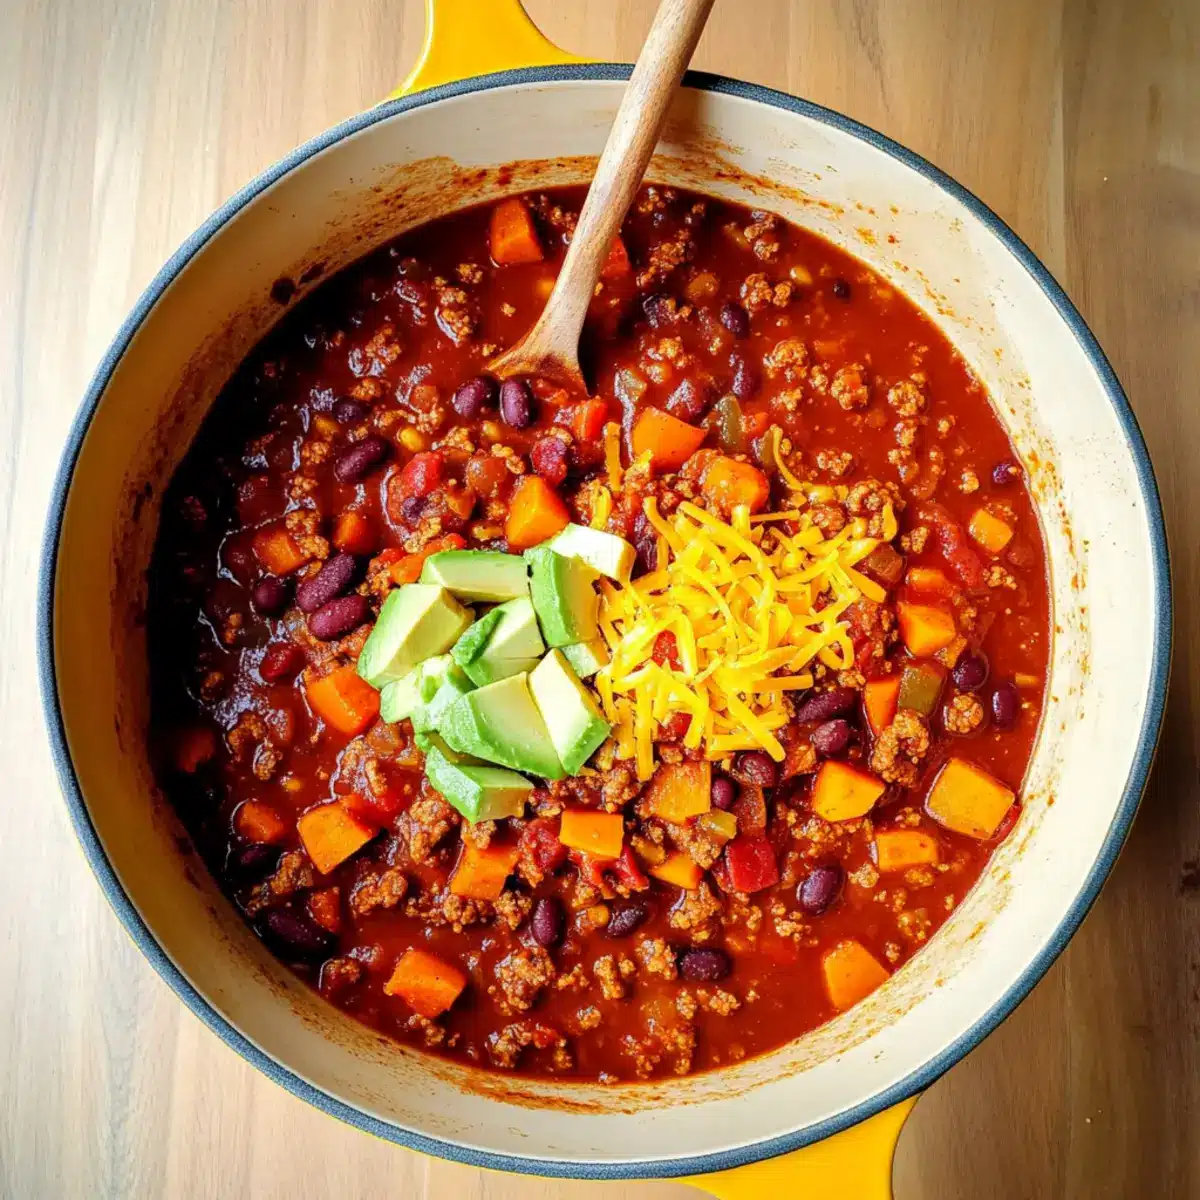
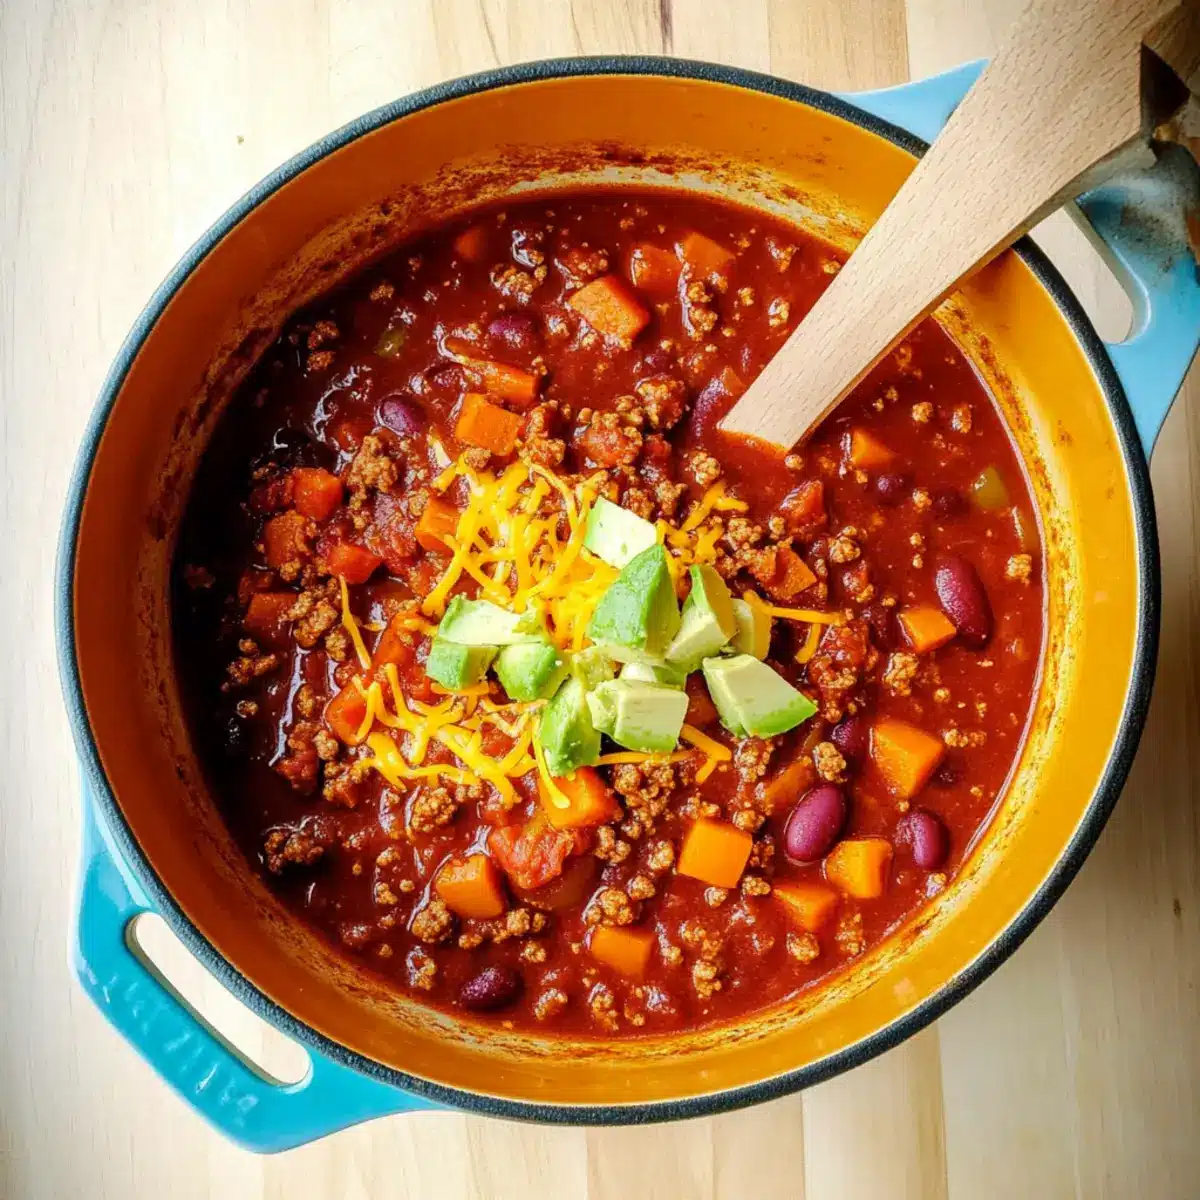
• Diced Avocado – Adds creaminess and freshness to the chili.
• Grated Cheddar Cheese – Enhances flavor and makes each serving extra indulgent.
• Chopped Cilantro – Offers a burst of freshness that balances the dish beautifully.
This Dutch Oven Chili is not only easy to put together but also a perfect comfort food that everyone will love!
Step‑by‑Step Instructions for Hearty Dutch Oven Chili
Step 1: Sauté Onions
Heat 2 tablespoons of olive oil in a large Dutch oven over medium heat. Once the oil shimmers, add 2 diced onions and sauté for 2-3 minutes, stirring occasionally, until they become translucent and fragrant. This will form the flavorful base of your Dutch Oven Chili.
Step 2: Brown the Beef
Add 1 pound of lean ground beef to the pot, breaking it up with a spatula as it cooks. Brown the beef for about 5 minutes, stirring frequently, until no longer pink. This step is crucial for developing the heartiness of the chili, giving it an irresistible, savory flavor.
Step 3: Add Aromatics and Spices
Stir in 2 minced garlic cloves and 1 minced jalapeño, sautéing for an additional 1-2 minutes until fragrant. Then, mix in 1 tablespoon chili powder, 1 tablespoon Montreal steak spice, 1 tablespoon cumin, 1 teaspoon coriander, and ½ teaspoon salt. The spices will start to bloom, filling your kitchen with enticing aromas.
Step 4: Incorporate Tomatoes
Pour in 28 ounces of crushed tomatoes and 28 ounces of diced tomatoes, stirring them into the spice mixture. Increase the heat slightly and bring the mixture to a gentle simmer, allowing it to bubble for about 5 minutes. This step helps meld the flavors for your hearty Dutch Oven Chili.
Step 5: Add Vegetables
Next, add 1 chopped red bell pepper and 1 medium sweet potato cut into ½-inch cubes to the pot. Stir well, then cover the Dutch oven with its lid and let it cook for 15 minutes on medium-low heat. The vegetables will soften and contribute their natural sweetness to the chili.
Step 6: Finish with Beans and Corn
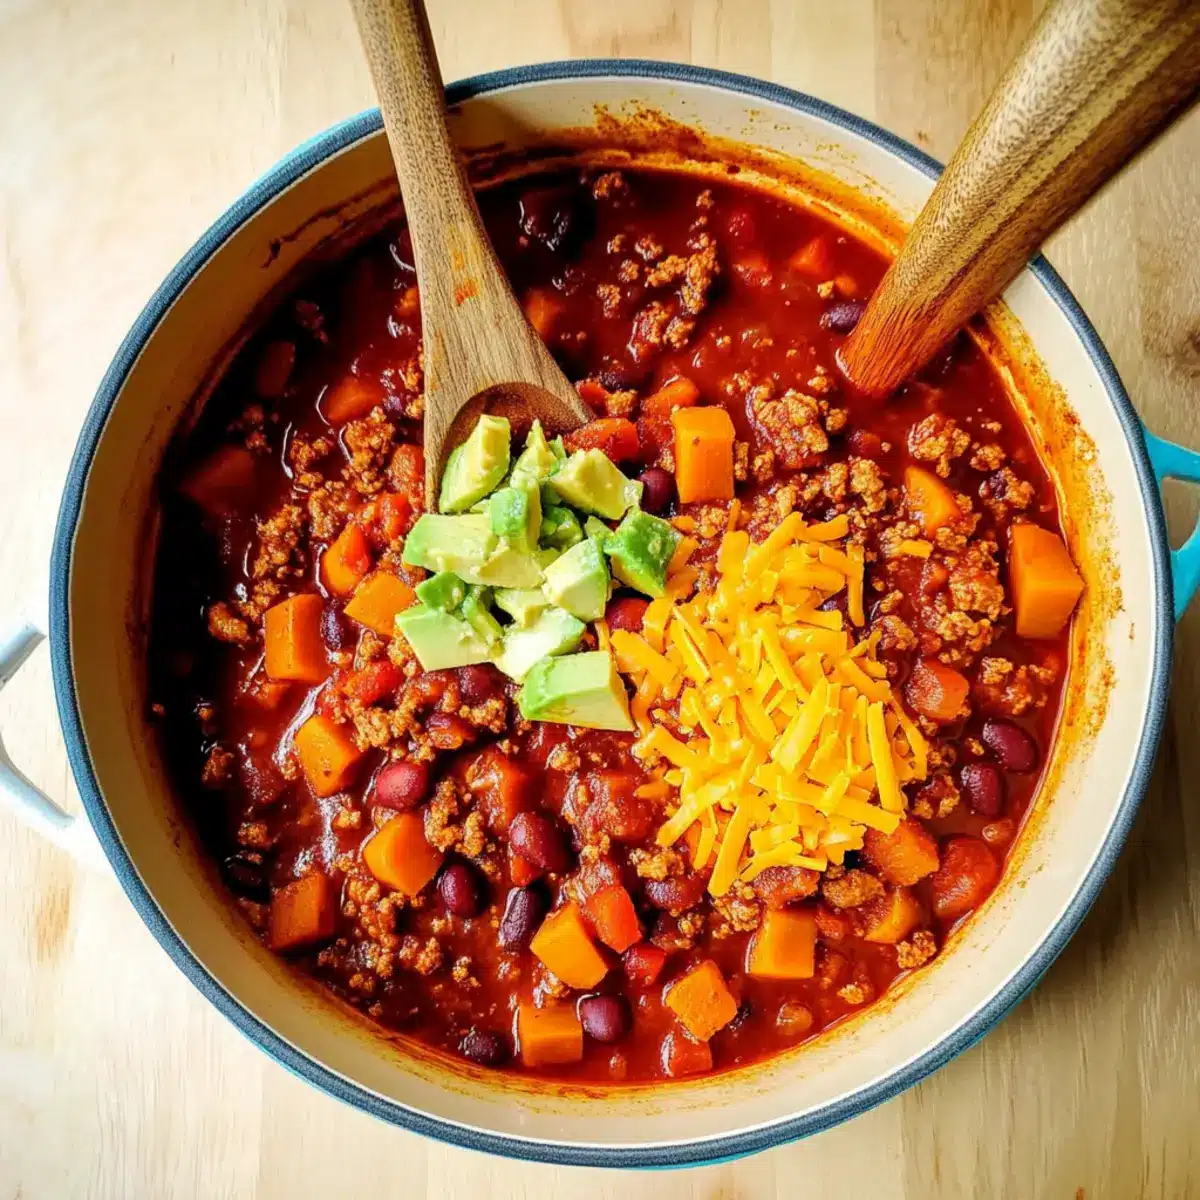
After 15 minutes, uncover and stir in 19 ounces of drained and rinsed kidney beans and 12 ounces of drained corn. Cover again and simmer for an additional 5 minutes, allowing everything to heat through and the flavors to meld beautifully. Your comforting Dutch Oven Chili is now nearly ready to serve!
What to Serve with Hearty Dutch Oven Chili?
As you gather around the table, the rich flavors of your chili deserve to be complemented with delightful sides that enhance the experience.
-
Cheesy Garlic Bread: The ooey-gooey cheese and crispy edges offer a perfect, savory contrast to the rich chili.
-
Fresh Avocado Salad: A refreshing avocado salad brightens the meal, providing a creamy and zesty flavor that balances the chili’s heat.
-
Cornbread Muffins: Soft and sweet cornbread muffins are a classic match, soaking up the bold flavors while adding a delightful texture to each bite.
-
Creamy Coleslaw: The crunch of coleslaw adds a delightful texture while its tangy dressing cuts through the chili’s richness.
-
Sliced Jalapeños: For those who love an extra kick, fresh jalapeños create an exciting layering of spice that vibrantly complements your chili.
-
Refreshing Lemonade: A chilled glass of lemonades’ citrusy zing is a perfect counterpoint to the hearty, rich flavors of the chili.
-
Baked Sweet Potatoes: For a wholesome twist, serve baked sweet potatoes on the side; their natural sweetness echoes the chili’s balance of flavors.
The beauty of this tender, savory Dutch Oven Chili lies in how it pairs with simple, yet flavorful companions, ensuring your meal feels complete and satisfying!
Expert Tips for the Best Dutch Oven Chili
Layering Flavors: Start with sautéing the onions and garlic; this builds a robust base for your Dutch Oven Chili. Skipping this step can lead to flat flavors.
Cook Low and Slow: For maximum flavor, consider letting your chili simmer longer than the recipe suggests. This helps deepen the flavors and improve the texture.
Adjust Thickness: If you prefer a thicker chili, reduce the liquid by simmering uncovered. For a thinner texture, feel free to add broth or water as needed.
Taste and Adjust: Always taste your chili before serving to see if it needs more salt or spices. This final touch can elevate the dish to perfection!
Make Ahead: Prepare the chili a day in advance. Allowing it to rest in the refrigerator overnight enhances the flavors, making meal time even easier!
Variate and Experiment: Feel free to try different beans or toppings! Substituting kidney beans with black beans or adding extra veggies can create a customized version of this favorite.
Storage Tips for Dutch Oven Chili
Fridge: Store leftovers in an airtight container for up to 5 days. Make sure to let the chili cool before sealing to avoid excess moisture.
Freezer: For longer storage, freeze cooled chili in a freezer bag, removing as much air as possible. It will stay good for up to 3 months.
Reheating: Thaw in the refrigerator overnight before reheating. Warm on the stovetop over medium heat or in the microwave until heated through, stirring occasionally.
Portioning: For convenience, consider dividing the chili into single servings before freezing. This way, you can easily enjoy a delicious meal anytime!
Dutch Oven Chili Variations
Feel free to unleash your creativity and personalize this comforting dish with these exciting twists!
- Turkey Chili: Replace ground beef with ground turkey for a lighter yet equally flavorful option. It’s a fantastic alternative that doesn’t sacrifice taste.
- Vegetarian Chili: Substitute the meat with a combination of lentils or black beans, making it hearty and plant-based. Add extra veggies for a colorful, nutrient-packed meal.
- Spicy Kick: For an extra layer of heat, toss in some chopped serrano peppers or add a dash of cayenne pepper. You’ll love the added warmth!
- Beans Galore: Experiment with different beans like pinto, black, or even white beans. Each brings unique flavor and texture, so mix it up based on your preferences!
- Sweet and Savory: Adding a tablespoon of brown sugar or a splash of maple syrup can balance the spiciness with a hint of sweetness. It’s a delightful twist!
- Smoky Flavor: Incorporate smoked paprika for a deep, smoky essence that elevates your chili. It’s especially great for those who love complex flavors.
- Vegan Delight: Use plant-based ground meat and coconut milk instead of hearty options to keep it light and vegan while still creamy. Perfect for those embracing a plant-focused lifestyle.
- Top it Off: Don’t forget the toppings! Avocado, fresh cilantro, and a sprinkle of feta or goat cheese add delightful contrasts to your chili. Also, check out the scrumptious Cheddar Bacon Dutch for perfect pairing ideas!
These variations not only keep the flavors interesting but also tailor the dish to suit every palate!
Make Ahead Options
Preparing your Dutch Oven Chili in advance is a fantastic way to save time on busy evenings! You can chop the vegetables (onions, bell peppers, and sweet potatoes) up to 24 hours ahead and store them in an airtight container in the refrigerator to maintain freshness. Additionally, brown the ground beef and mix it with your spices up to 3 days ahead; simply refrigerate until ready to use. When you’re ready to serve, add the prepped ingredients to the pot with the tomatoes and corn, bring to a simmer, and let it cook for the last few minutes. This method ensures that your chili remains just as delicious and full of flavor without the last-minute rush!
Dutch Oven Chili Recipe FAQs
What kind of ground meat can I use for Dutch Oven Chili?
Absolutely! While this recipe calls for lean ground beef for its heartiness, you can easily substitute it with ground turkey for a lighter option or opt for a plant-based ground meat for a vegetarian version. Both options maintain the rich flavors of the chili and can be just as satisfying.
How do I know if my vegetables are ripe for this recipe?
Very! For the best flavor, choose firm, unblemished vegetables. Look for onions that are dry and have a papery skin. Sweet potatoes should be smooth, with no dark spots. Choose fresh bell peppers that are brightly colored, firm, and with a shiny skin for the chili’s delightful texture.
What is the best way to store leftovers of Dutch Oven Chili?
Leftovers can be stored in an airtight container in the refrigerator for up to 5 days. Be sure to let the chili cool down before sealing it to prevent a soggy mess inside the container. You can enjoy tasty leftovers without losing flavor or texture!
Can I freeze Dutch Oven Chili, and what is the best method?
Certainly! To freeze, first let the chili cool completely. Then, transfer it into a freezer bag, expelling as much air as possible before sealing. Laying the bag flat will make for easy stacking in the freezer! This chili can be stored for up to 3 months. When you’re ready to enjoy, simply thaw it overnight in the fridge and reheat on the stovetop or microwave until piping hot.
How can I adjust the spice level in my chili?
You can easily tailor the heat to your taste! If you prefer a milder chili, you might want to reduce or omit the jalapeño and use a mild chili powder. For extra heat, consider adding more jalapeño or even a pinch of cayenne pepper. Just remember to taste as you go; starting with less will give you more control!
Is this chili gluten-free, and what are my alternatives for toppings?
Yes, this Dutch Oven Chili is gluten-free! If you’re concerned about toppings or specific brand condiments containing gluten, always check the labels. For tasty alternatives, try topping your chili with diced avocado, shredded cheese, or Greek yogurt instead of sour cream, to keep it creamy and rich without gluten issues.
Savory Dutch Oven Chili Ready in 45 Minutes for Cozy Nights
Ingredients
Equipment
Method
- Heat 2 tablespoons of olive oil in a large Dutch oven over medium heat. Add 2 diced onions and sauté for 2-3 minutes until translucent.
- Add 1 pound of lean ground beef, breaking it up as it cooks. Brown for about 5 minutes, stirring frequently until no longer pink.
- Stir in 2 minced garlic cloves and 1 minced jalapeño, sauté for 1-2 minutes. Mix in spices: 1 tablespoon chili powder, 1 tablespoon Montreal steak spice, 1 tablespoon cumin, 1 teaspoon coriander, and ½ teaspoon salt.
- Pour in 28 ounces of crushed tomatoes and 28 ounces of diced tomatoes. Stir and bring to a gentle simmer for about 5 minutes.
- Add 1 chopped red bell pepper and 1 medium sweet potato. Stir well, cover, and cook for 15 minutes on medium-low heat.
- Uncover and stir in 19 ounces of kidney beans and 12 ounces of corn. Cover again and simmer for an additional 5 minutes.
Leave a Reply